Learn about the Image Tray in the TouchMD Consult application.
Adding Images to the Image Tray
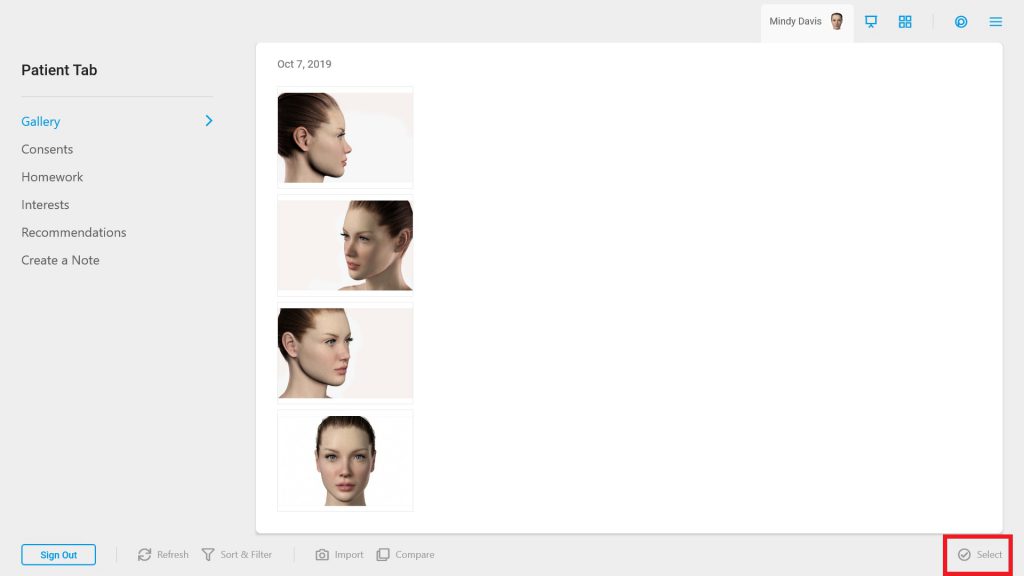
- Begin by accessing a patient account

- Select the Patient Tab

- Tap Gallery

- Tap “Select”
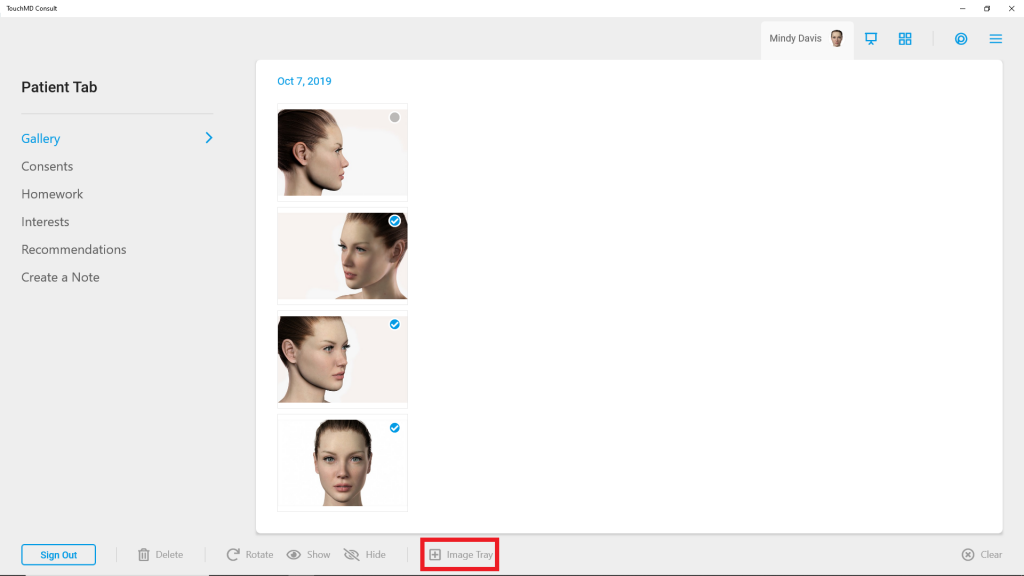
- Choose the desired images

- Tap “+ Image Tray”
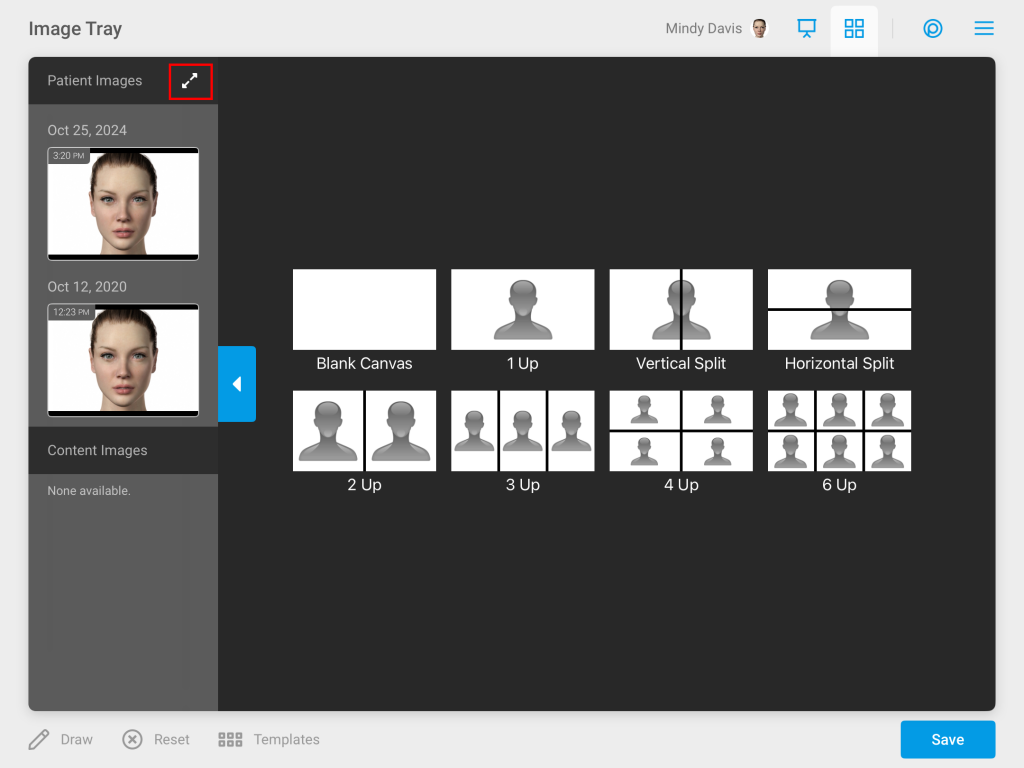
Placing Images in Image Tray Template
- Tap the Image Tray Tab

- Select the desired template
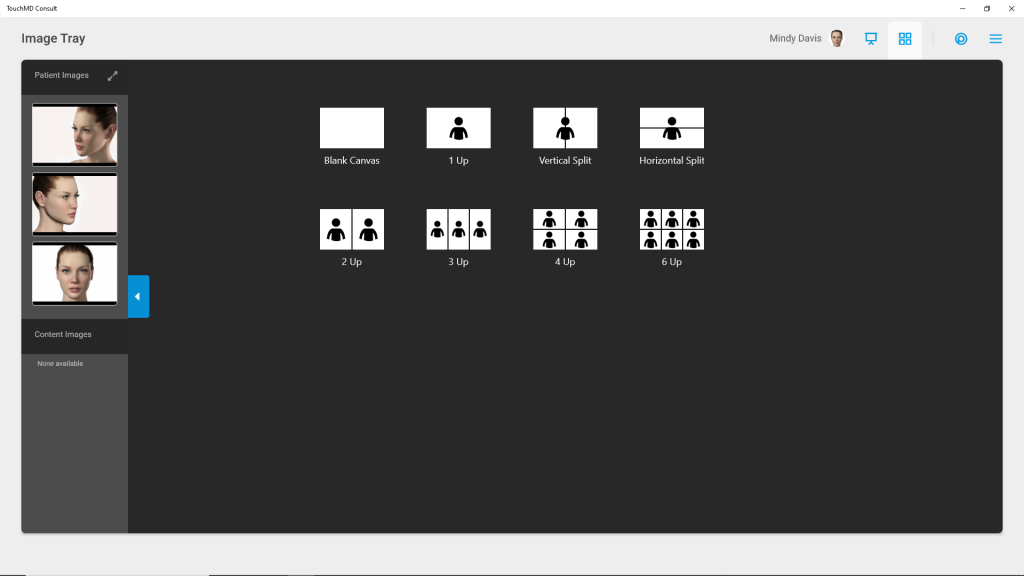
- Drag images into the desired slots within the template

- Select “Save” to save the image to the patient’s Gallery or select “Draw” to draw on the image. Note: It is recommended that you select “Save” first to save a copy of the image for future uses.

Adding Illustrations to the Image Tray
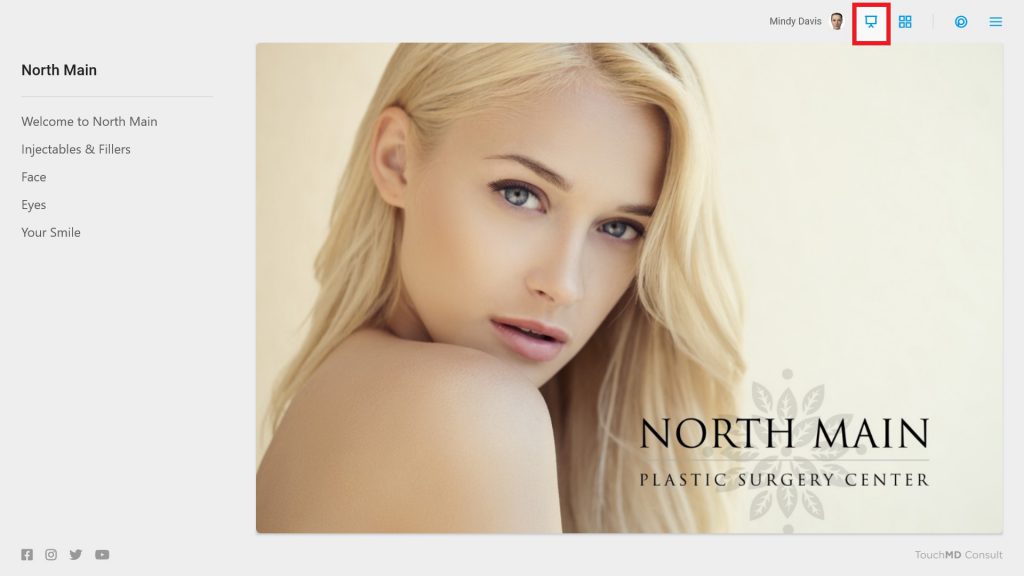
- Tap the Presentation Tab
- Select desired Binder and Sheet
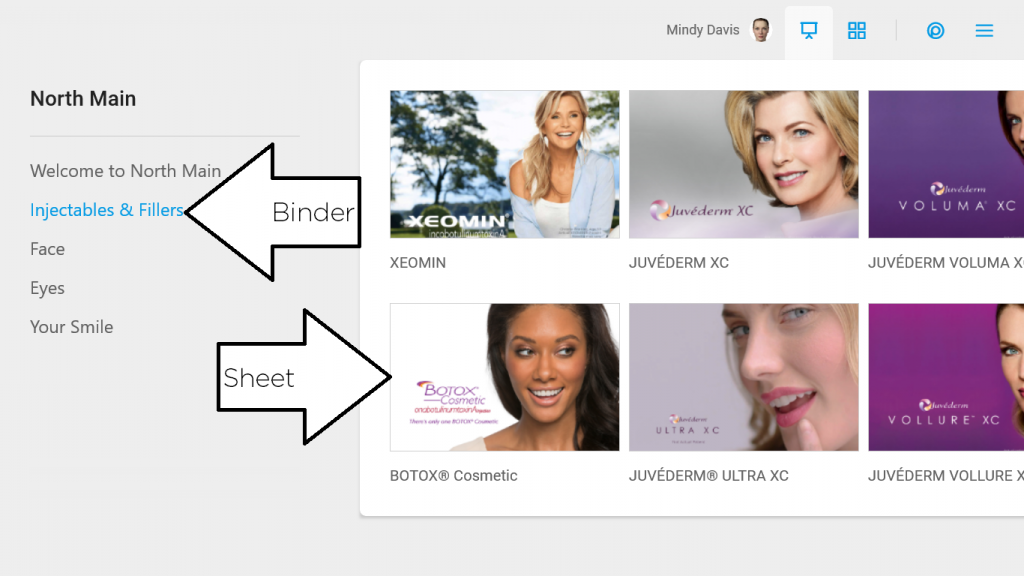
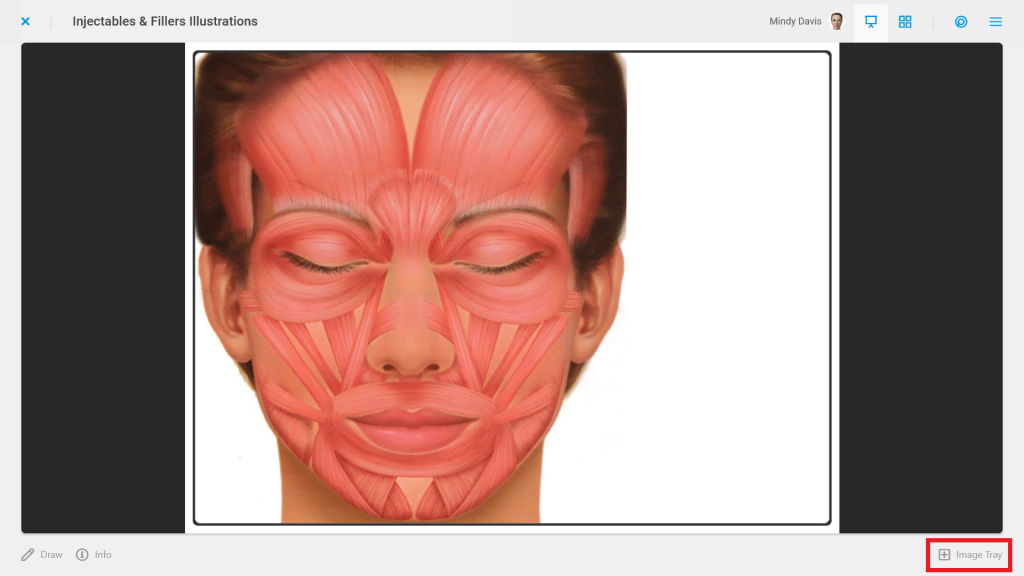
- Locate the desired illustration, and tap to open into a full-screen mode
- Tap “Image Tray”
- Select the desired template

- Drag images into the desired slots within the template
- Select “Save” to save the image to the patient’s Gallery or select “Draw” to draw on the image. Note: It is recommended that you select “Save” first to save a copy of the image for future uses.

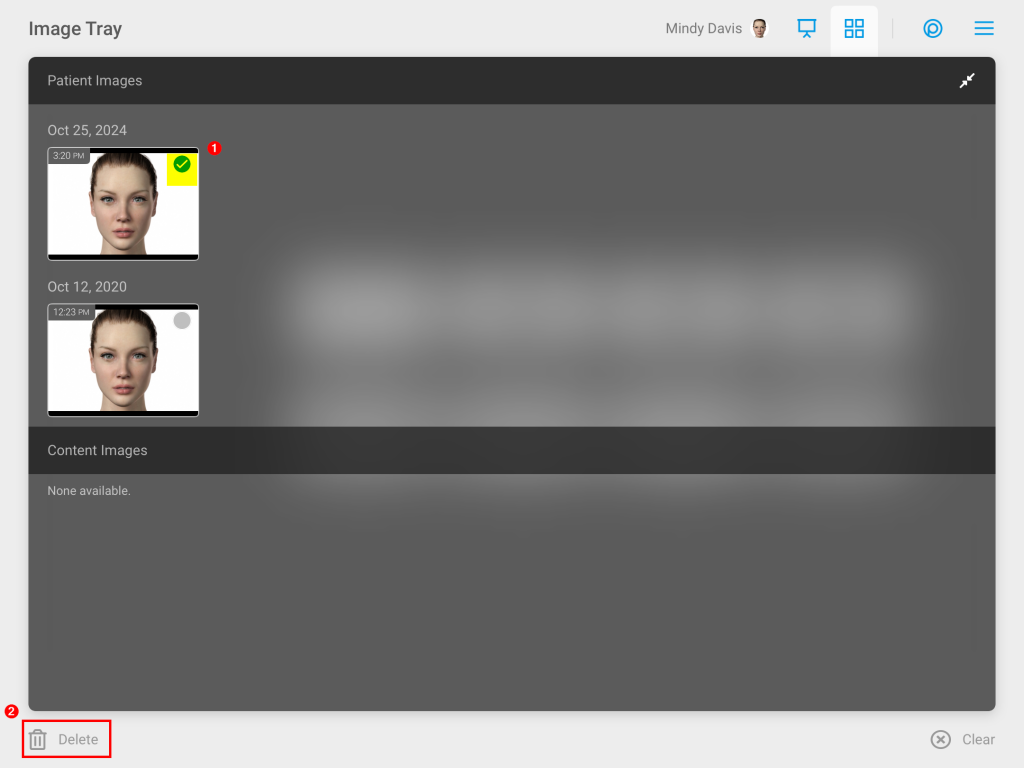
Removing Selected Image(s) from the Image Tray
- Expand the view of the selected images
- Tap “Select”
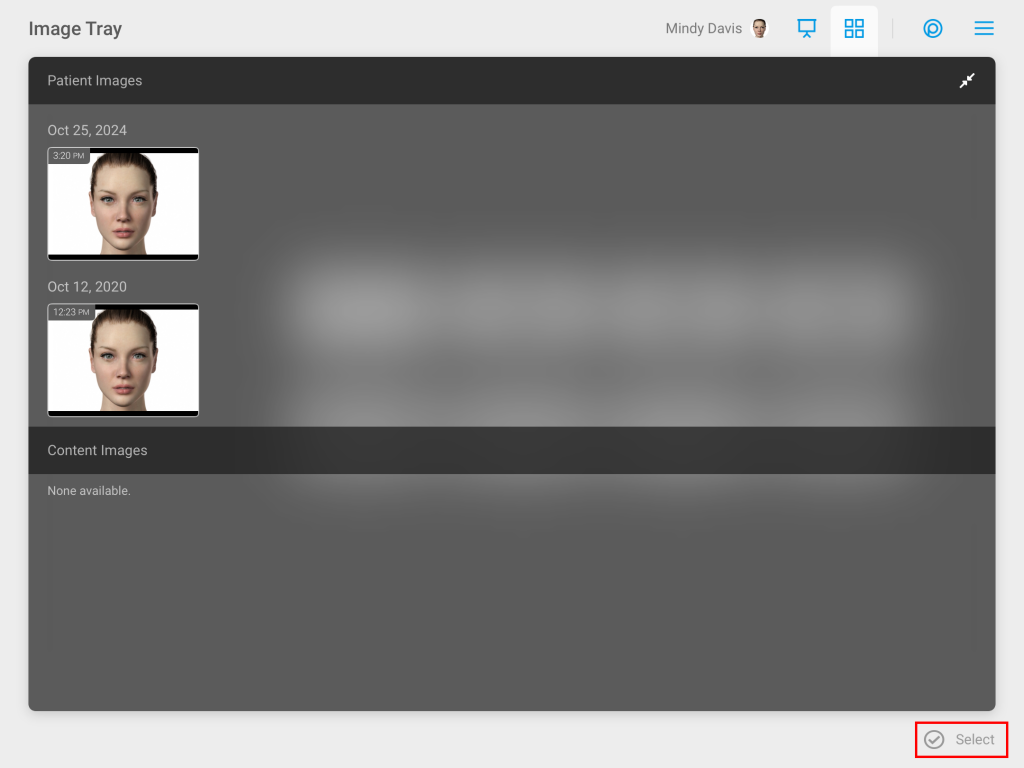
- Choose the undesired image and select “Delete”