Learn how to install the TouchMD Consult app onto your Apple iPad.
Learn howto install the TouchMD Consult app onto an Apple iPad.
- Open the Apple App Store

- Search for “TouchMD Consult” (select TouchMD Consult – for staff)

- Select “Get” and allow the app to download

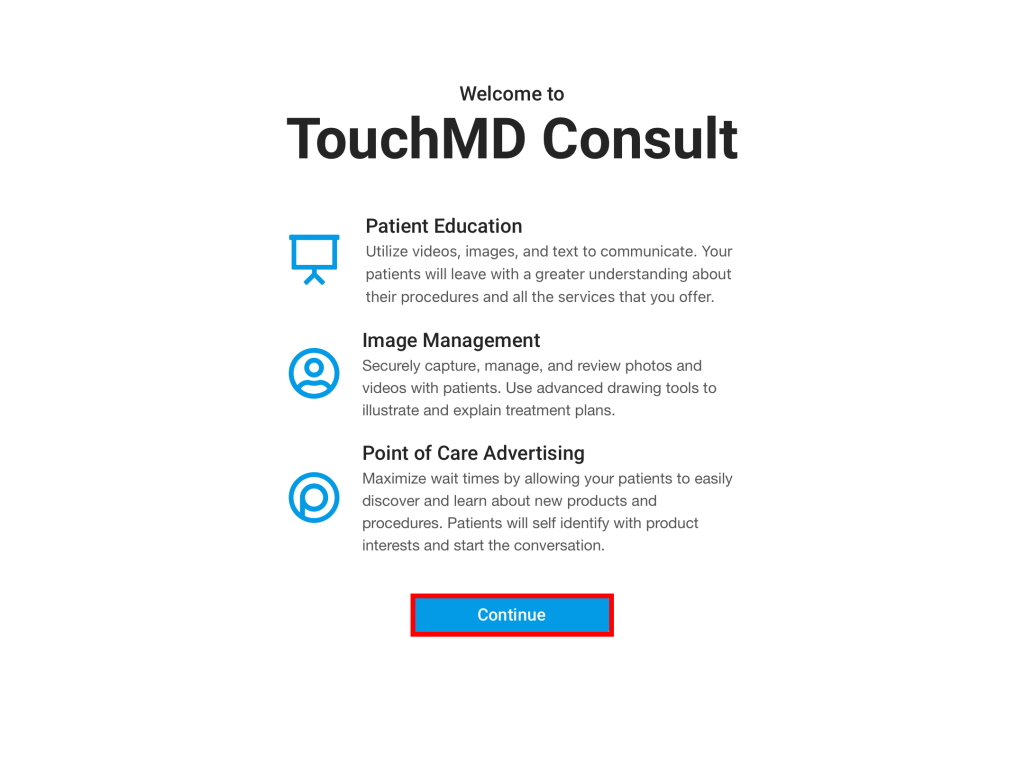
- Select “Open” to open the TouchMD Consult app

- Select “Continue”
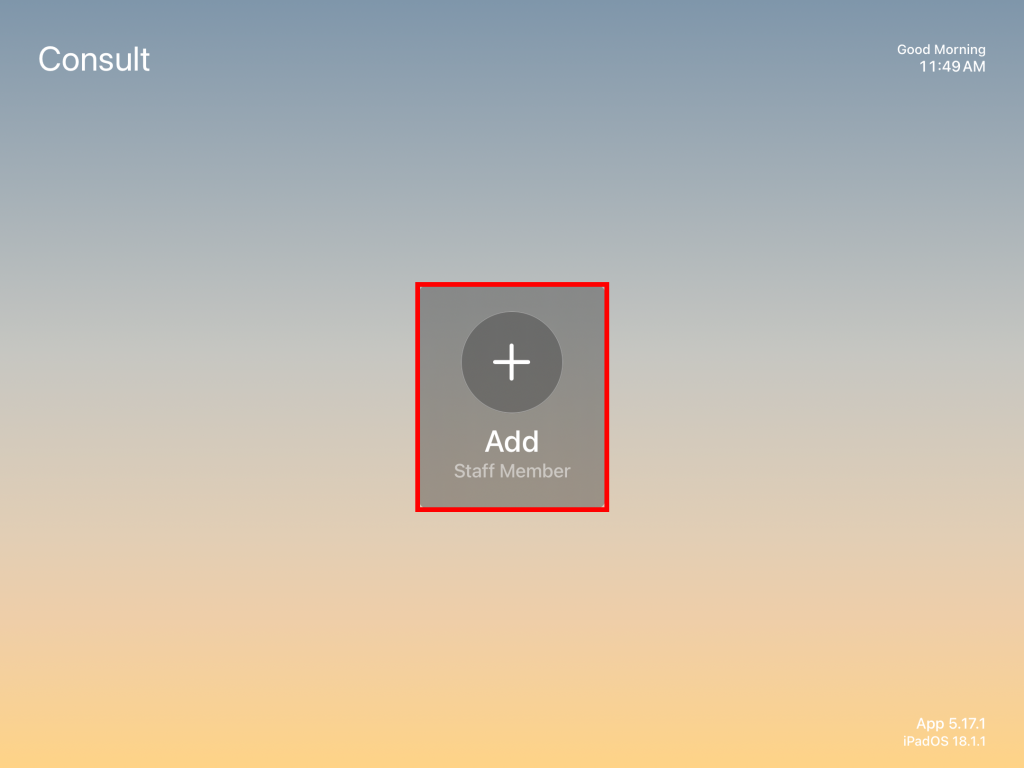
- Select “+” to add a user
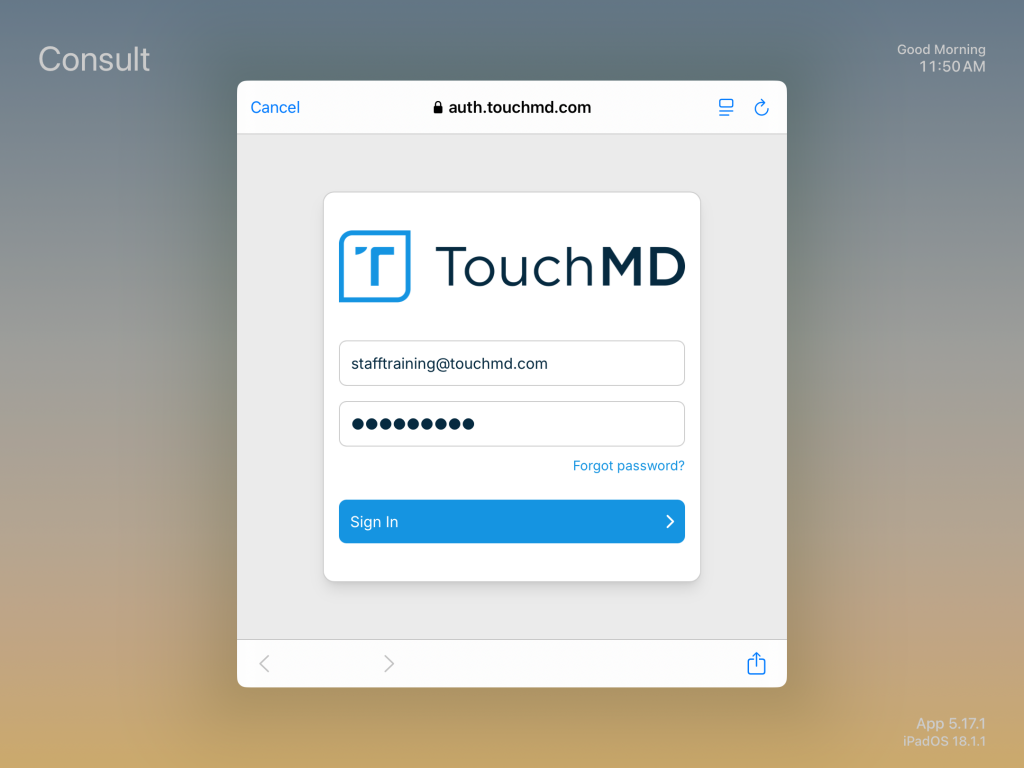
- Enter your TouchMD username and password
- Create a PIN using the onscreen instructions.
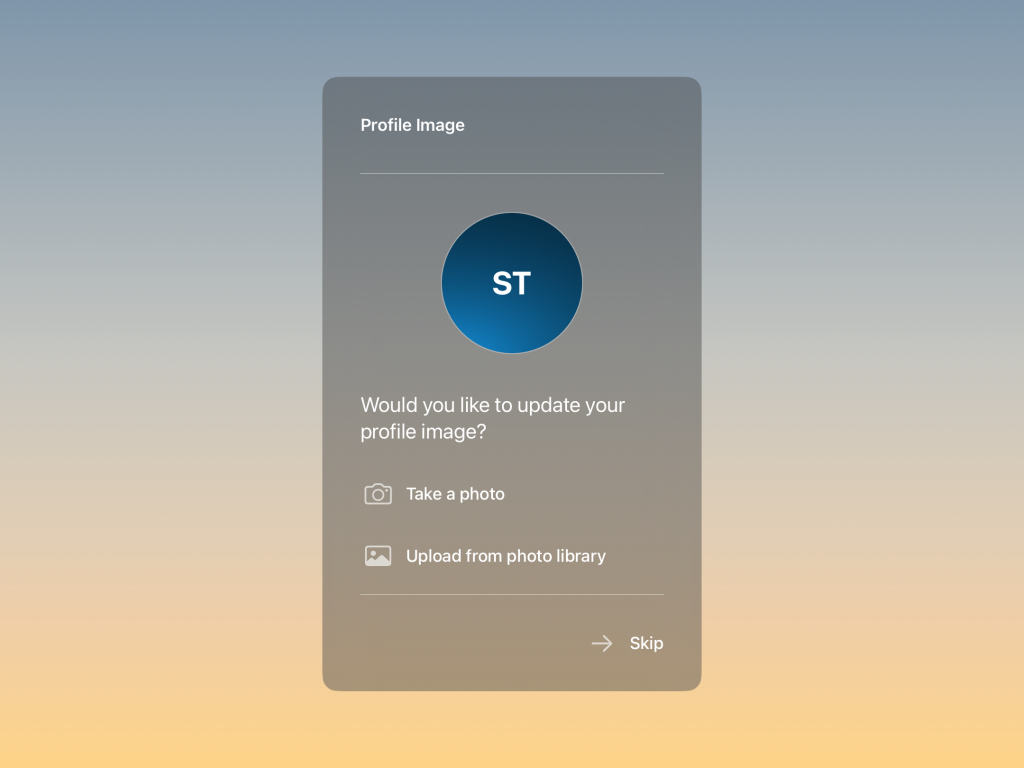
If desired set up a profile image. If not, select “Skip”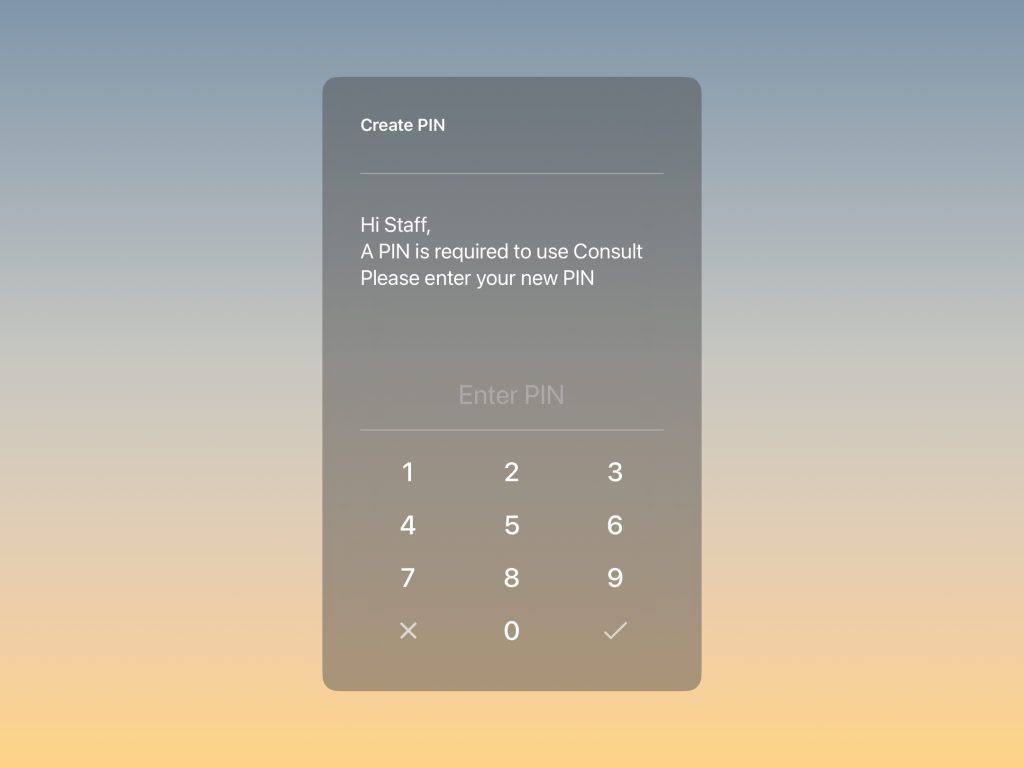
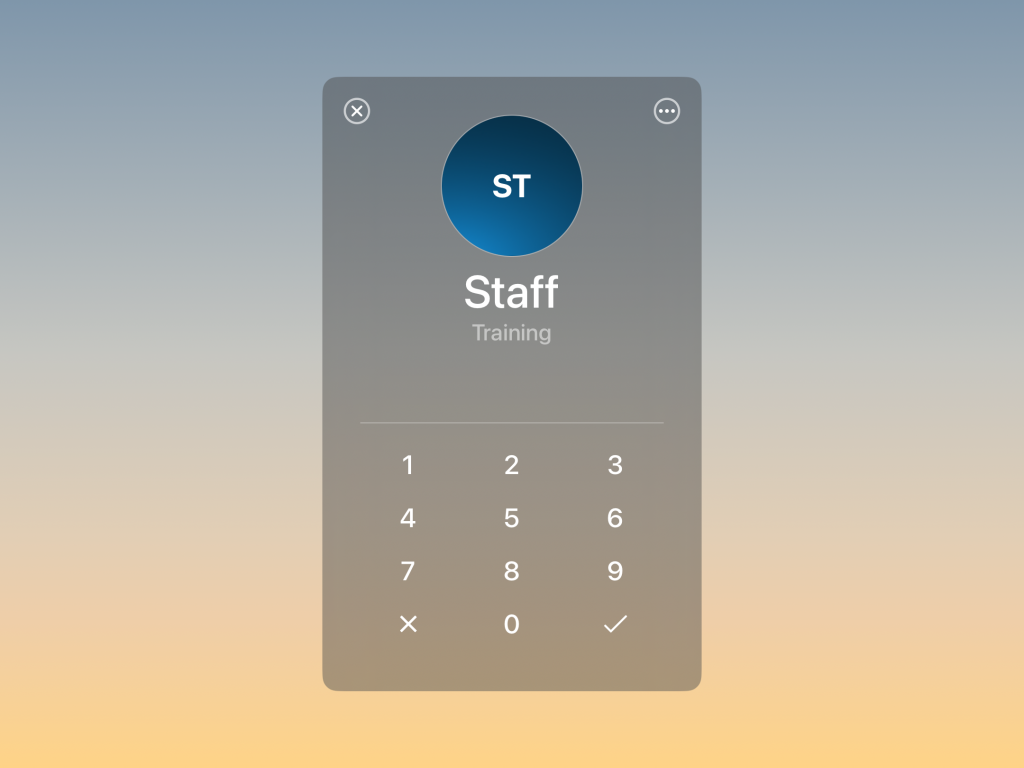
- Enter your PIN
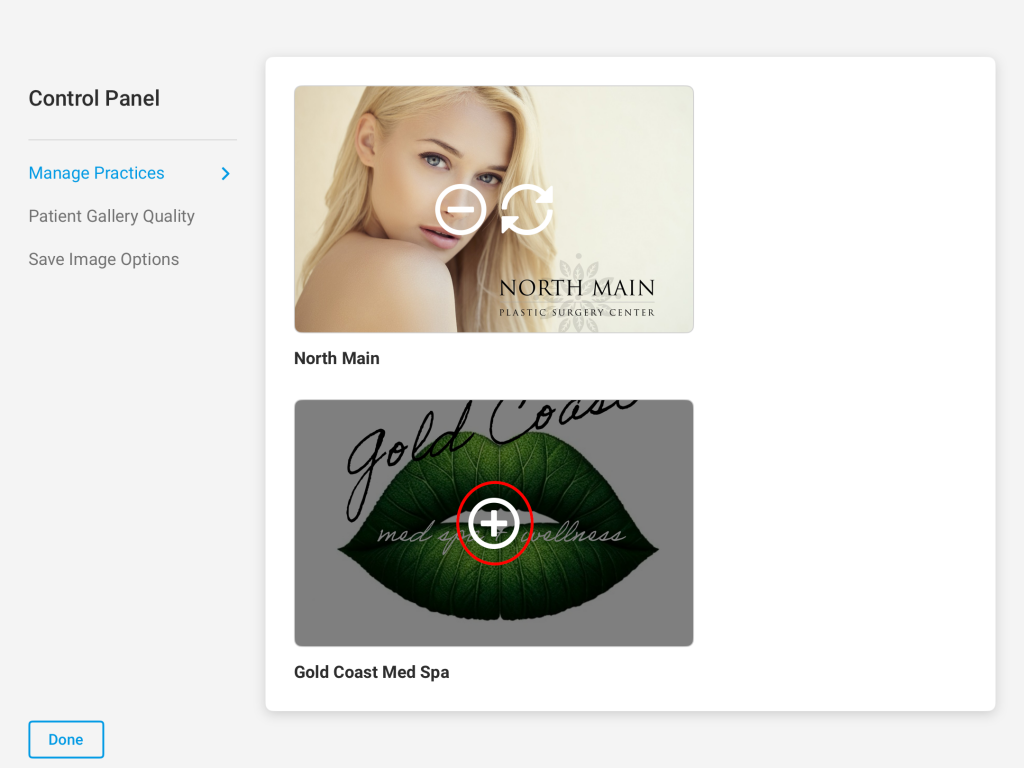
- Select “+” on your practice under Manage Practices and allow for it to process
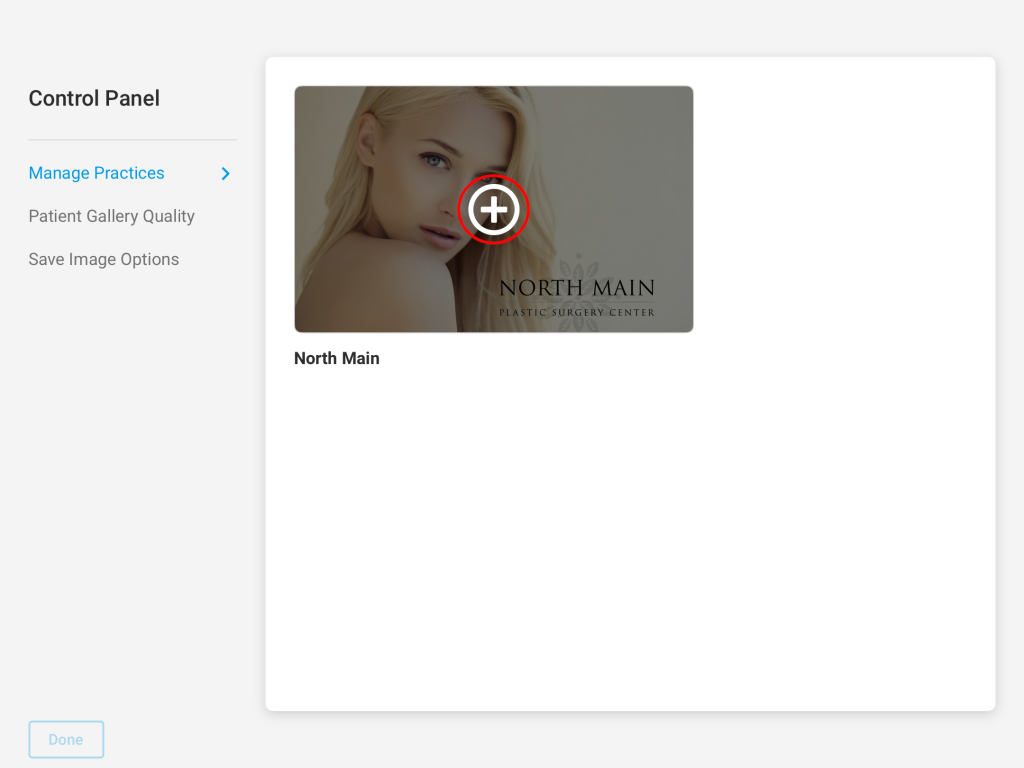
- Once processed, tap “Done.”
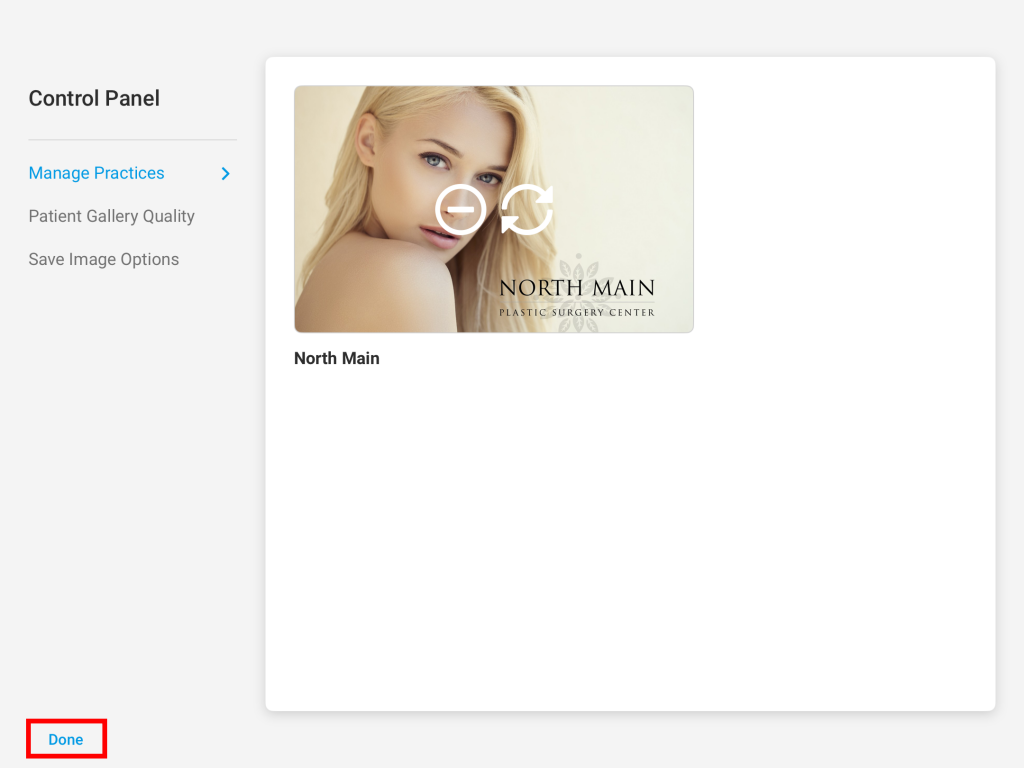 Note that the Done button may be available during the installation process. It may be hit at any time and the app will sync items in the background
Adding a New Presentation (for user connected to multiple TouchMD Presentations. This is not common.)
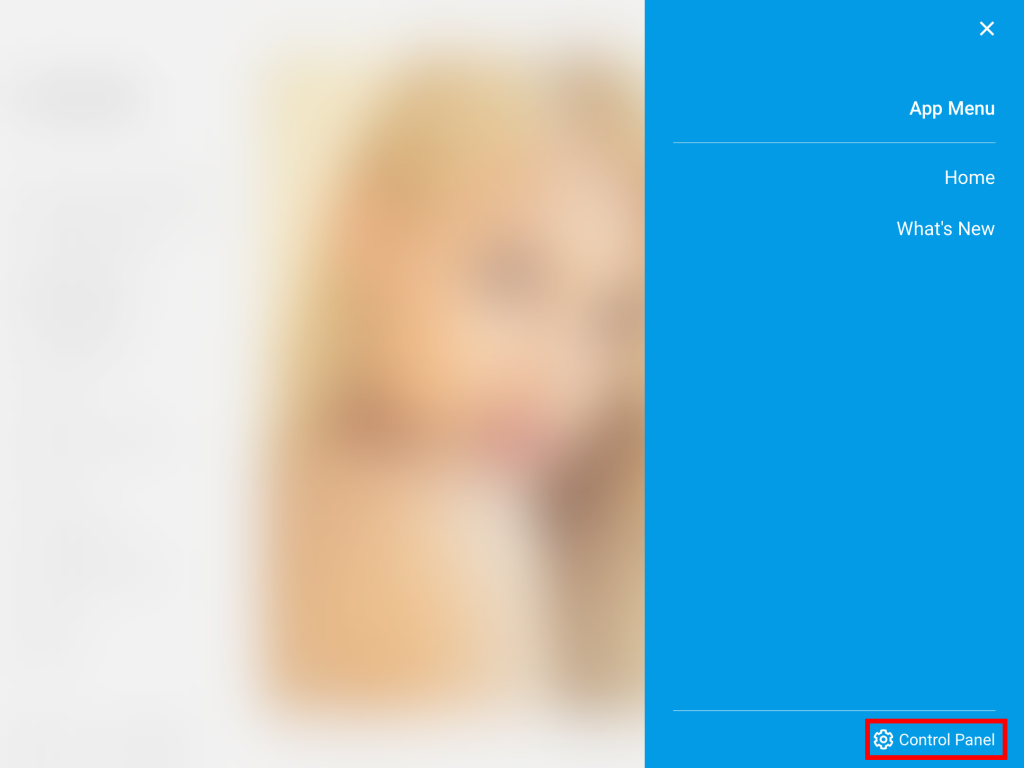
- Select the Menu

- Select “Control Panel”
- Enter your PIN
- Select “+” on your practice under Manage Practices and allow for it to process
- Once processed, tap “Done.” Note that the Done button may be available during the installation process. It may be hit at any time and the app will sync items in the background.
