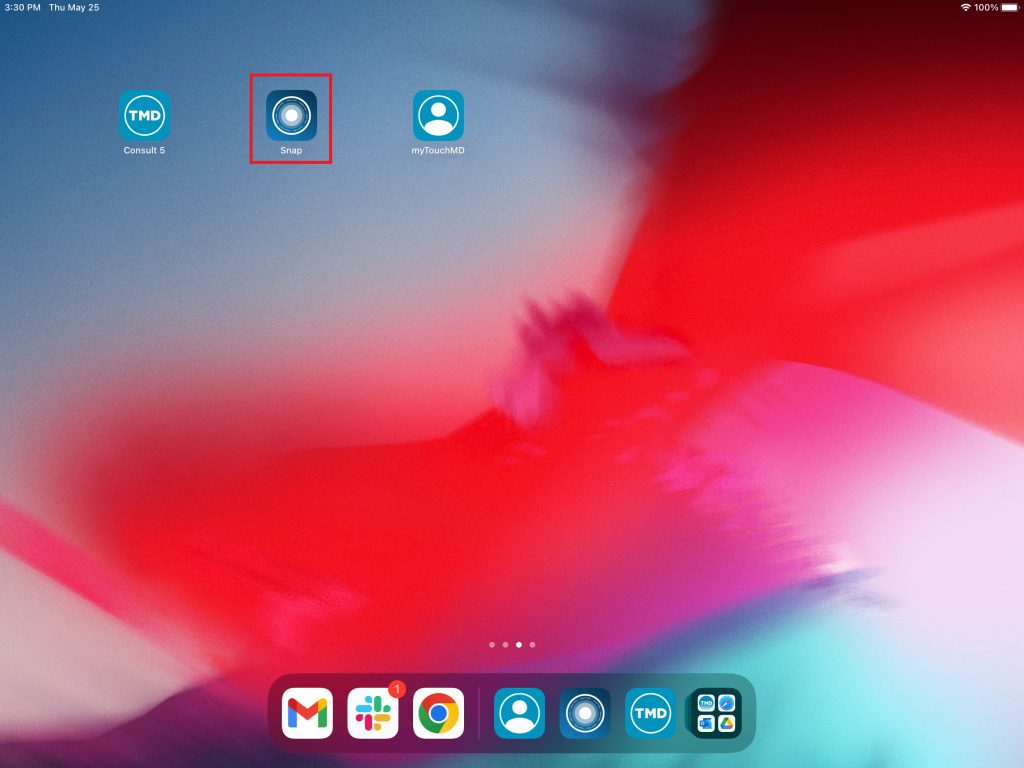
- Open the Snap app
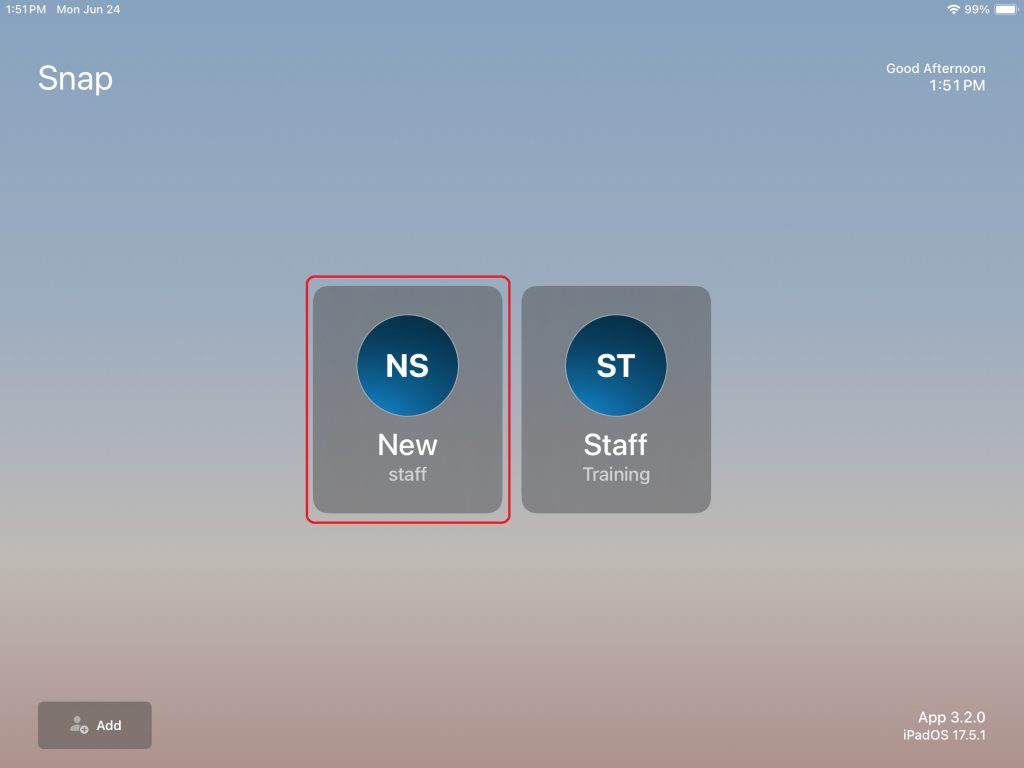
- Select your name from the login list
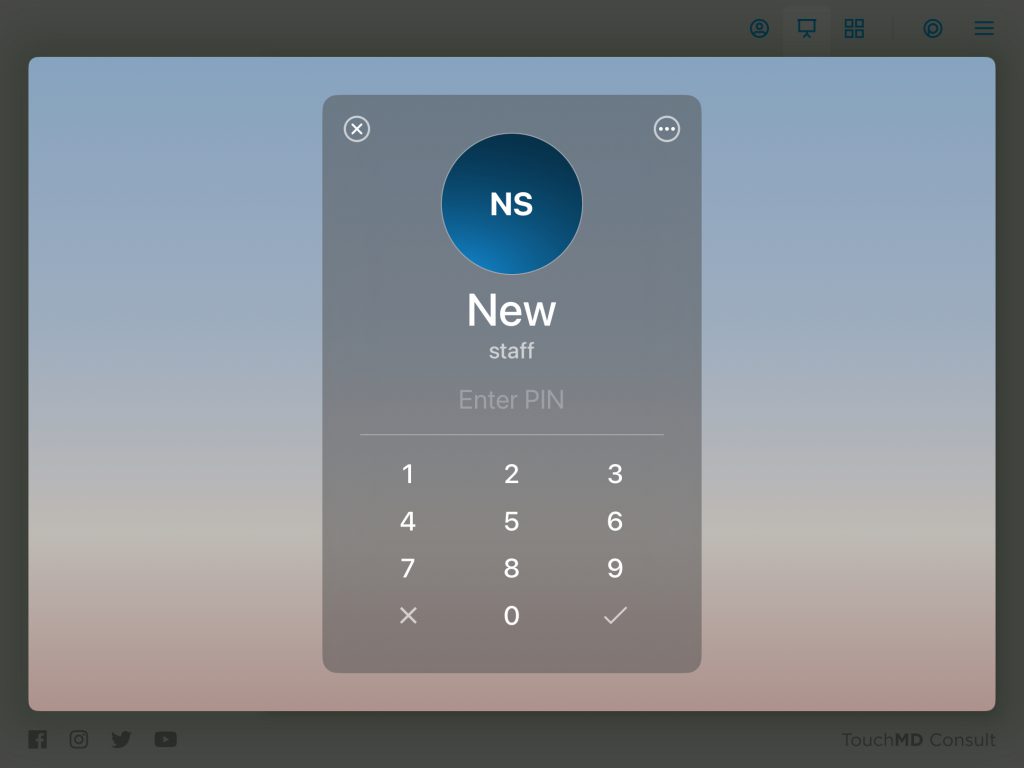
- Enter your PIN
- Search for the desired patient
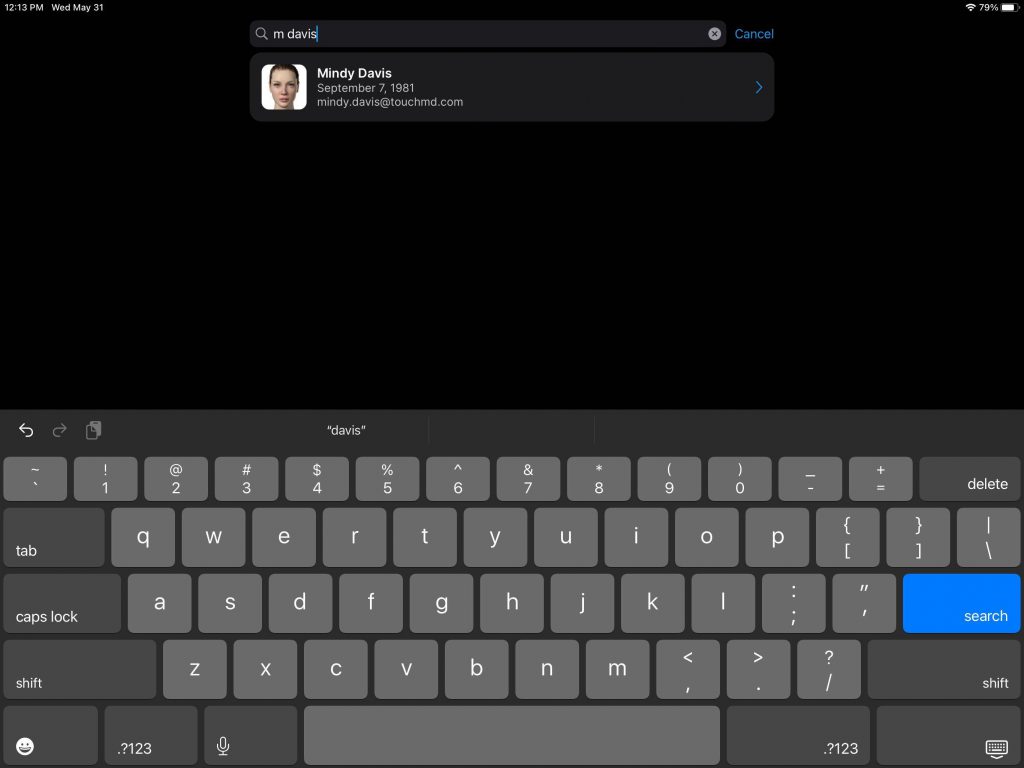
- Select “Session”

- Select “Replace Background”
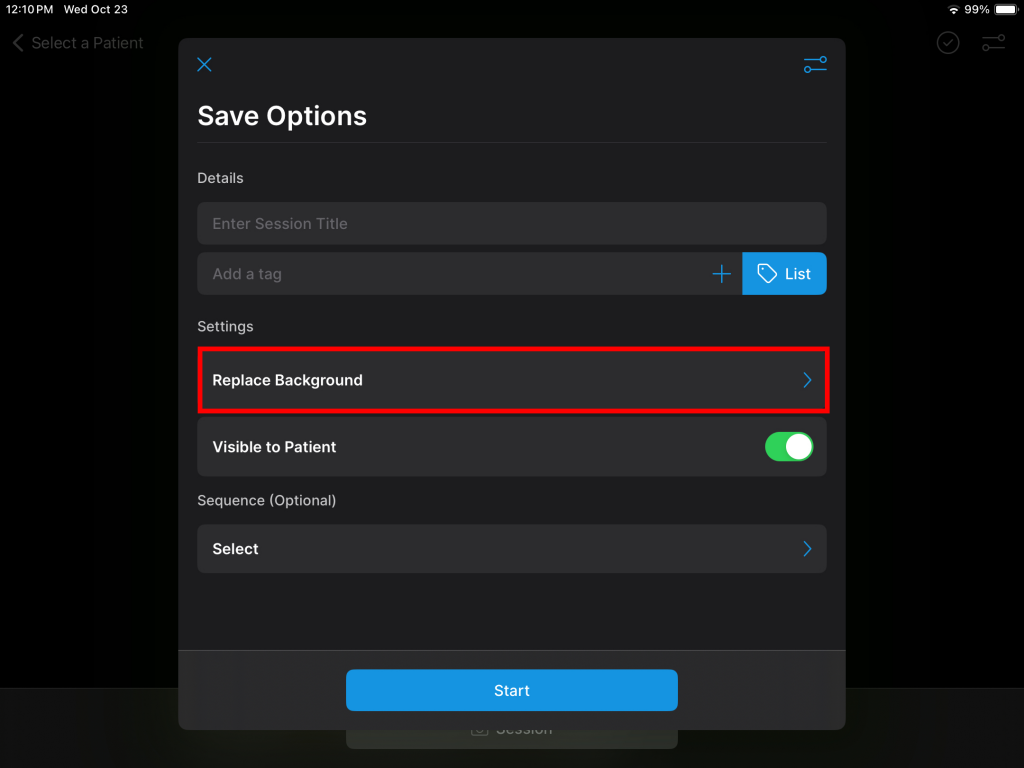
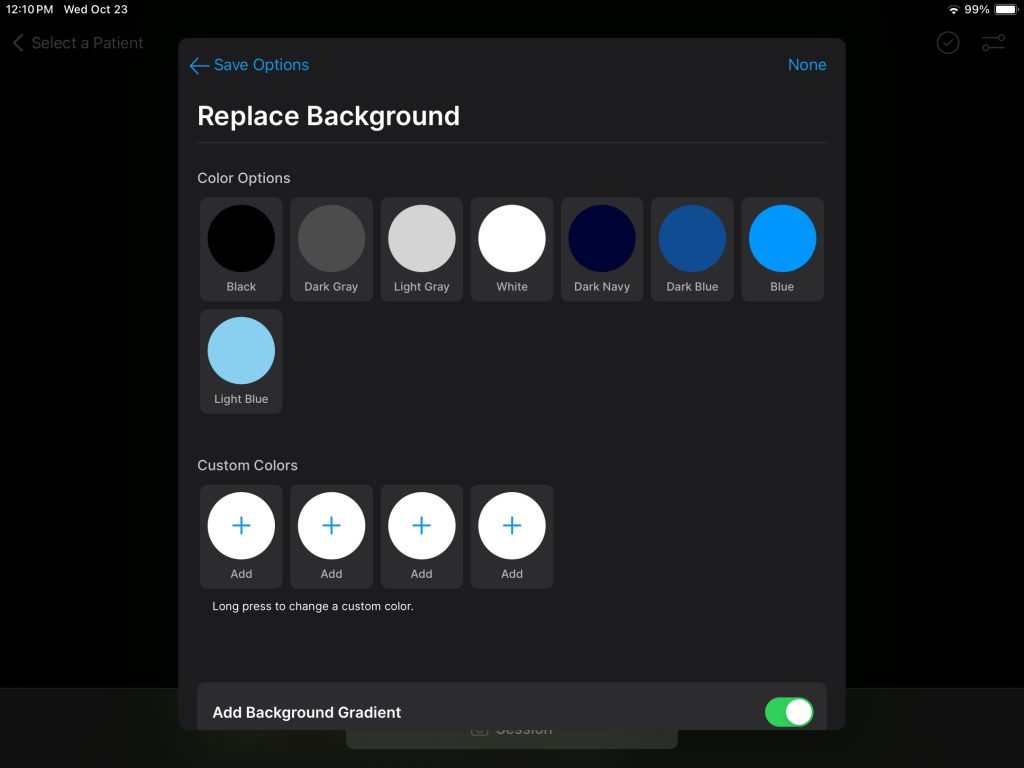
- Choose a background color from “Color Options” or “Custom Colors.” It is recommended that you leave “Add Background Gradient” enabled for the best results. The color selected will save from session to session, but may be changed at any time.
- If desired, determine the other desired Save Options and select “Start”
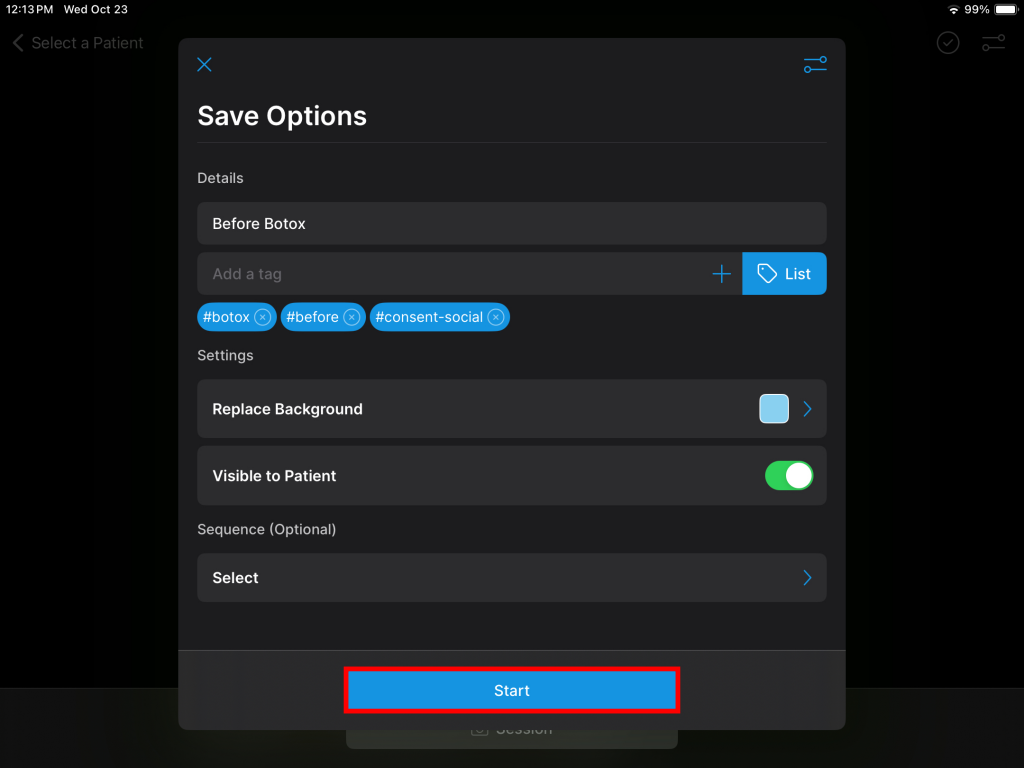
- Take the desired picture
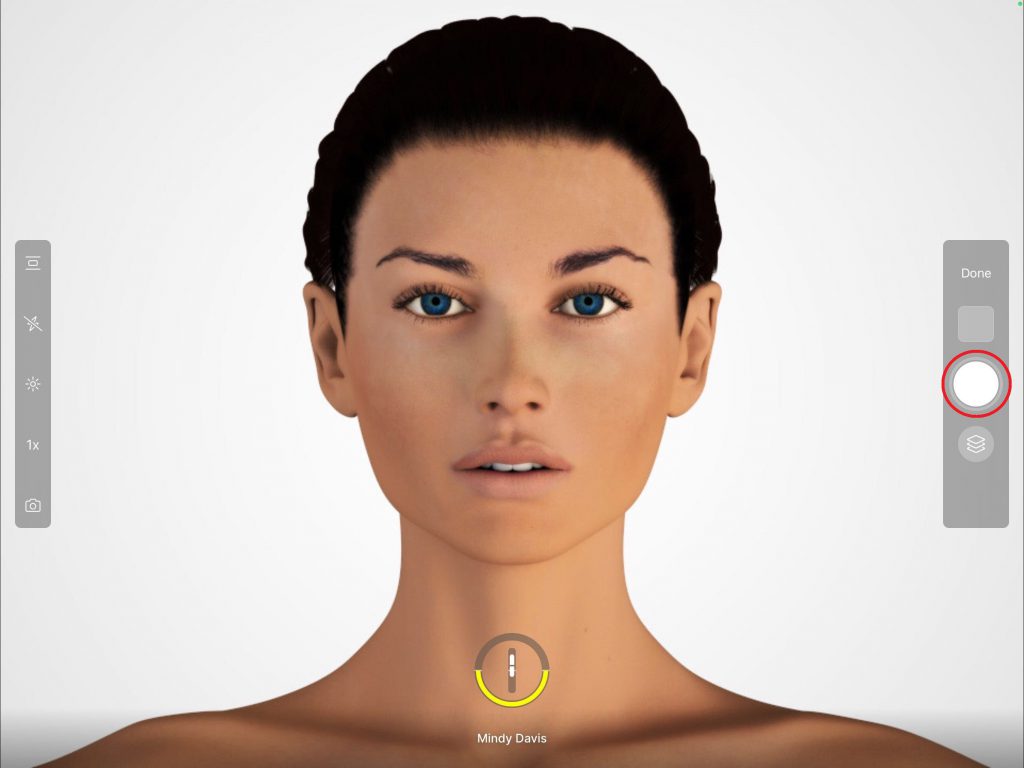
- The background color select will be applied.

*If auto uploads are enabled, the image with the background color will automatically load into the patient’s account.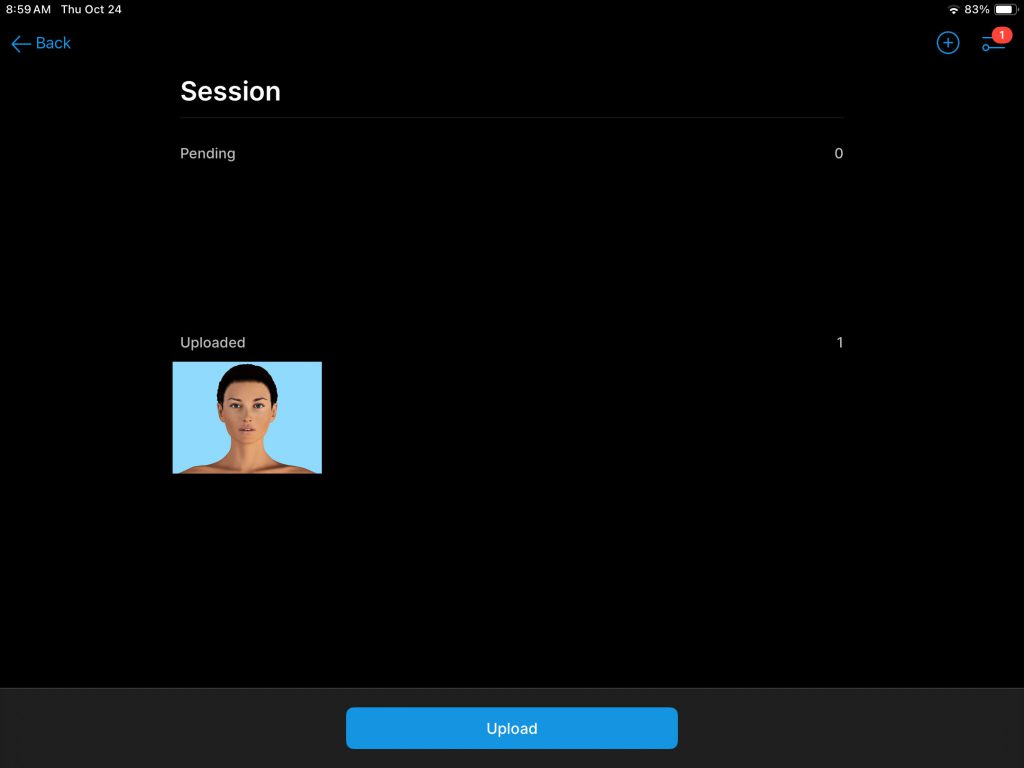
*If the Capture Confirmation Save Option is enabled you will have a preview of the background removal results. To save the image, select the green checkmark button or allow the timer to complete. To delete and retake, select the Red “X.” If desired to review the image longer, tap on the image to stop the autotimer.
*If auto upload is disabled, you will be able to review the image in the File Queue prior to manually uploading the file. Be sure to tap “Upload” once you are done reviewing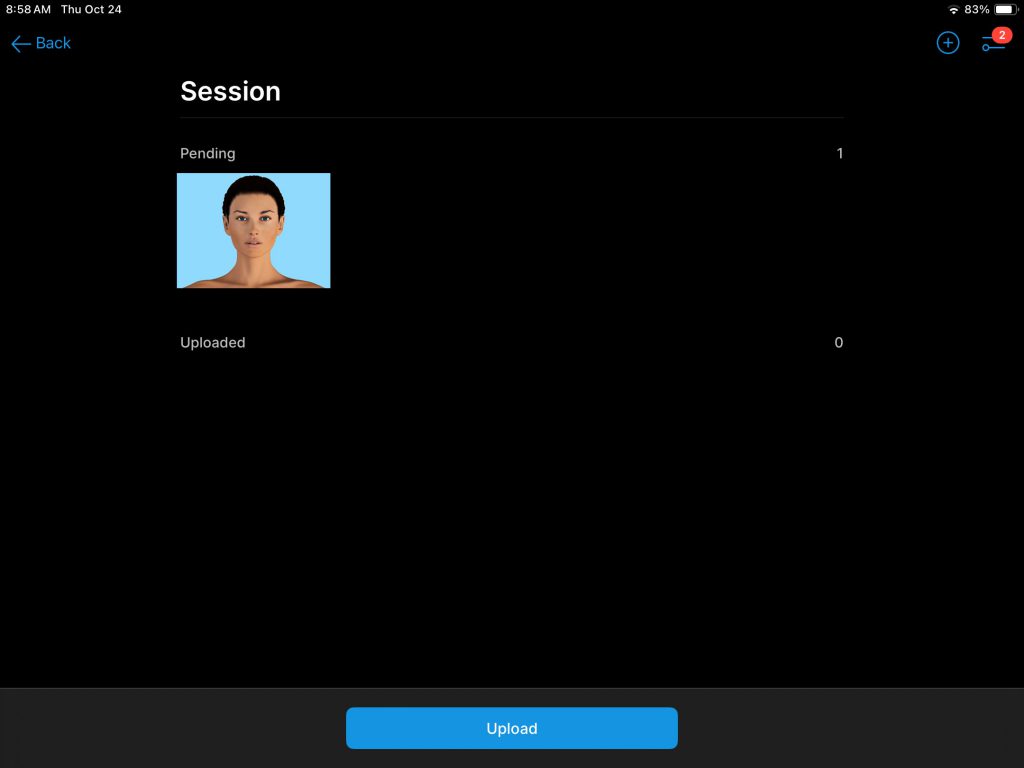

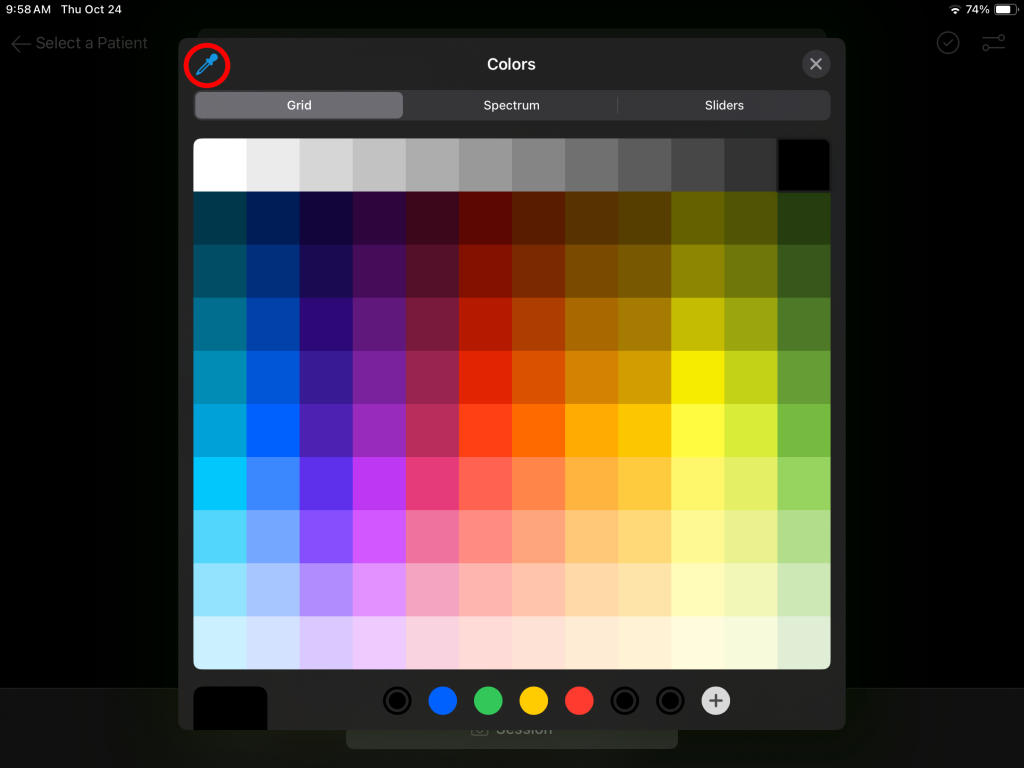
Custom Color Options
Depending on your preference you may select between many options to choose a custom color
Grid: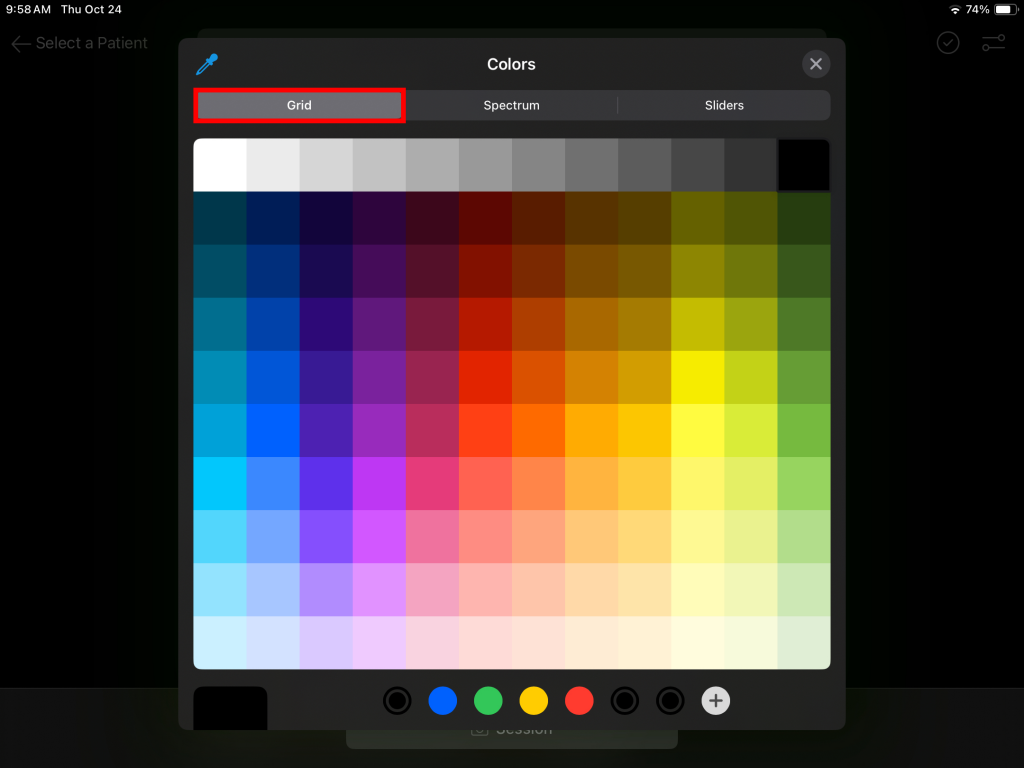
Spectrum: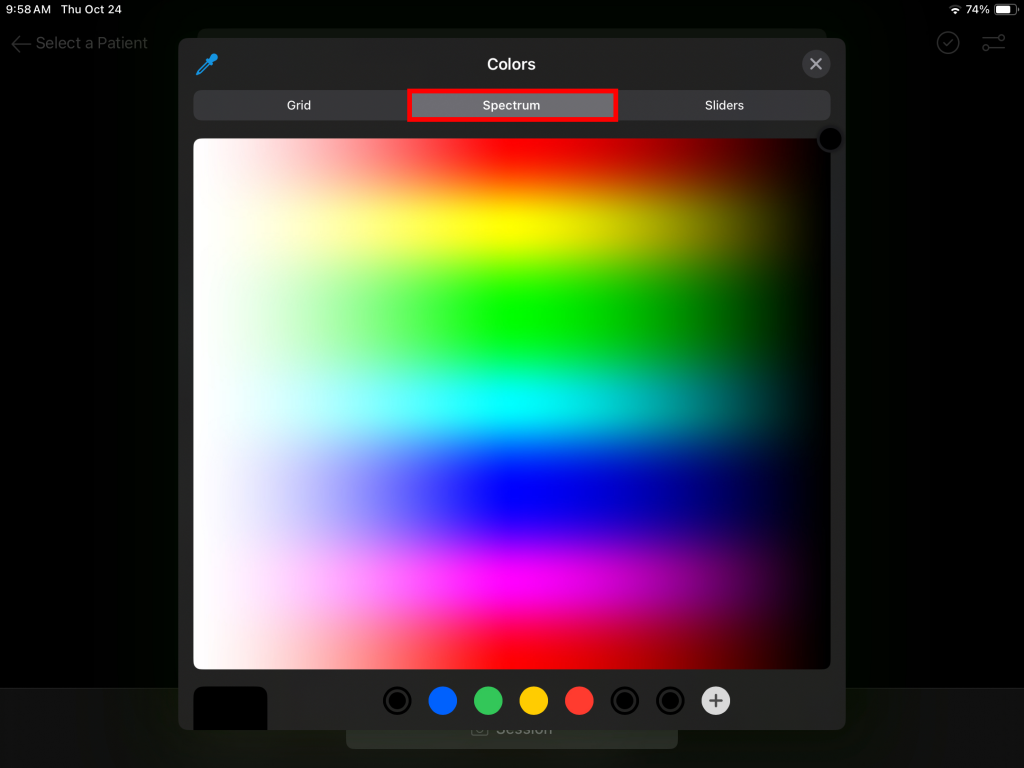
Sliders: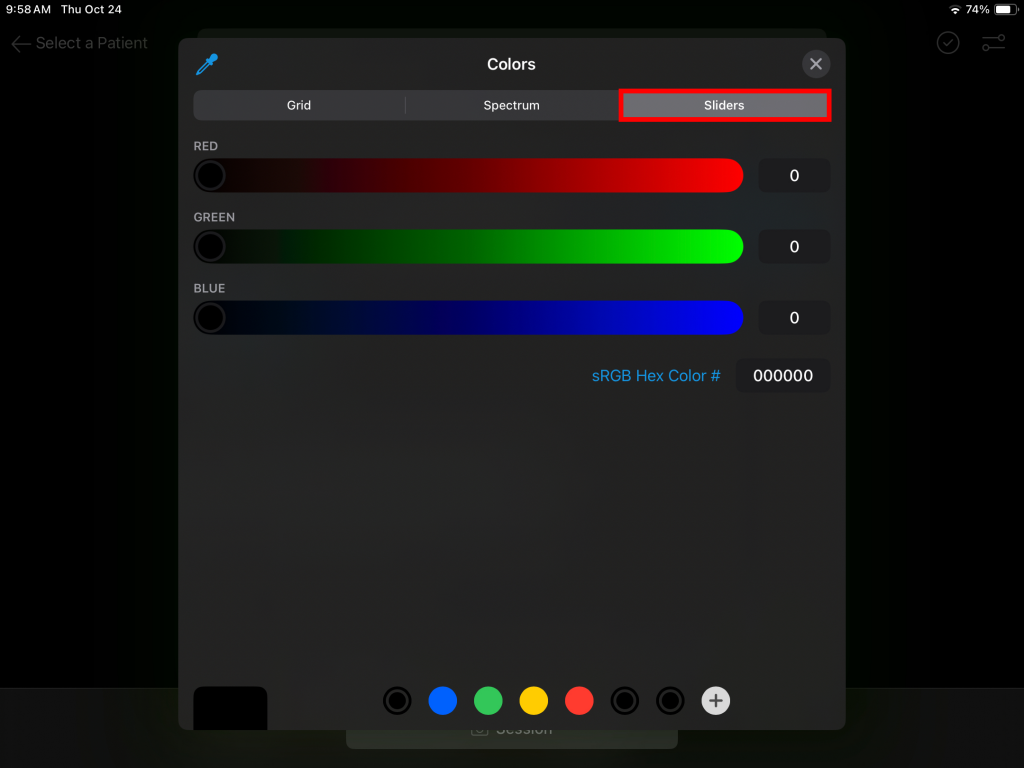
Hex:
Inside the Slider area, you may enter in a sRGB Hex Color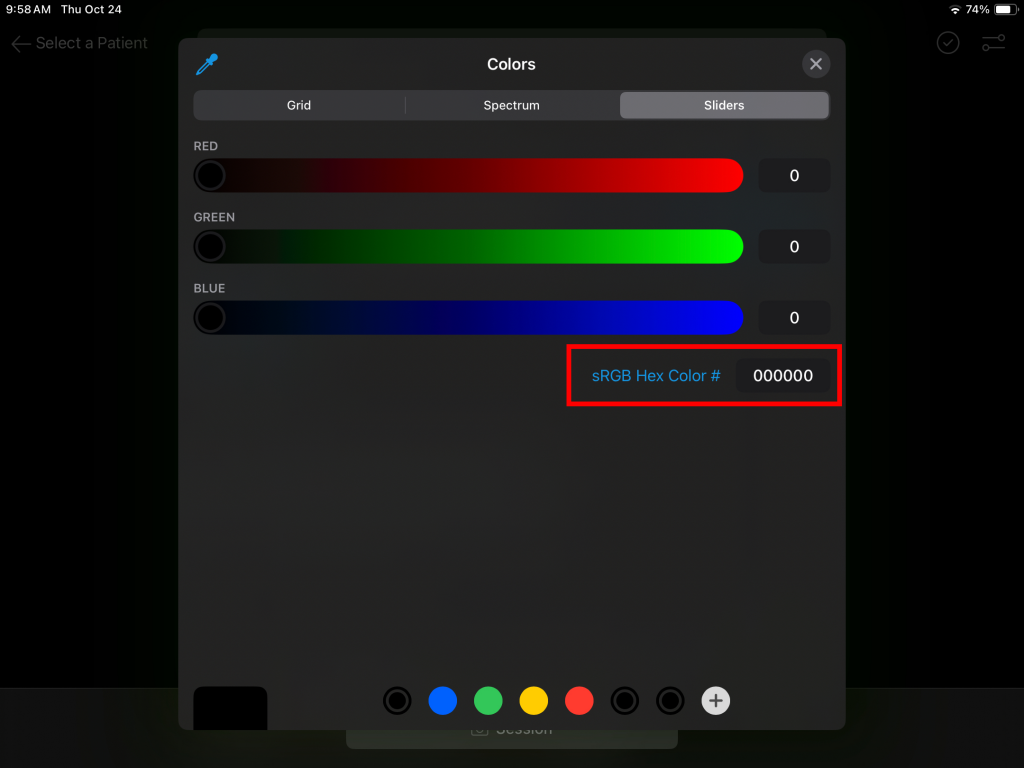
Color Picker:
Choose any color from the image to match