More Consistent Before and Afters of the Face using iPhone or iPad!
Frequent, high quality and consistent patient before and after photos that can be shared with the patient, reveal facial aesthetic treatment progress and results, leading to higher patient satisfaction and increasing recurring treatment compliance and revenue for your practice.
Snap Pro Auto Face Capture enables you to quickly achieve high quality photos while still leveraging the convenience and efficiency of using the iPhone or iPad in the treatment room.
Let Snap Pro’s latest technology automatically capture consistent front, side and oblique face photos that will showcase true results and value of your treatment plan that you will be proud to share with your patient with myTouchMD portal.
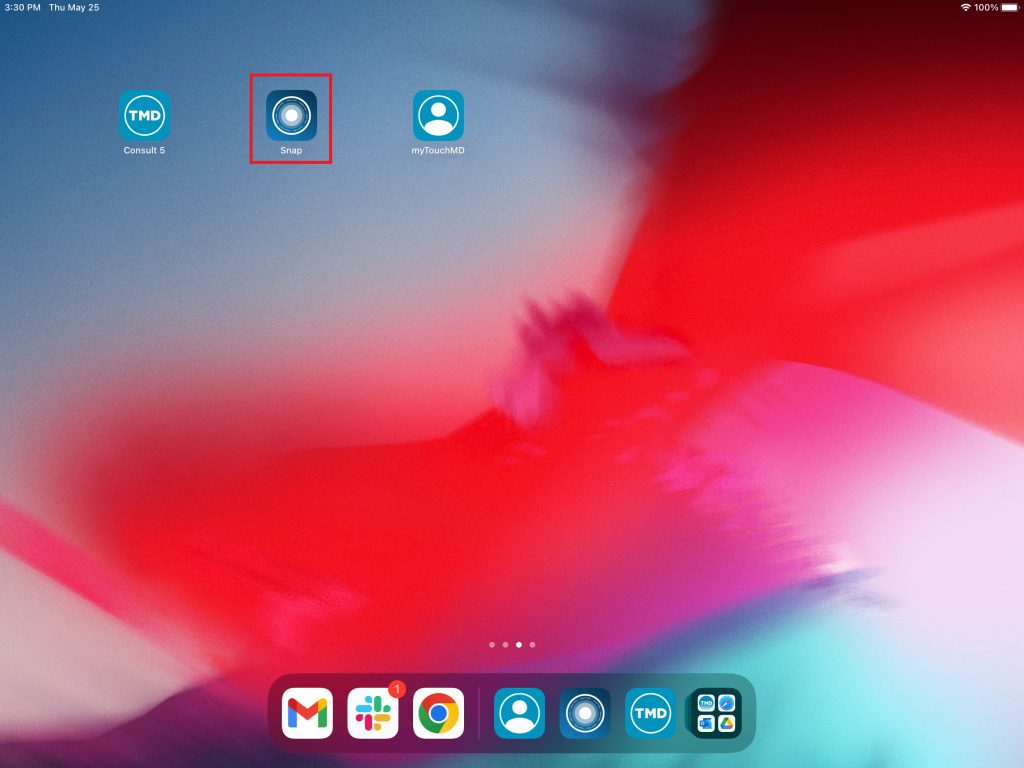
- Open the Snap app
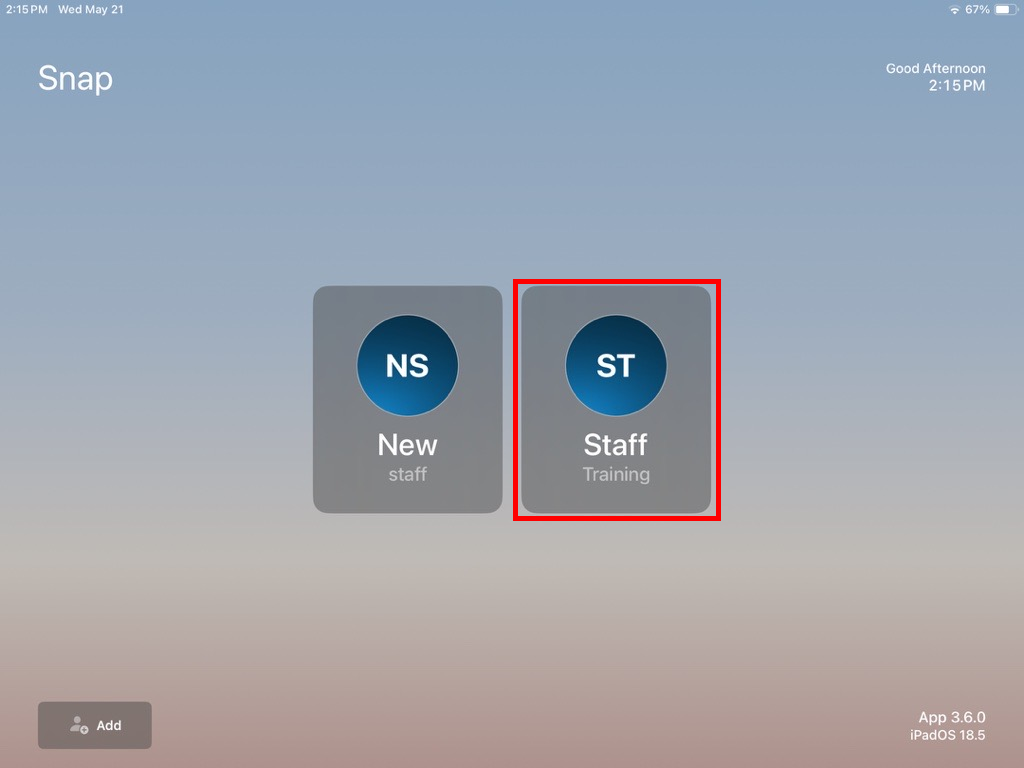
- Select your name from the login list
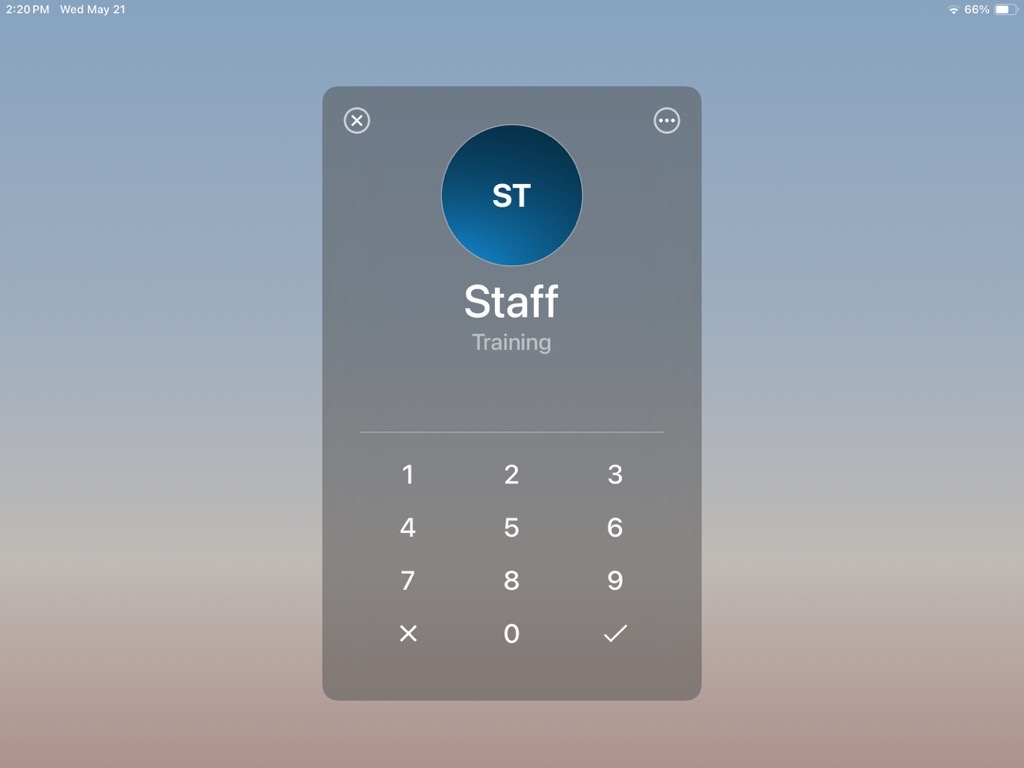
- Enter your PIN
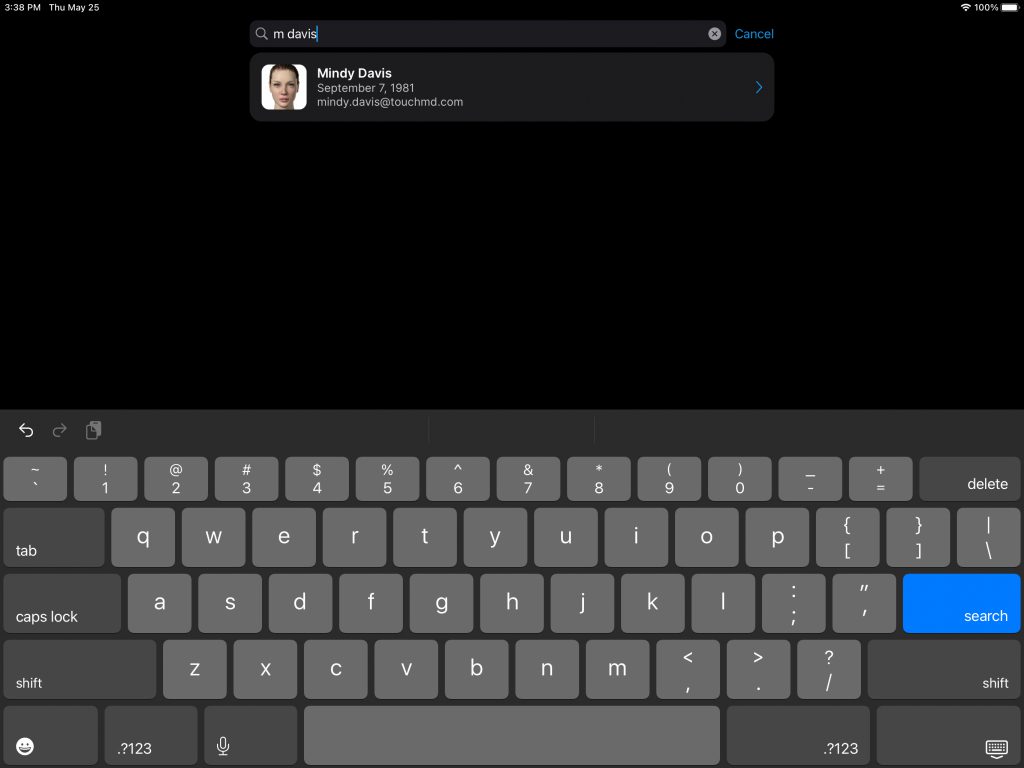
- Search for the desired patient
- Select “Session”

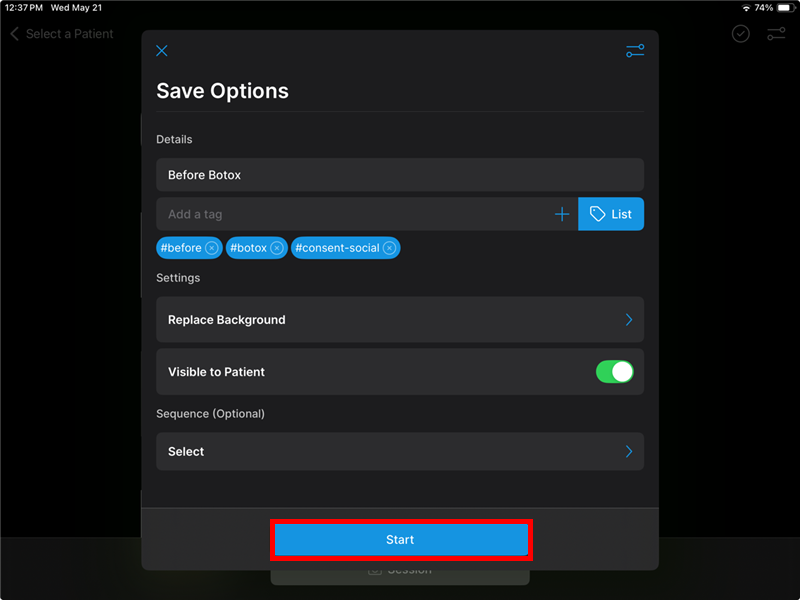
- Review the Save Options and select “Start”
- Select the Camera icon to access the Capture Mode menu and select “Auto Face Capture”

- As soon as one of the face angles comes into view (a face MUST be detected), align the patient’s face with the automatic gridlines and guide, moving the device slightly to align the solid circles with the open circles, noting the prompts to move forward or back as needed.

Once aligned, Snap will automatically take the photo. No need to click the shutter button.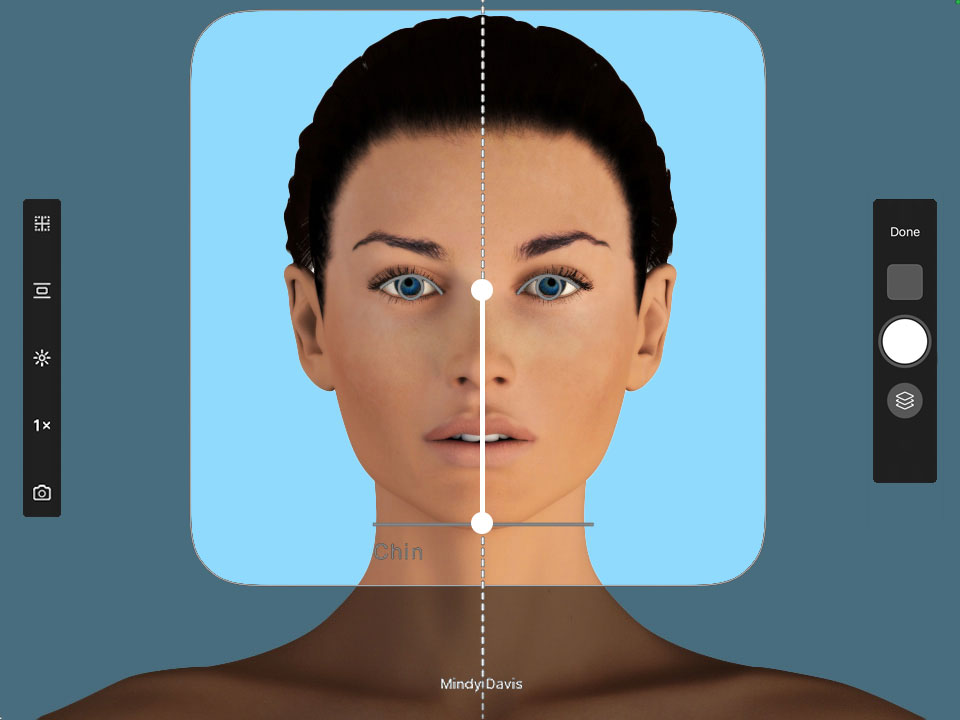
- A Capture Confirmation screen will automatically display. To save the image, select the green checkmark button. To delete and retake, select the Red “X”

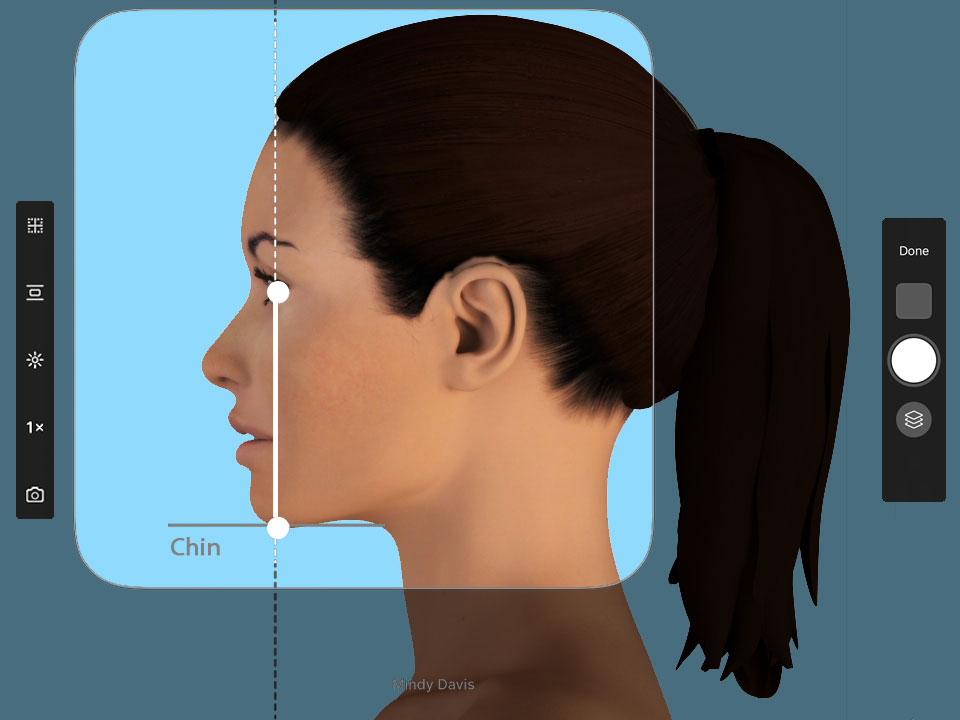
Capturing Multiple Angles
Need to capture a side profile or oblique view? Snap Pro’s Auto Face Capture makes it easy! As soon as one of these angles is detected, automatic gridlines and guides appear on the screen. Simply move the device to align the solid circles with the open ones, following the on-screen prompts to adjust forward or back as needed. It’s precise guidance—made simple.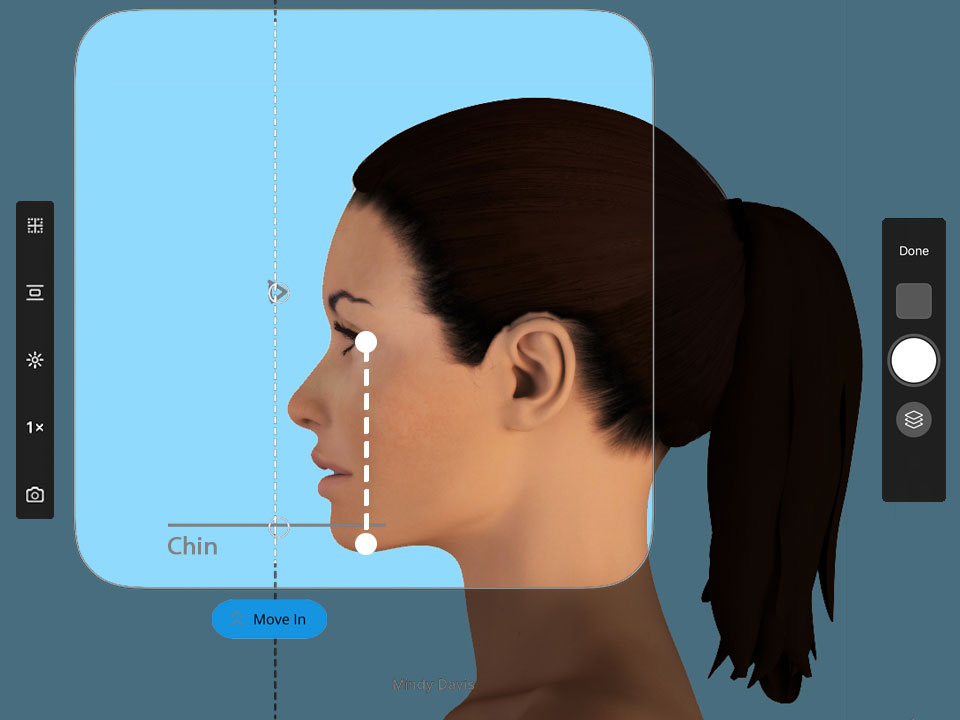
Showing Off Your Work
Now that you’ve captured your photos, it’s time to showcase them! Use the Image Comparison Slider in the Consult App’s Image Tray to display them in one of our popular advanced templates. Thanks to Snap Pro’s Auto Face Capture technology, which consistently captures front, side, and oblique views, aligning photos is effortless. No more spending valuable time manually zooming and adjusting—Snap Pro does the work for you!

Pro Tips
Avoiding Fish Eye Distortion:
If you are experiencing fish-eye/ perspective (magnification) distortion with photos taken with the iPhone or iPad, you are physically too close to the patient. If you are standing less than 4 feet away from the patient you will likely notice that the nose looks bigger than reality and the ears become less visible or completely hidden. This leads to a distorted look that does not represent reality.
Depending on the model of iPhone or iPad you using, your options for avoiding this distortion while maintaining the highest quality (clarity) photo will vary:
Best iOS devices for optimal photos
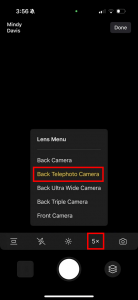
- iPhone 16 Pro and iPhone 15 & 16 Pro Max – Stand 5 Ft from the patient using the Back Telephoto Camera 5x Optical Zoom
Less optimal devices:
- iPhone 13 & 14 Pro and 13 & 14 Pro Max – Stand 3 ft from the patient using the Back Telephoto Camera 3x Optical Zoom
Devices not recommended for high quality face photos – due to the single lens, you must use digital zoom which will be lower quality photo. (your zoom number will show in red)
- iPads, All non-Pro or Pro Max models, iPhone 12 and older – Stand 3 ft from the patient, pinch to zoom to 3x. Alternatively, if you stand 2 ft from the patient you will have slightly better clarity, but more fish-eye distortion.
To ensure consistency between devices and photographers, it is key to pick devices across your practice that can support the highest quality at the same distance from the patient, ideally 5 ft and 5x optical zoom.
Check out this article for more in depth information.
If you have an external camera (Canon) connect to your iPad, can you still use the auto face capture feature using your connected camera?
In an upcoming release, Canon© Connect will feature Auto Face Capture. However, the exact release date for this feature is yet to be determined.
is there an additional monthly cost for this feature?
Auto Face Capture is included with Snap Pro. If you do not have Snap Pro, it may be purchased. To learn how you may enable Snap Pro that includes Auto Face Capture, please contact Support or your Client Success Manager.