Learn how to upload photos taken during a photo session in the TouchMD Snap application.
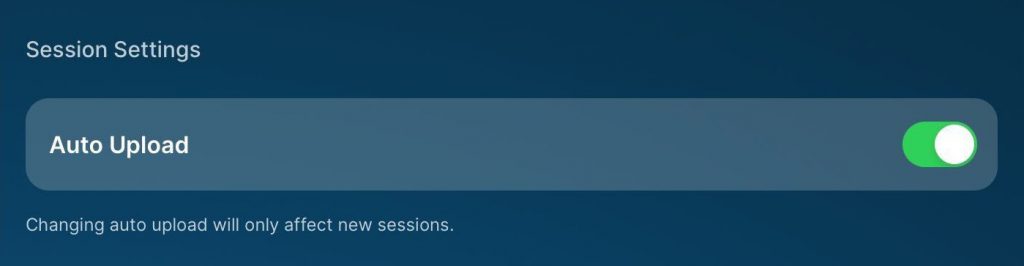
Option 1 – automatic uploads:
If the Save Options are set to “Auto Upload” the photos taken during the session will automatically uploaded into the patient’s TouchMD file. NO FURTHER ACTION REQUIRED. This option is recommended for users who would like files to automatically upload. Files may be managed (deleted) at a later time via the TouchMD Consult app or TouchMD Dashboard.
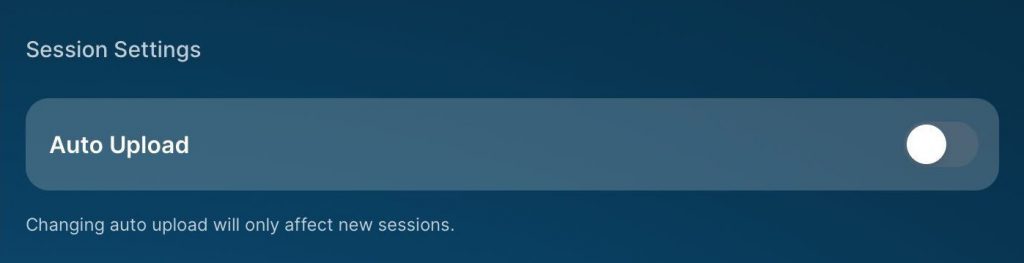
Option 2 – manual uploads:
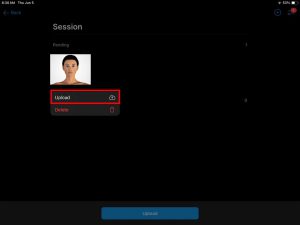
If the Save Options are NOT set to “Auto Upload” the photos/videos taken during the session will NOT automatically uploaded into the patient’s TouchMD account. The user will need to review the files taken during a session and manually upload them into the patient’s TouchMD account. This option is recommended for users who would like to review files before they are uploaded into a patient’s account. Use the instructions below to manually upload files:
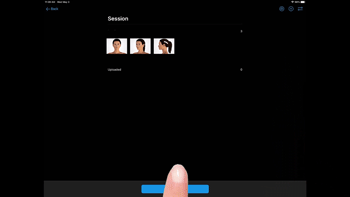
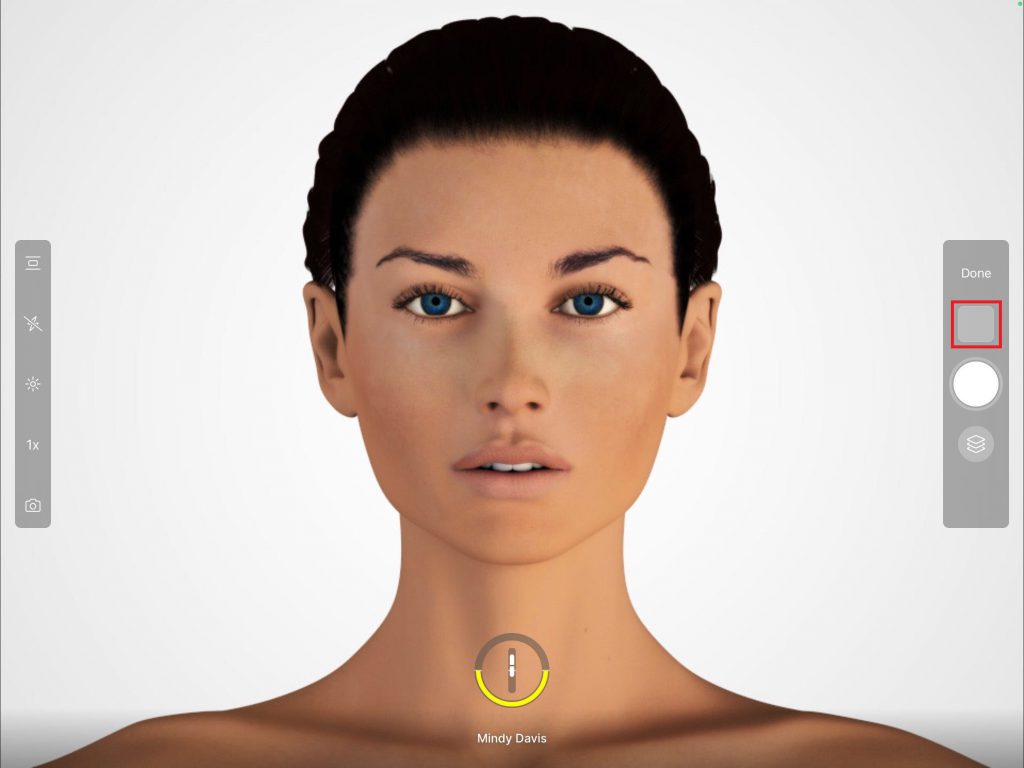
- Select the File Queue after all the photos have been taken
- Select “Upload”
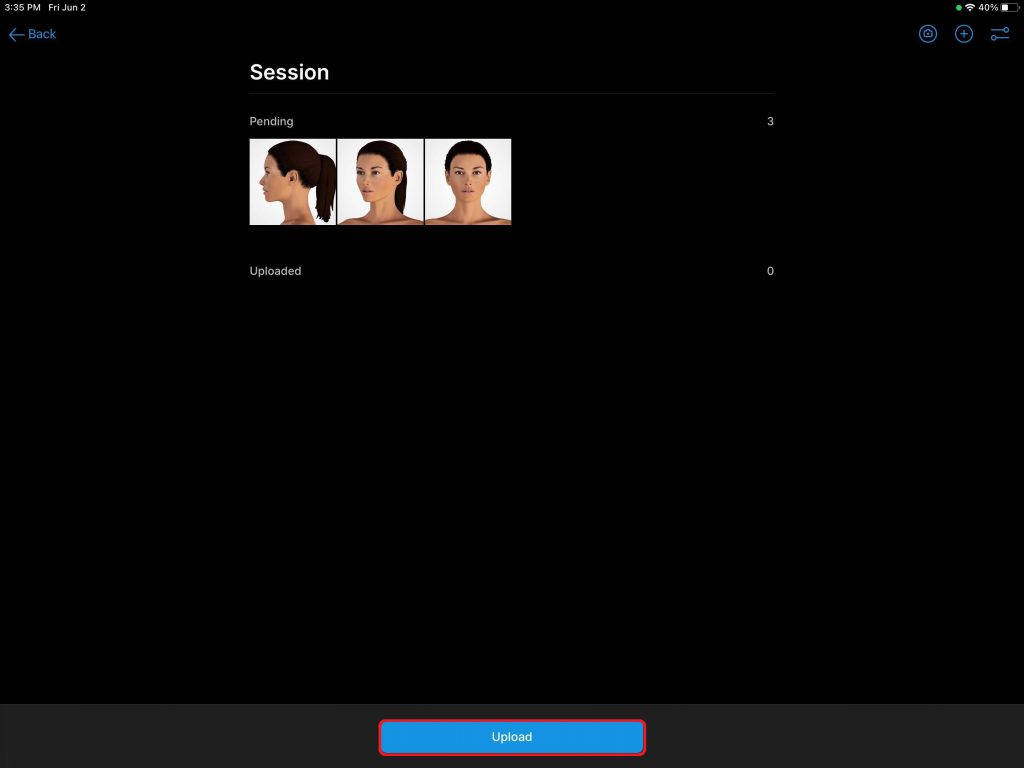
- Ensure that all of the photos have moved to uploaded