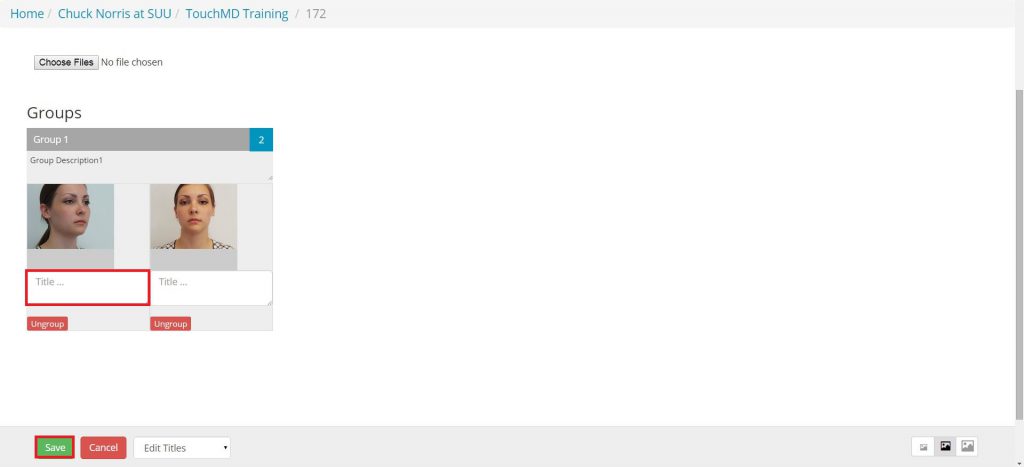
Learn how to use and create a Grouped Gallery Section Layout.
Grouped Gallery Information:
Use:
To display a collection of paired image sets such as before and after case studies. Ideally suited for gallery collections a lot of case studies that you want to keep in one section of the sheet.
Creating a NEW Grouped Gallery steps:
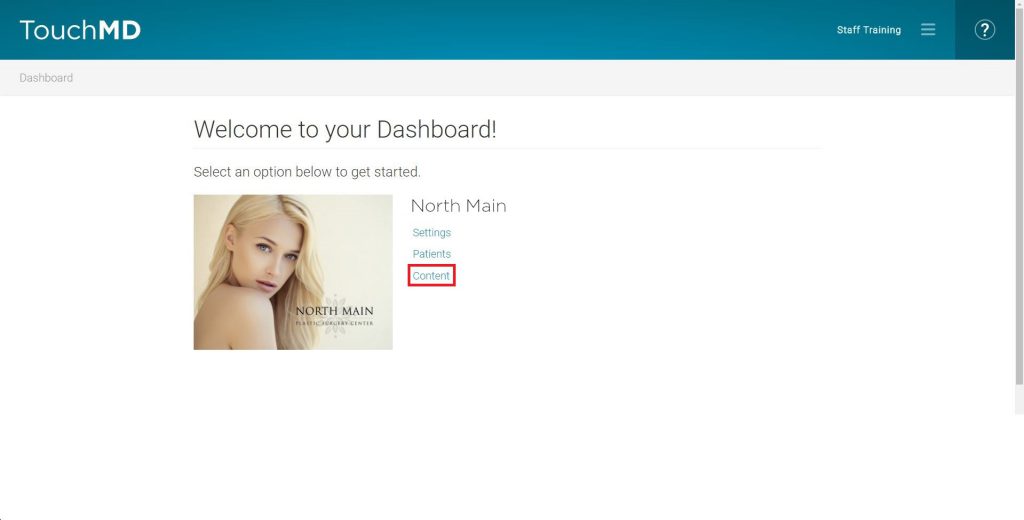
- Log onto dashboard.touchmd.com and select “Content”
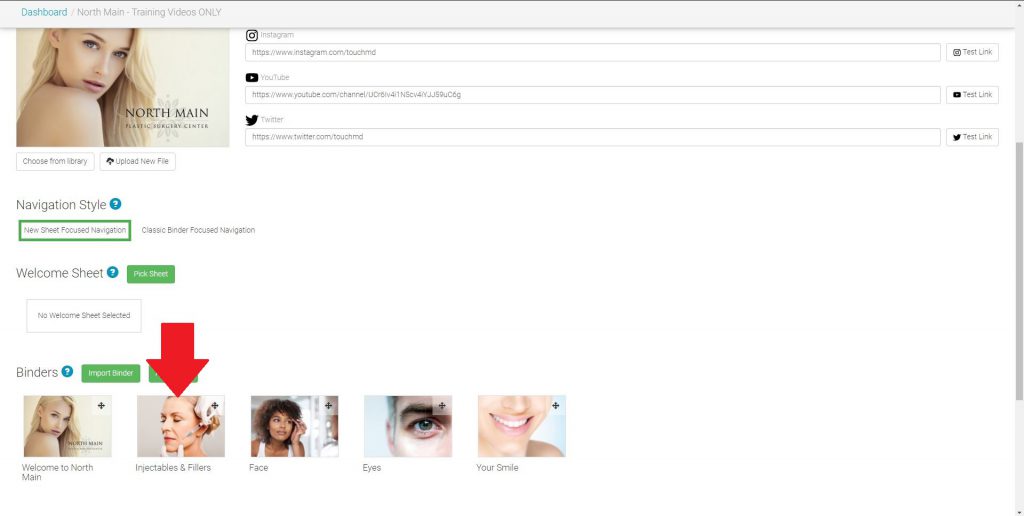
- Select the desired Binder i.e., “Injectables and Fillers”
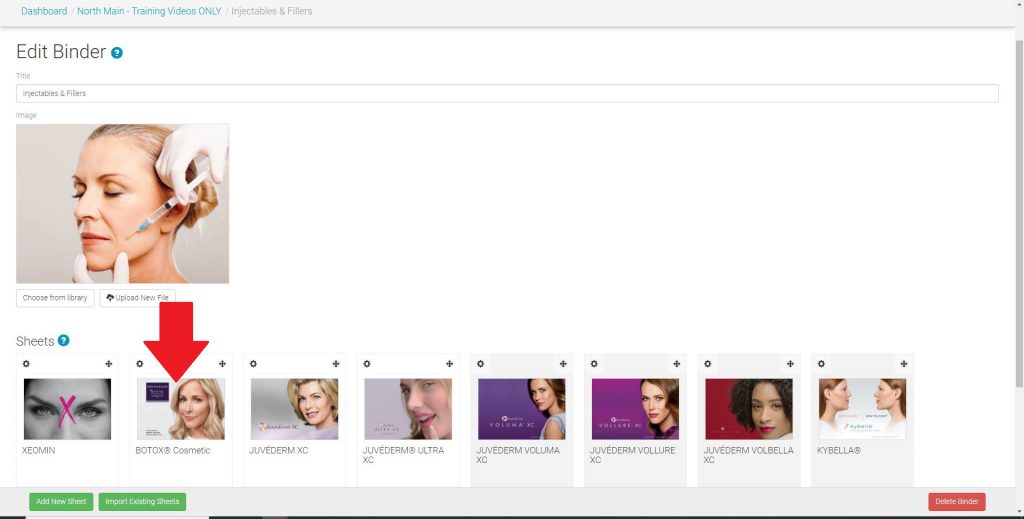
- Select the desired Sheet i.e., “Botox Cosmetic”
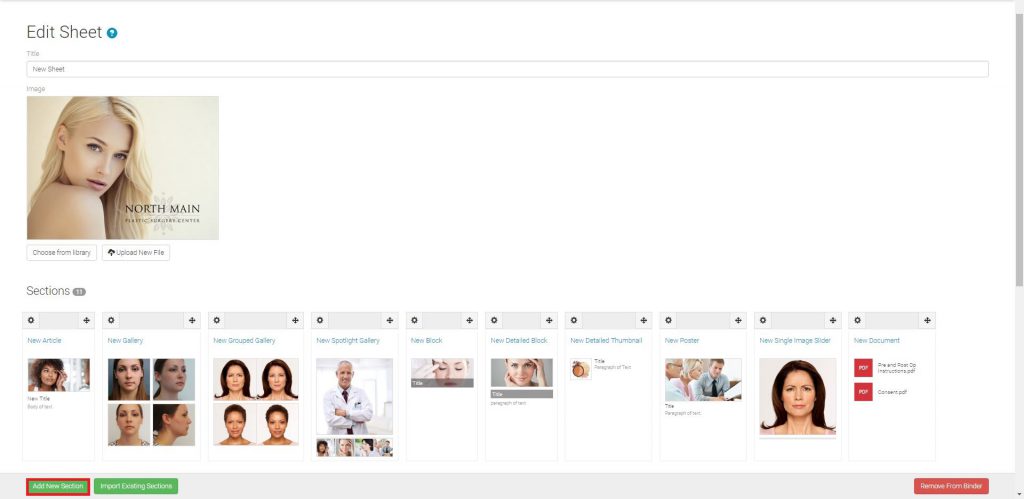
- Select “Add New Section”
- Select “Grouped Gallery”
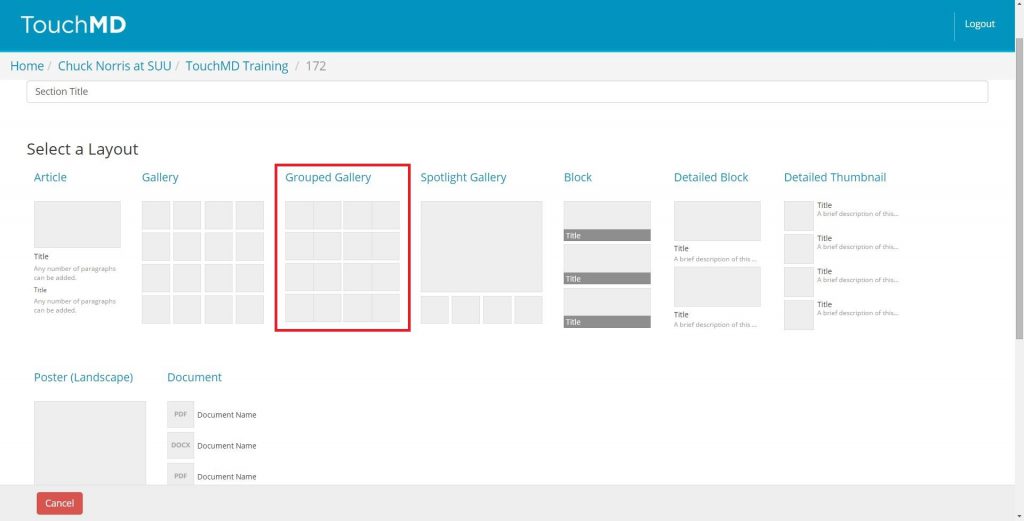
- Enter a Section title, select “Upload New File”

- Browse your computer for the desired images and select “Open”

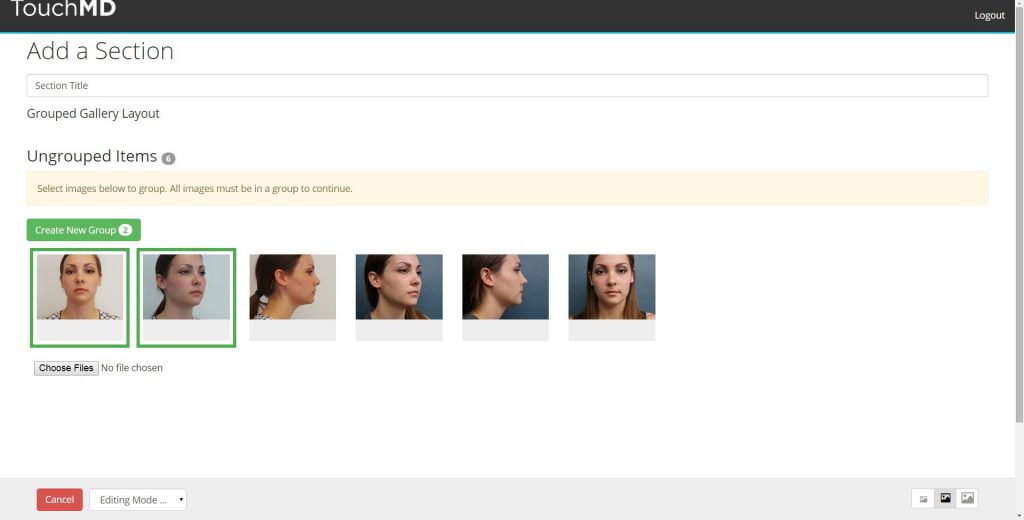
- Group images as desired and select “Create New Group” for each group

- Add image titles and/or descriptions as desired (optional) and press “Save”

Adding to a Previously Created Grouped Gallery steps:
- Log onto dashboard.touchmd.com and select “Content”

- Select the desired Binder i.e., “Injectables and Fillers”

- Select the desired Sheet i.e., “Botox Cosmetic”

- Select the previously created Grouped Gallery under Sections

- Select “Upload New File”
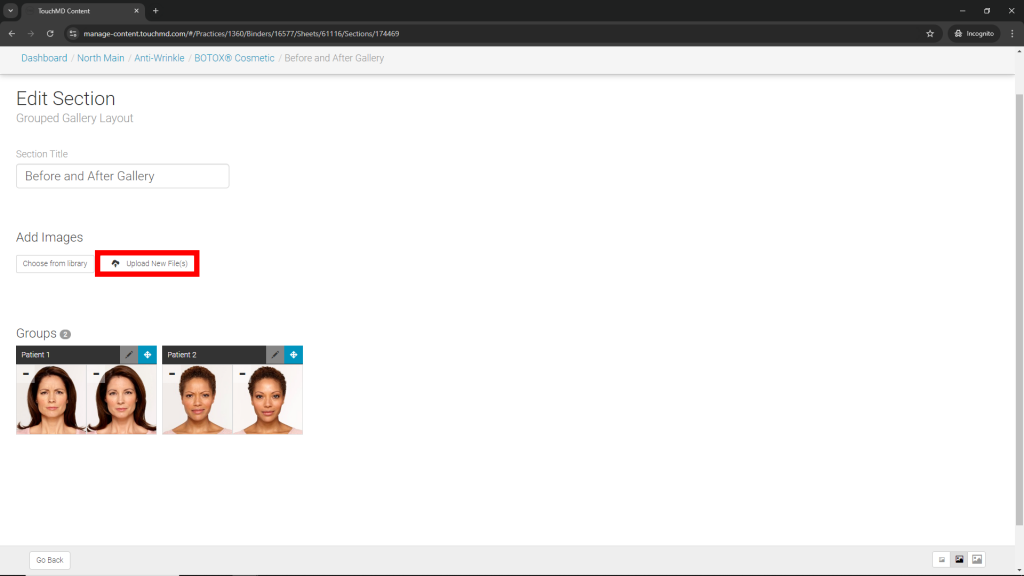
- Browse your computer for the desired images and select “Open”

- Group images as desired and select “Create New Group” for each group

- Add image titles and/or descriptions as desired (optional) and press “Save”

Adding Images From a Patient Account into a Grouped Gallery
- Go to dashboard.touchmd.com
- Select “Patients”
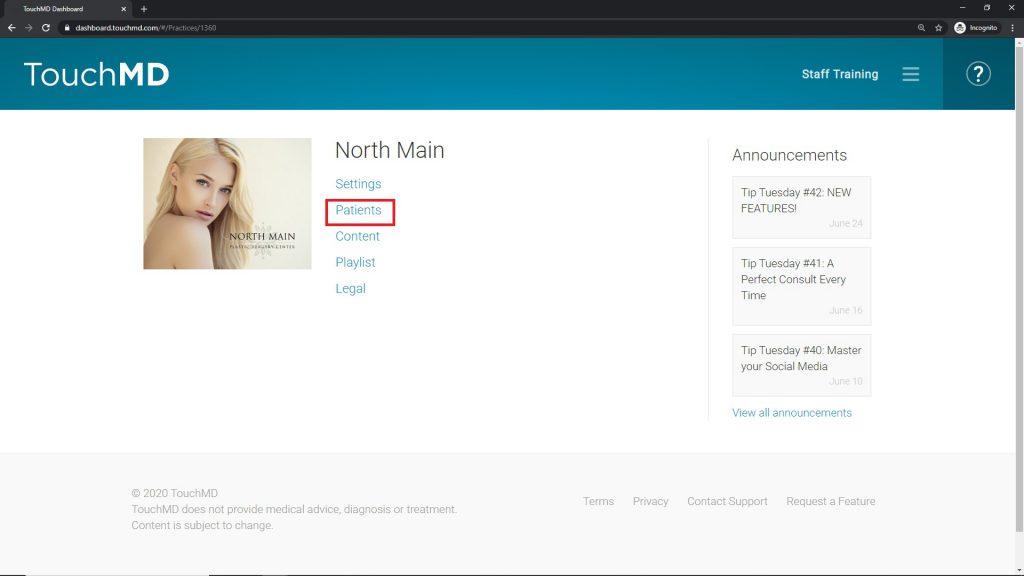
- Search for the desired patient
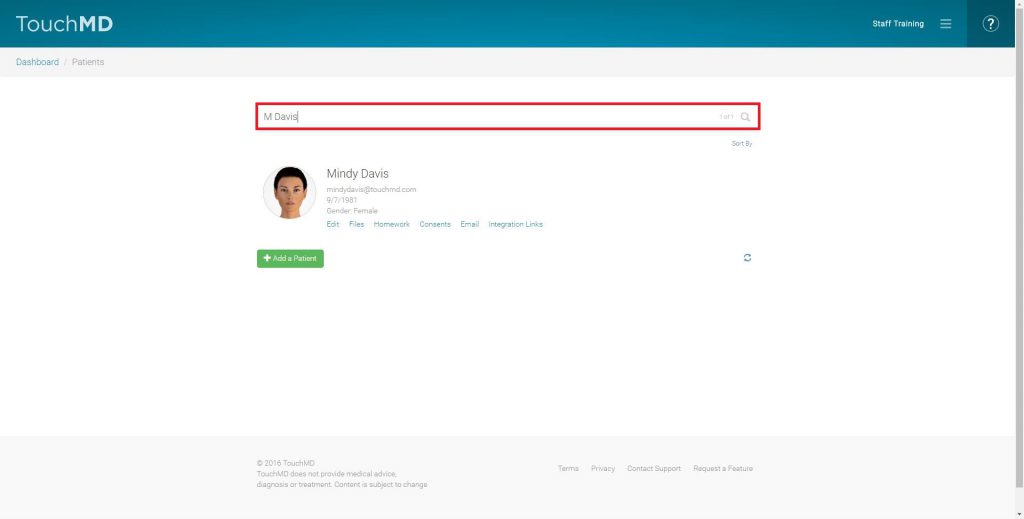
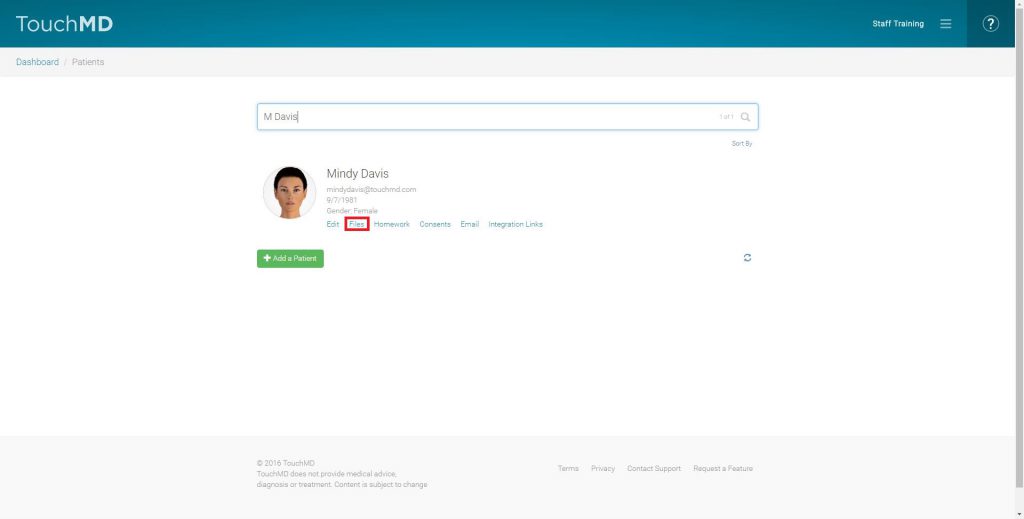
- Select “Files”
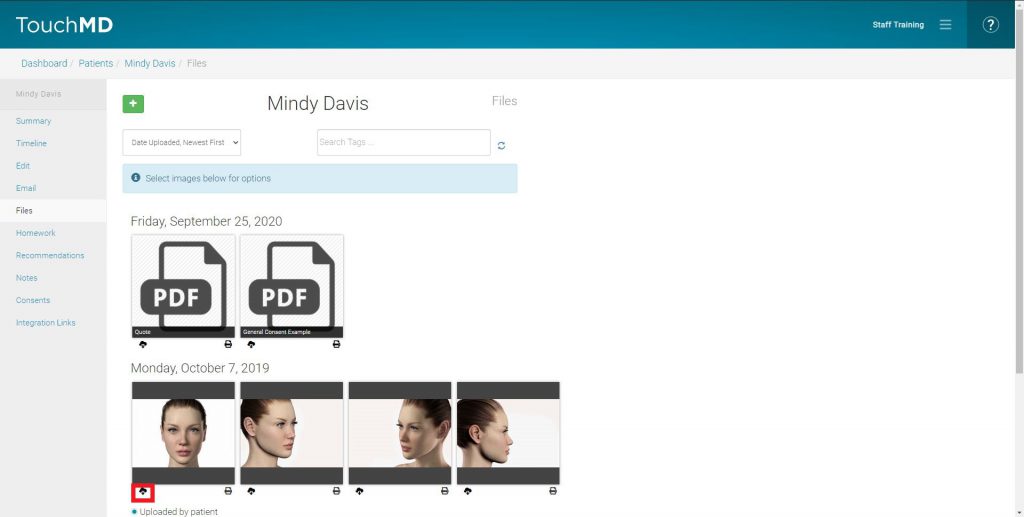
- Select the download icon below each desired image. The image will automatically begin to download and be located in your designated download folder
- Go to the TouchMD Dashboard homepage and select “Content”

- Select the desired Binder

- Select the desired Sheet

- Select “Add New Section”
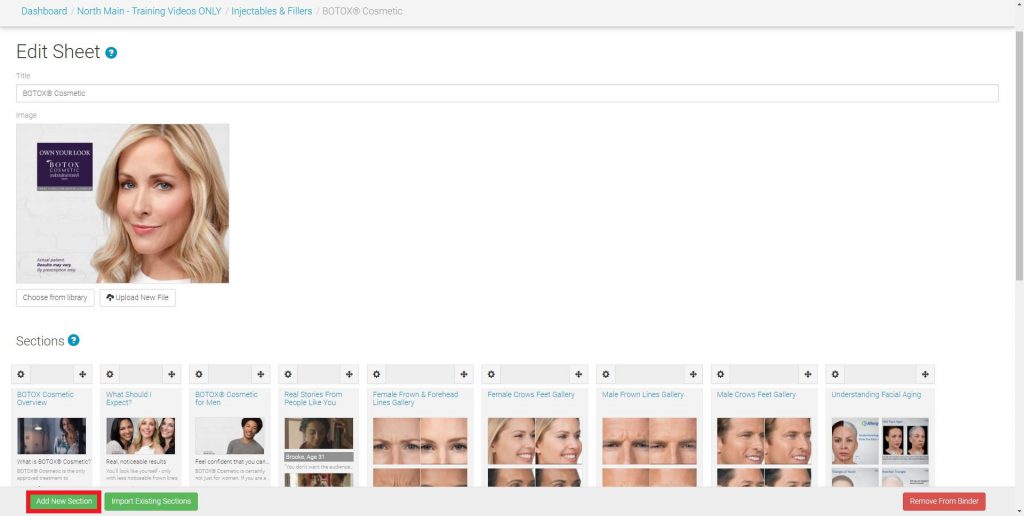
- Select “Grouped Gallery”

- Enter a Section title, select “Upload New File”
- Browse your computer for the desired images and select “Open”
- Group images as desired and select “Create New Group” for each group
- Add image titles and/or descriptions as desired (optional) and press “Save”
