Learn how to upload photos from an iPad/iPhone Photo Roll via the Snap Pro app
-
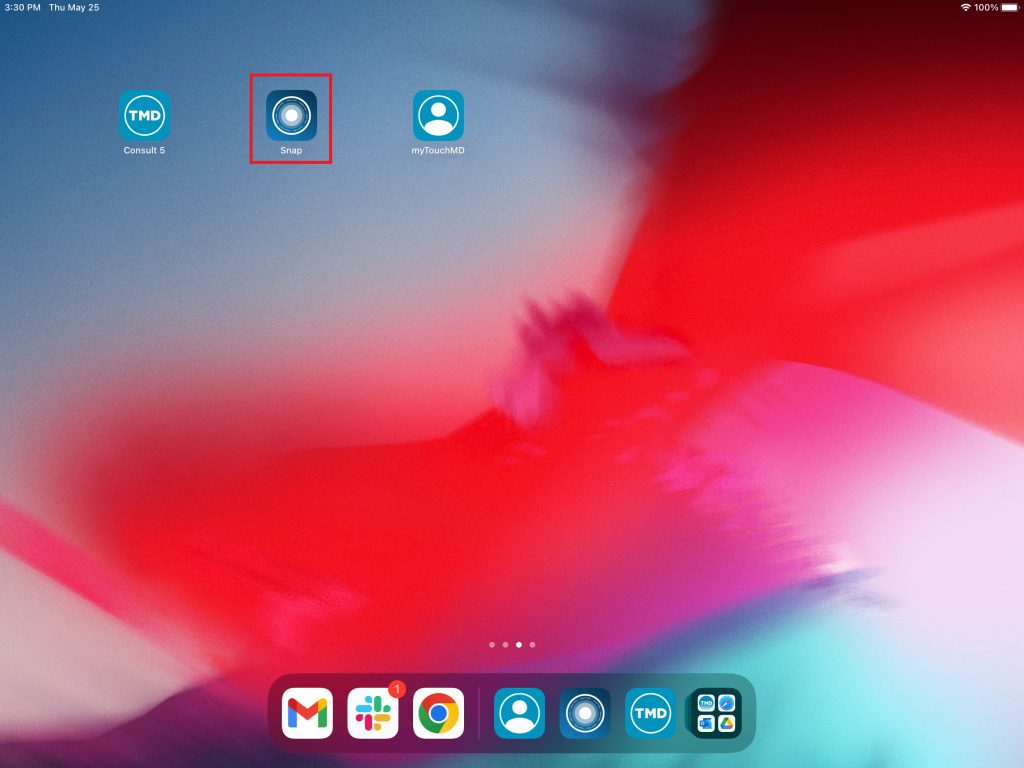
- Open the Snap app
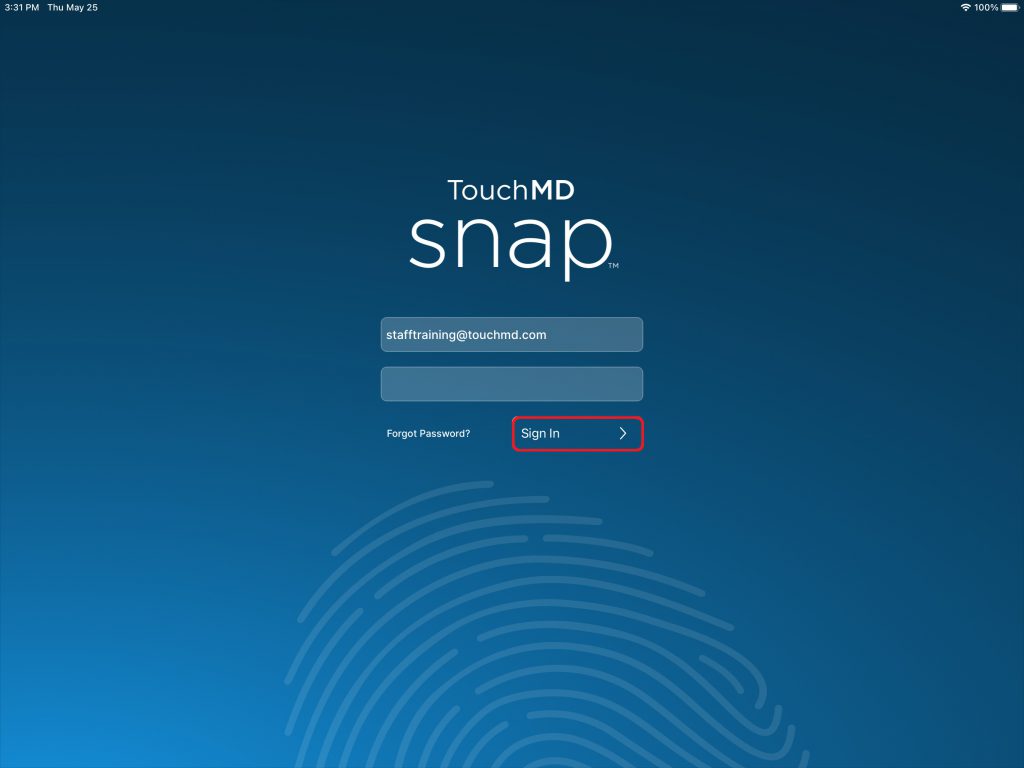
- Enter your TouchMD User credentials and select “Sign In”
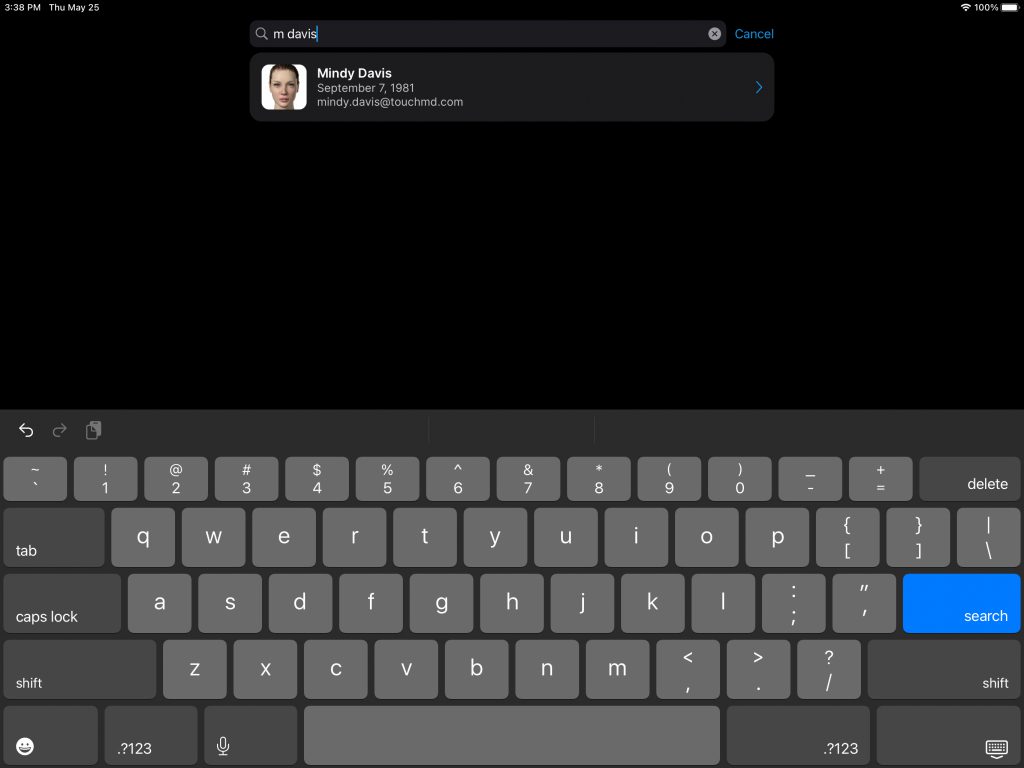
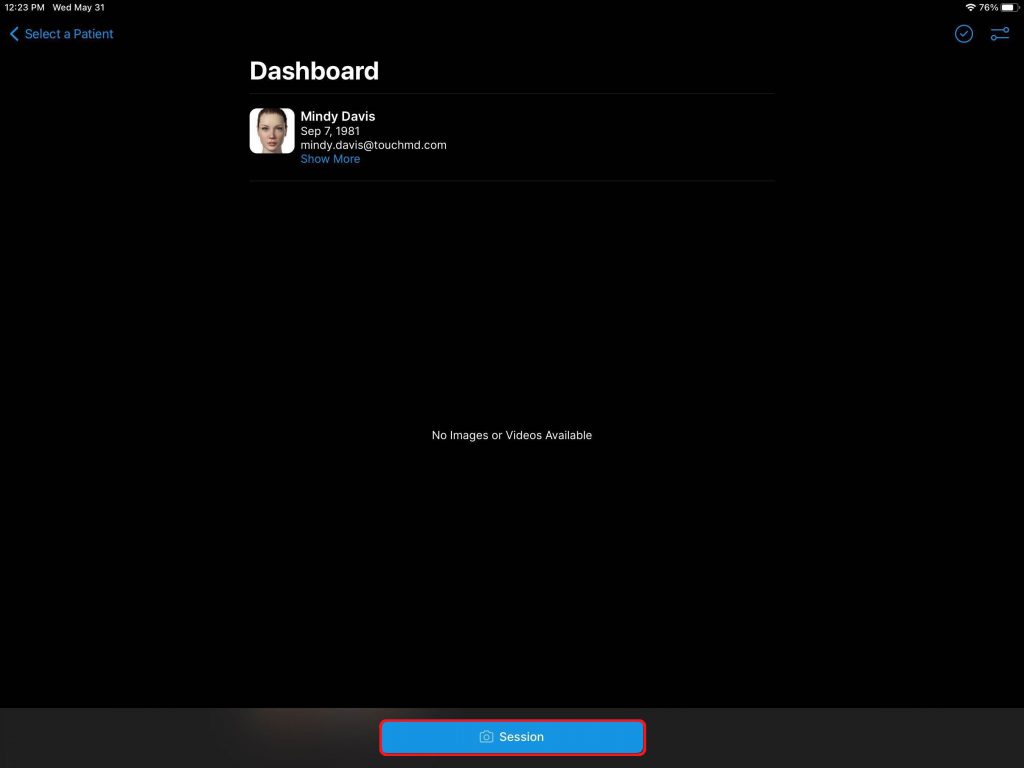
- Search for the desired patient
- Select “Session”
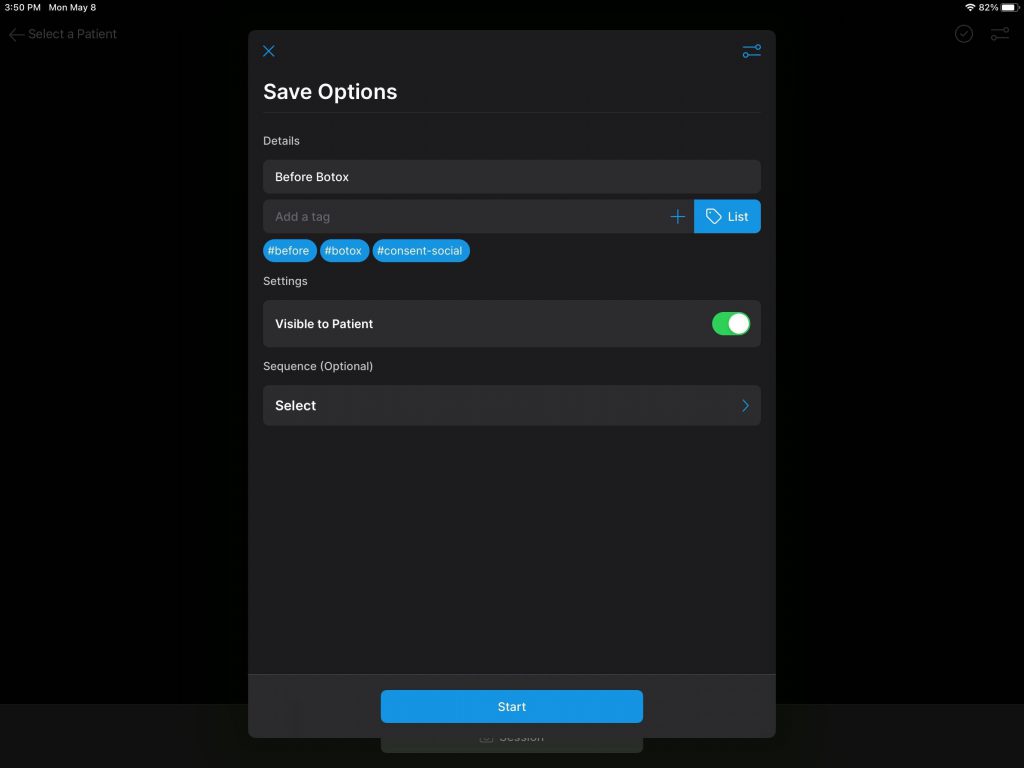
- Review Session Options and select “Start” (not selecting a sequence)
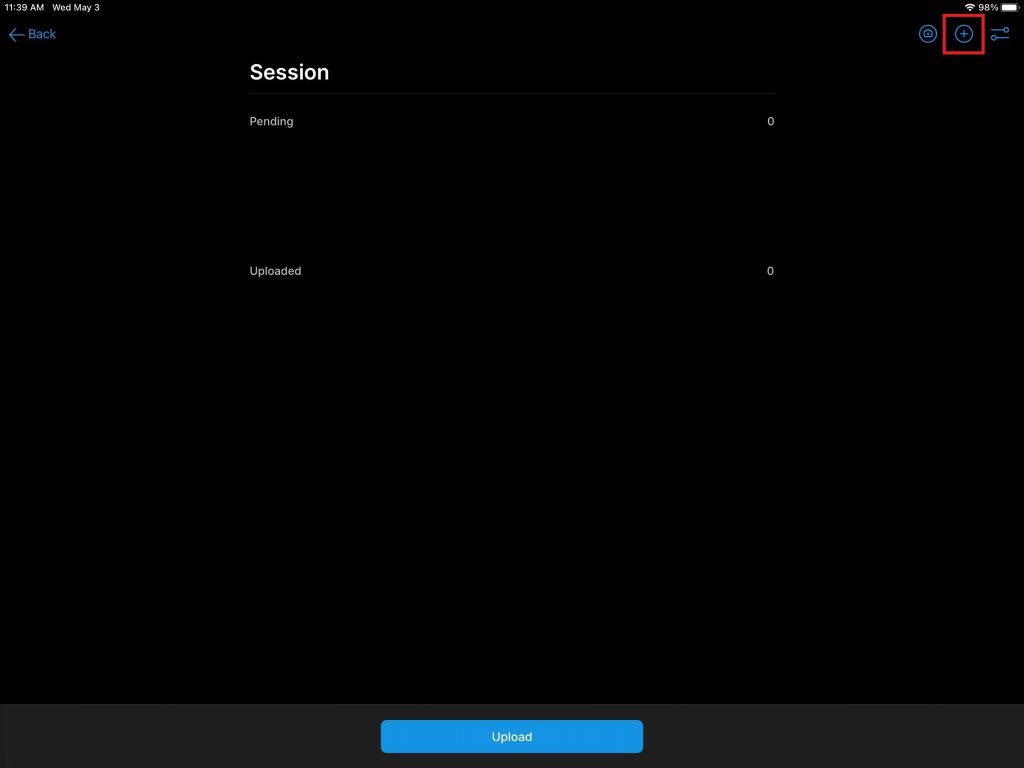
- Select the File Queue
- Tap the “+”
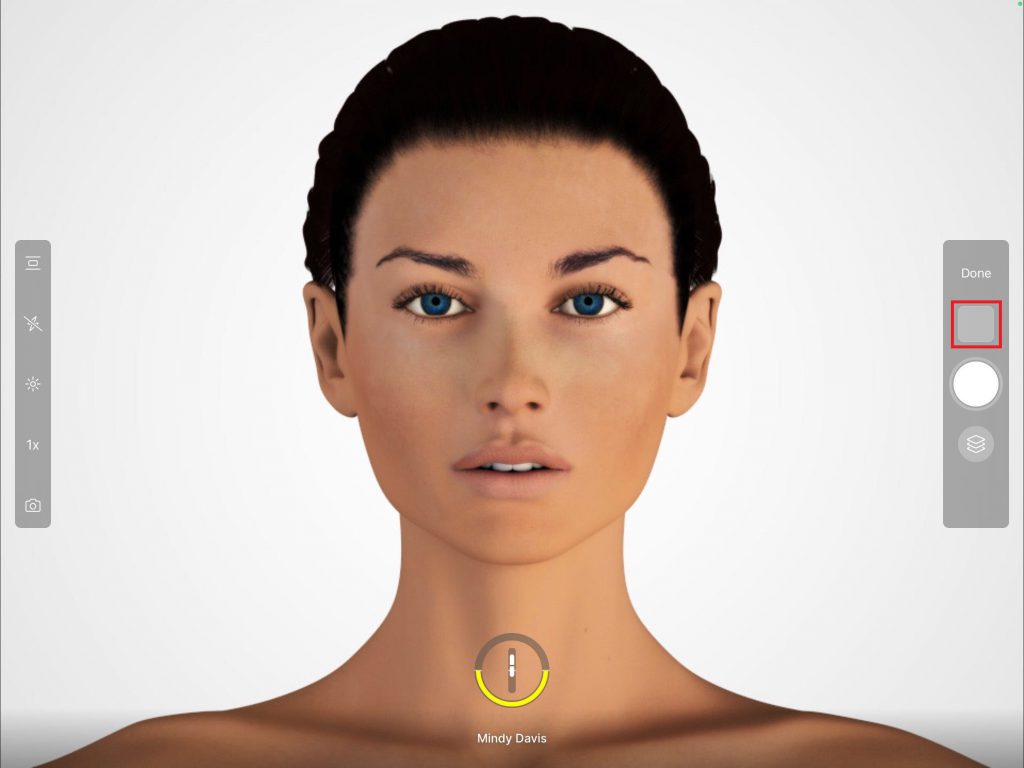
- Select the desired photos from the iPad/iPhone photo roll and tap “Done”

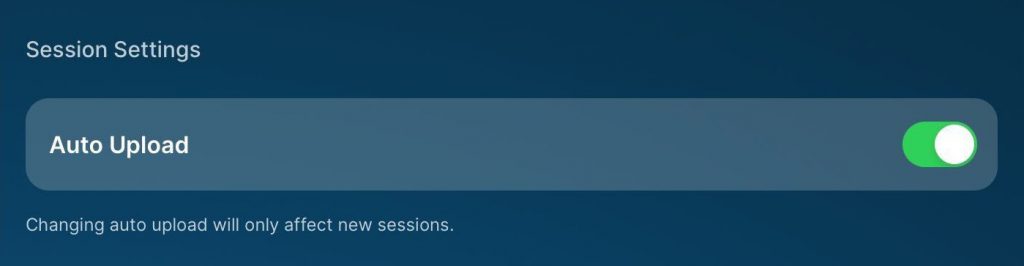
If the Save Options are set to “Auto Upload” the photos taken during the session will automatically uploaded into the patient’s TouchMD file. NO FURTHER ACTION REQUIRED. This option is recommended for users who would like files to automatically upload. Files may be managed (deleted) at a later time via the TouchMD Consult app or TouchMD Dashboard.
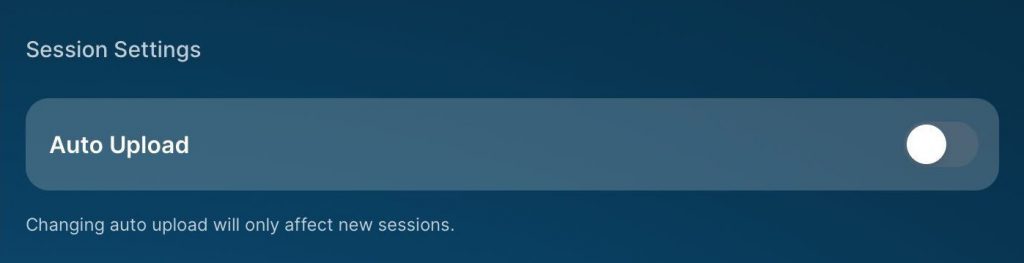
If the Save Options are NOT set to “Auto Upload” the photos/videos taken during the session will NOT automatically uploaded into the patient’s TouchMD account. The user will need to review the files taken during a session and manually upload them into the patient’s TouchMD account. This option is recommended for users who would like to review files before they are uploaded into a patient’s account. Use the instructions below to manually upload files:
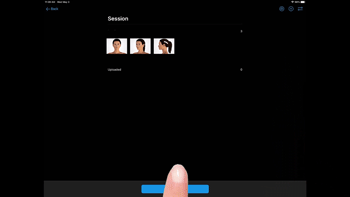
Ensure that all of the photos have moved to uploaded
- Open the Snap app
Allowing Snap Access to Photo/Camera Roll
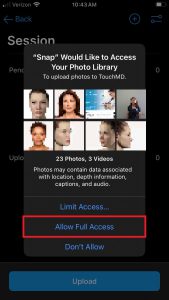
If you are having issues accessing photos from your photo/camera roll, you may have not allowed Snap access to your photo/camera roll.
To allow access, you may need to uninstall and reinstall the Snap app (be sure to check for Pending Sessions BEFORE uninstalling the app.)
Once the Snap app is uninstalled and reinstalled, proceed to add images from the photo/camera roll in the Snap app. The app will prompt you to select an access option. We recommend “Allow Full Access.”