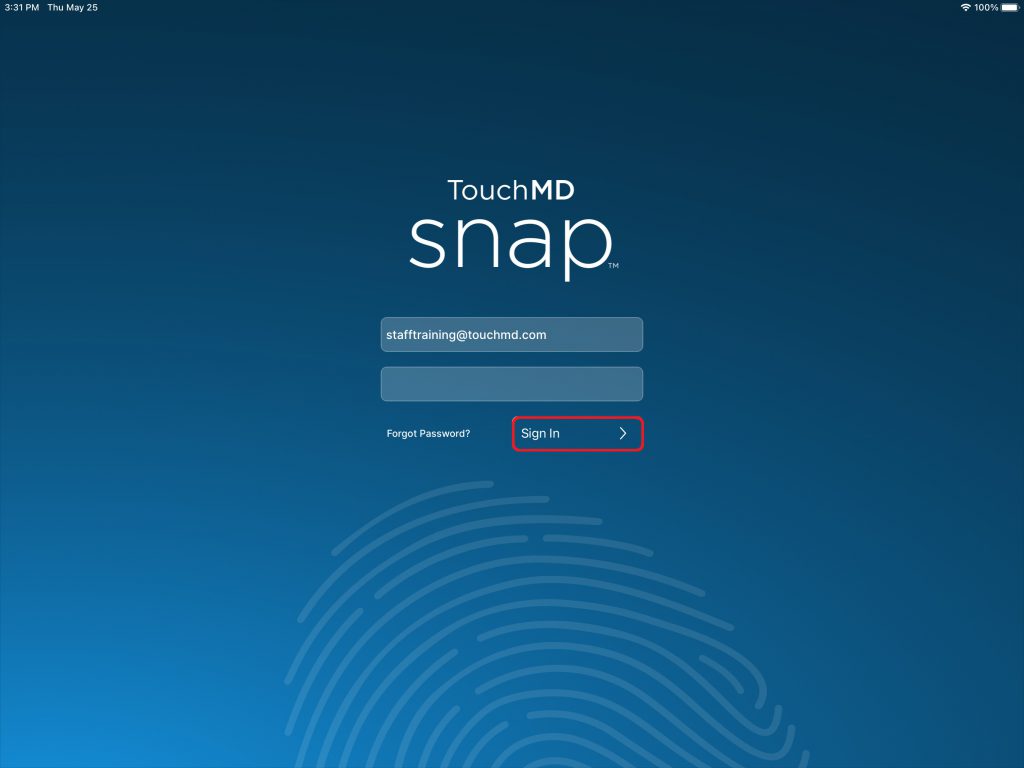
- Open and log into the Snap app with your TouchMD username and password
- Make sure your camera is connected to the iPad and power on your camera. (Ensure that you have an empty SD card in the camera)

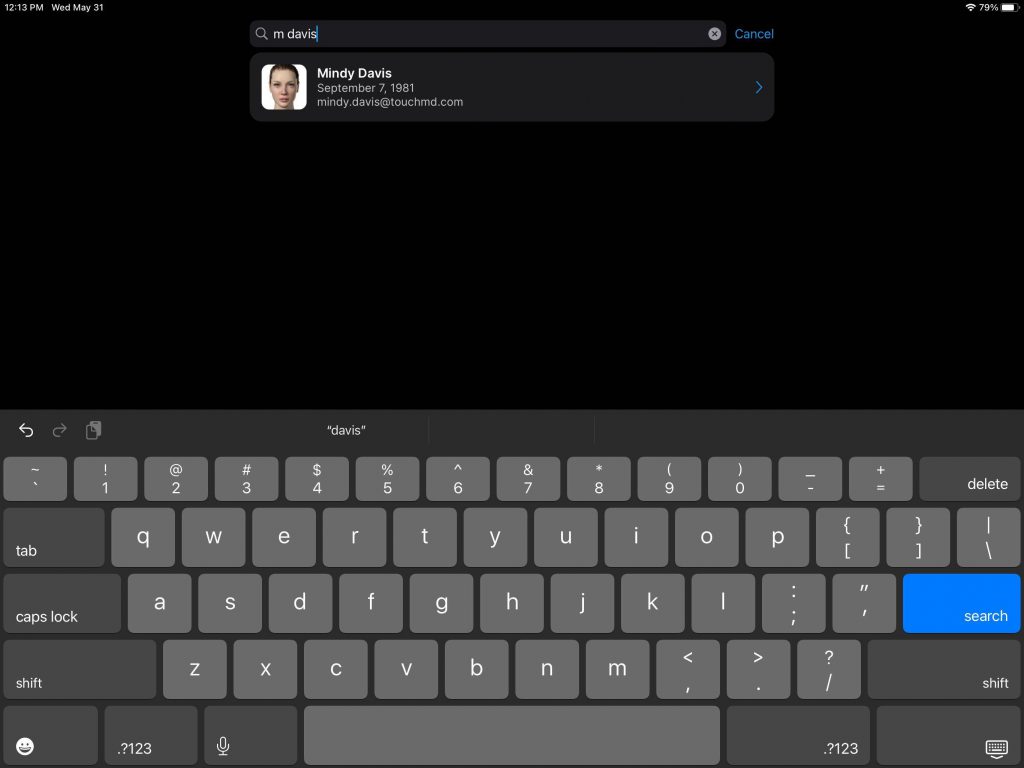
- Search for the desired patient
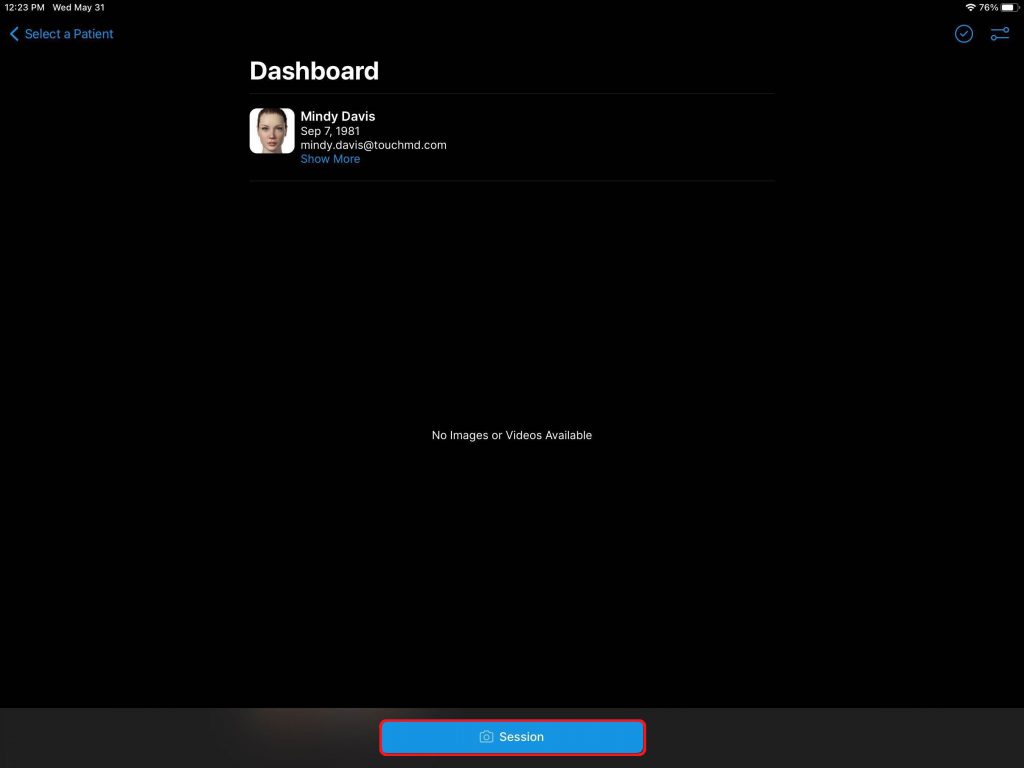
- Select “Session”
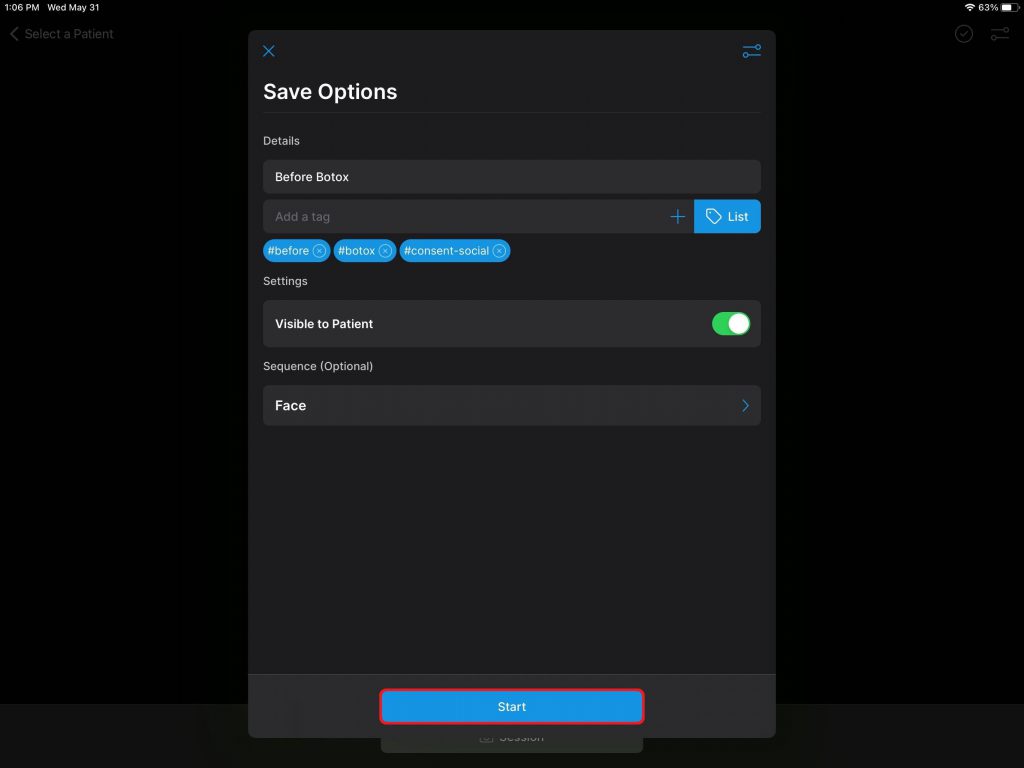
- Review the Save Options and select “Start”
- A message should pop at the top of the Snap showing your connection status to the Canon Camera. After a few seconds this message will disappear, however your camera will remain connected until you power off your camera at which time a new message will let you know your camera is disconnected. NOTE: If the camera automatically powers off during the photo session, just cycle off/on the camera’s power switch to restore the connection

You will be brought into the “Live View” mode automatically as seen above. - Take the desired photos of the patient with your Canon camera either by pressing on the camera’s shutter button or the built-in shutter button in the Snap app
- The photos will be added to the file queue. If your Save Options were set to “Auto Upload” they will automatically upload. If your Save Options were set to “Manual Upload“, tap “Upload”
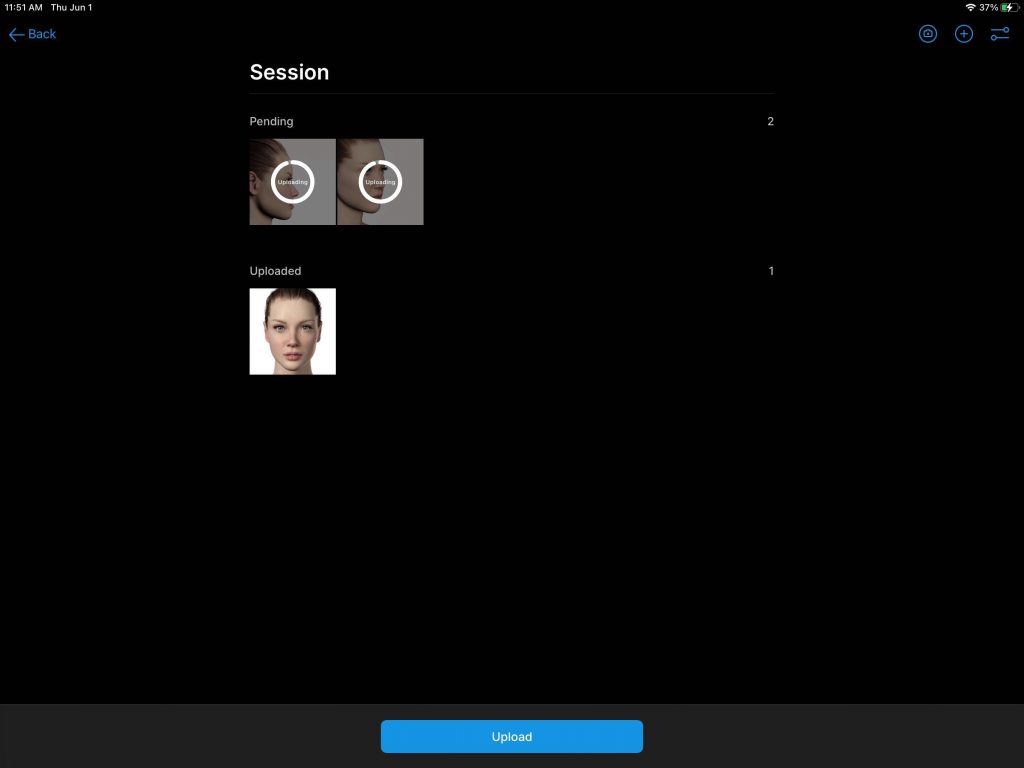
Uploading pictures with Canon Connect on a Wired iPad
Updated on January 25, 2024

