Patient Tab – Documents
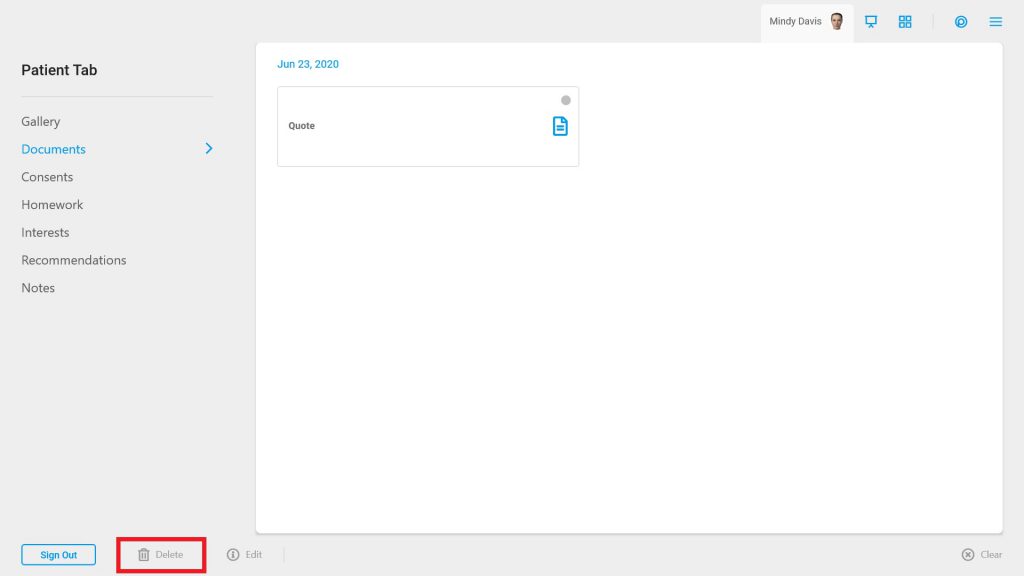
Do you ever wish you could pull up a previously filled out consent/form or even a quote to review with patient during a Consult? The Consult feature of Documents will assist. Documents house the patient’s PDF files uploaded into their account. Once you’re done watching the video and reading through the info, be sure to move onto the next lesson or knowledge check so you don’t miss a thing!
To Add Documents (via Consult):
Scan Documents via iPad:
- Begin by accessing a patient account
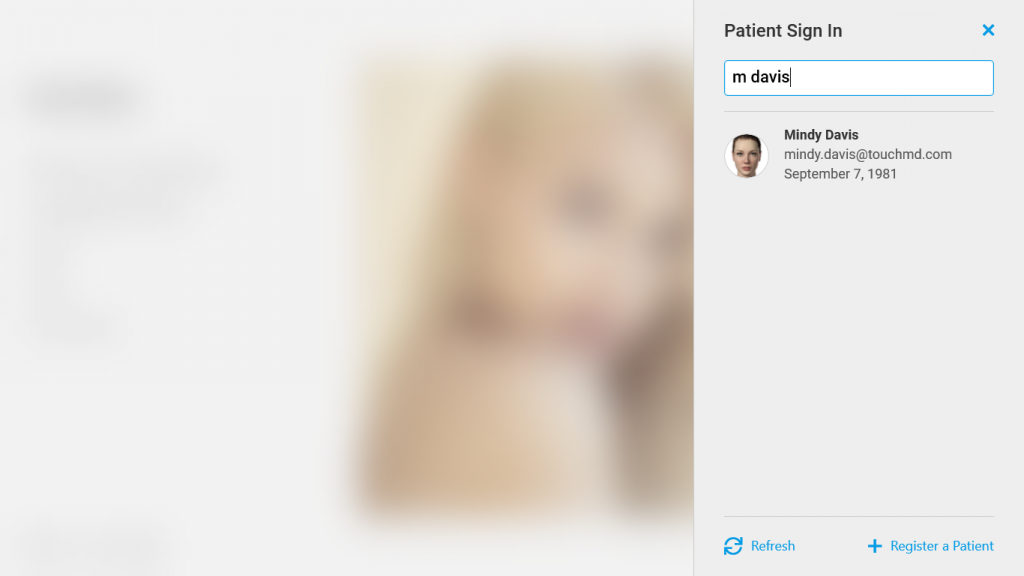
- Select the Patient Tab
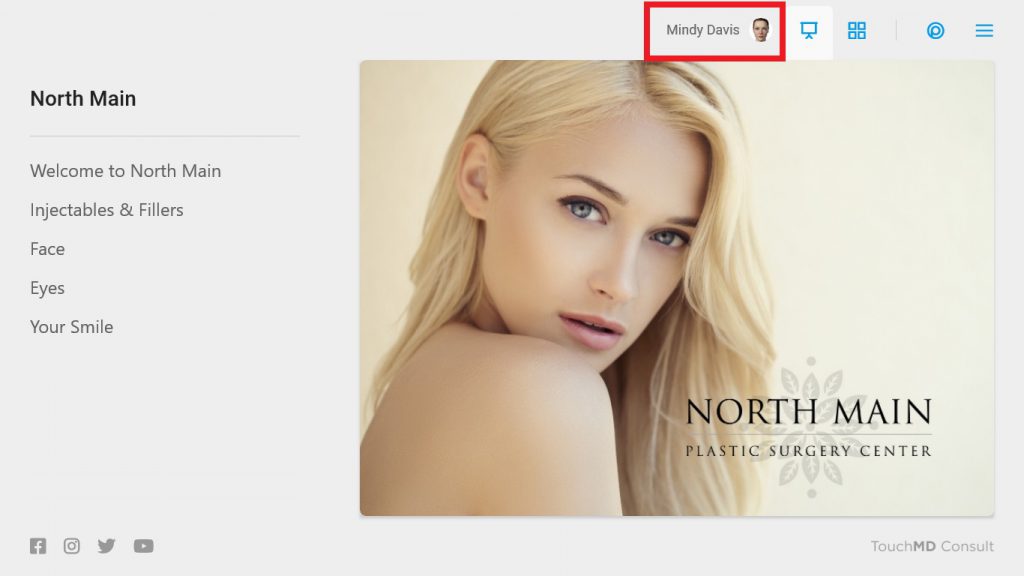
- Tap “Documents”

- Select “Import”
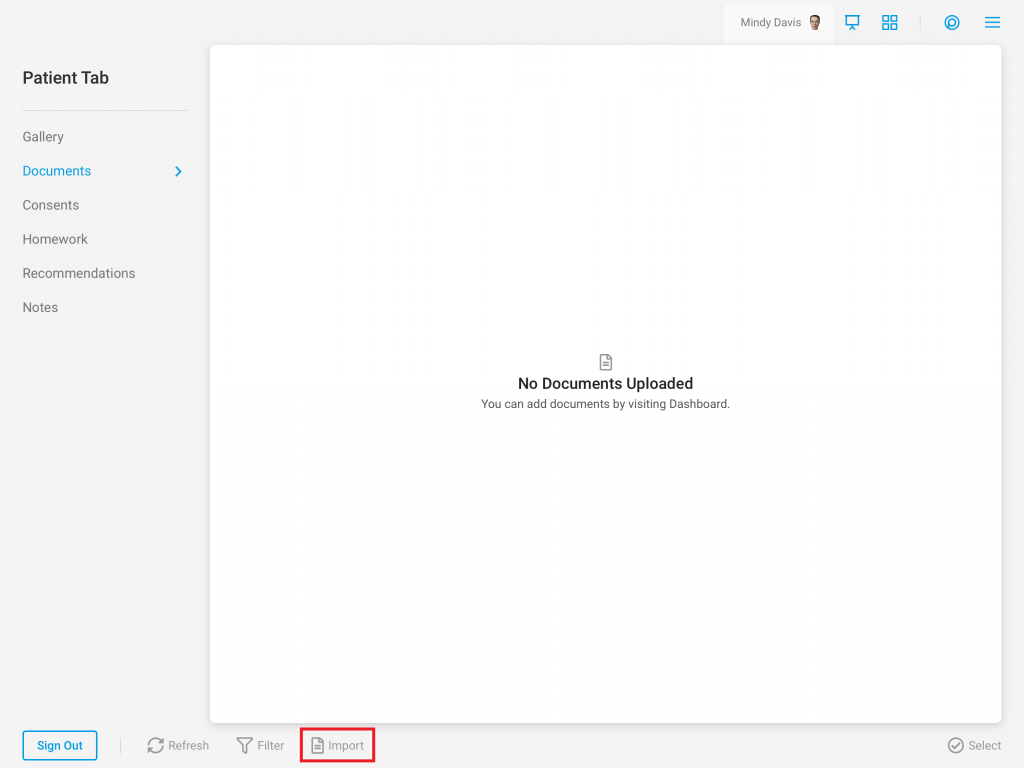
- Choose “Scan Document”
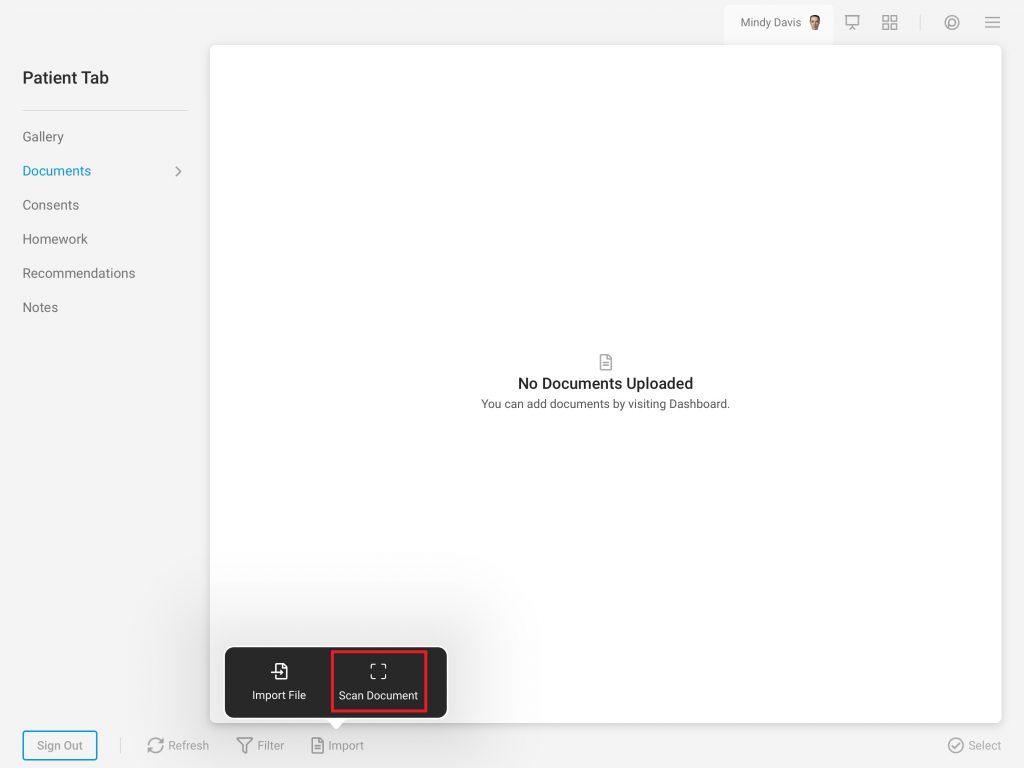
- The Scan Document feature will automatically recognize the document edges, take a picture, and turn it into a PDF. To save the scanned document into a patient account tap, “Save”.

For multi-page documents, simply scan each page and the system will automatically compile it into a single PDF.
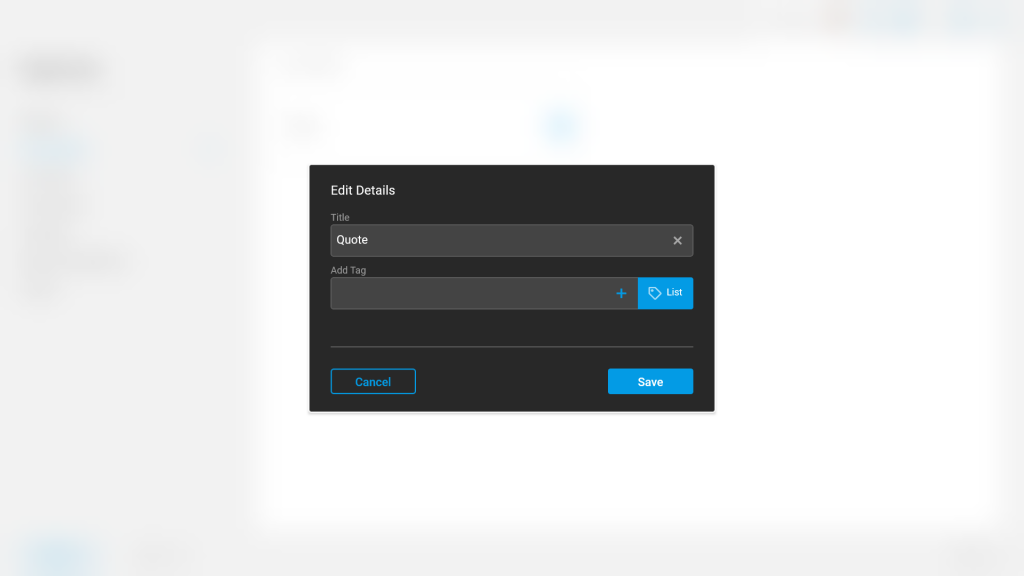
- Determine the document details in the “Edit Details” box and select “Save”. Here you are able to edit the document details such as; adding a title, tagging the document, and determining the visibility of the document to the patient.

Importing Documents via iPad:
- Begin by accessing a patient account

- Select the Patient Tab

- Tap “Documents”

- Select “Import”

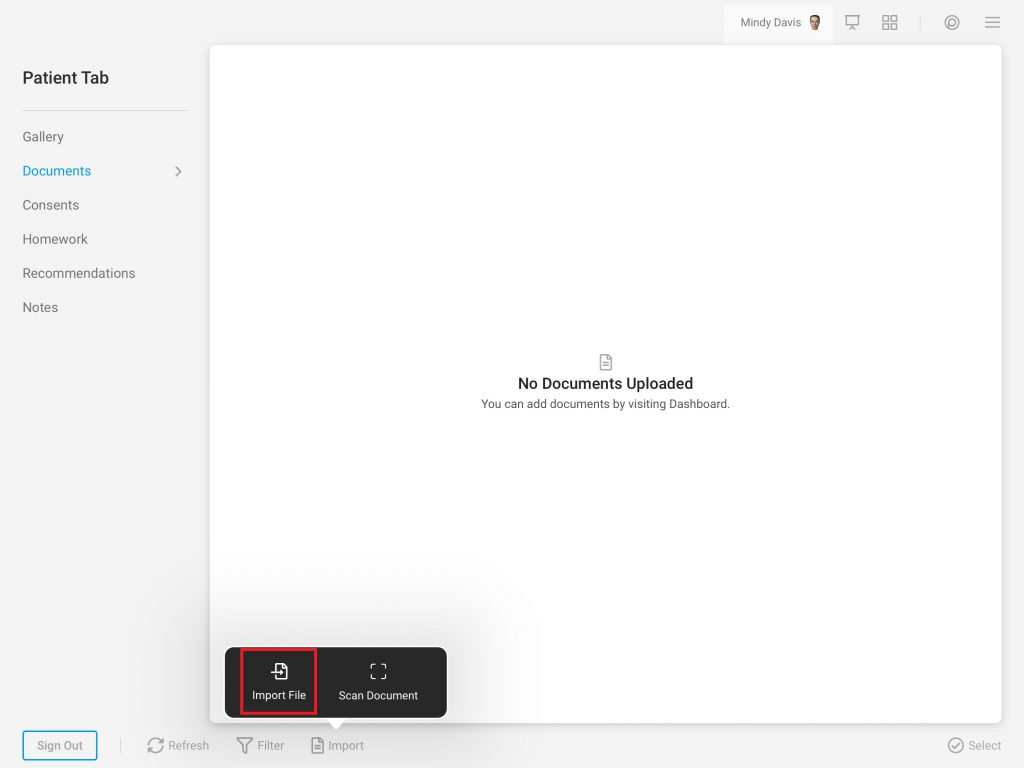
- Choose “Import File”
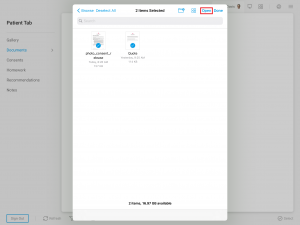
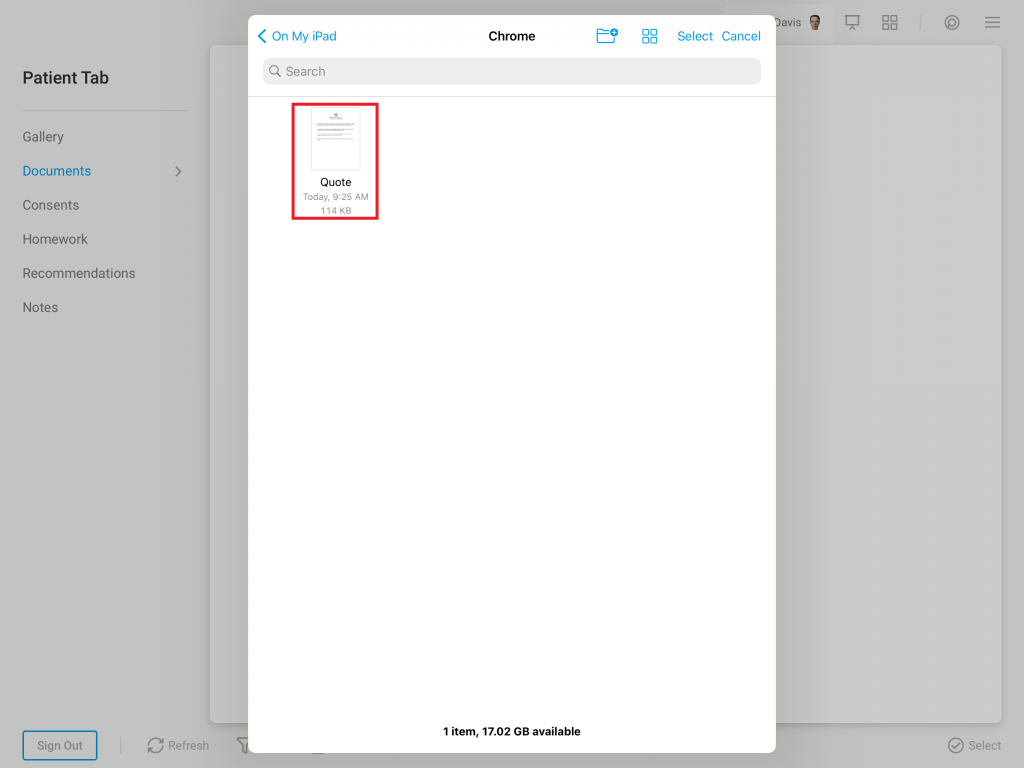
- Choose the desired document from your iPad
Importing Documents via Windows:
- Begin by accessing a patient account

- Select the Patient Tab

- Tap “Documents”

- Select “Import”

- Select “Your computer”

- Choose the desired document from your computer

Importing via the Dashboard:
To Determine Visibility of Documents (Hide/Show):
- Begin by accessing a patient account

- Select the Patient Tab

- Tap “Documents”

- Tap “Select”

- Tap the desired Document

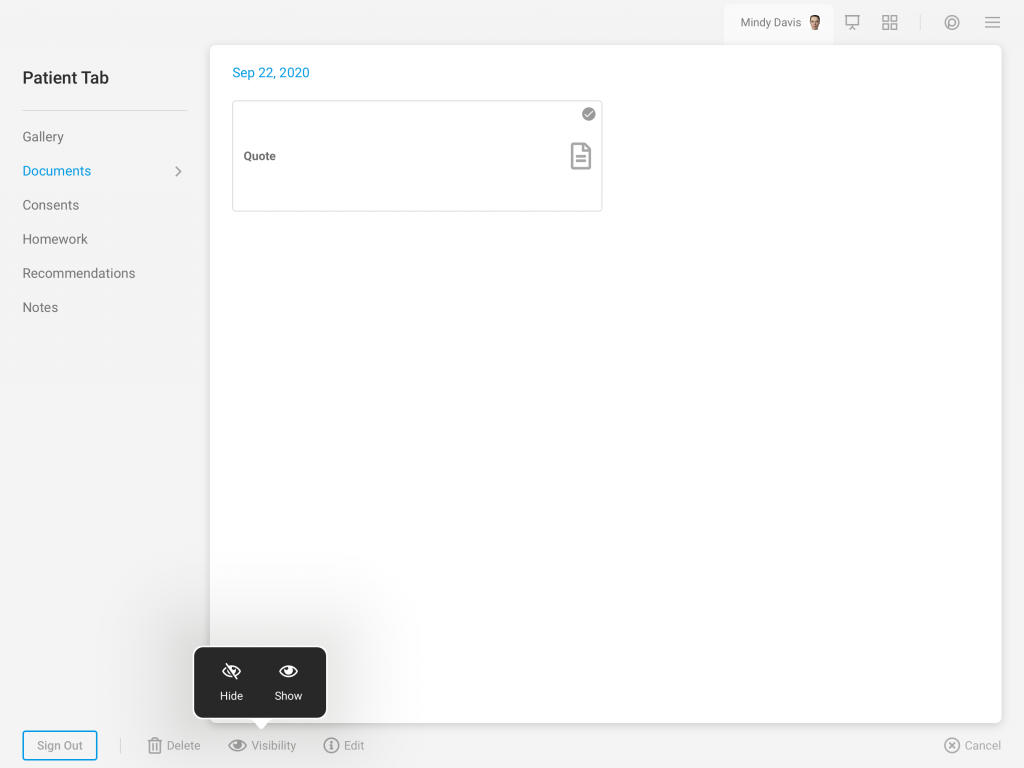
- Select “Visibility”
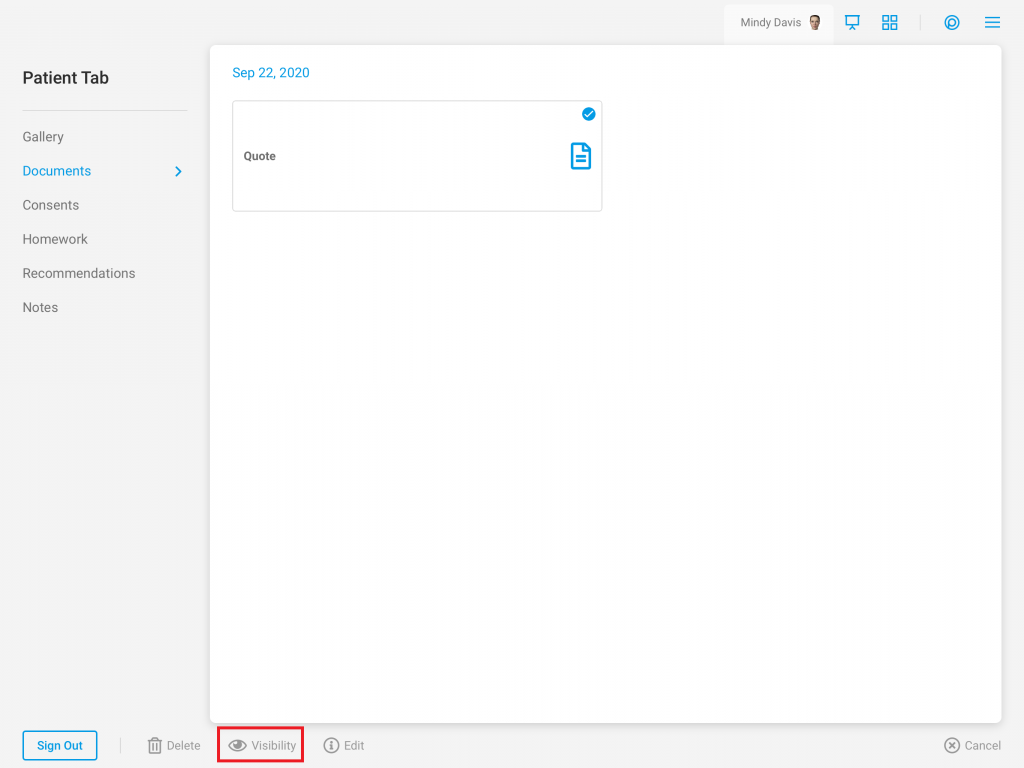
- Determine the desired visibility of the document. Tap “Hide” to hide the document from the patient. Tap “Show” to show hidden documents to the patient. NOTE: Hidden documents will have a gray square in the bottom right-hand corner to indicate it is hidden.
To View Documents:
- Begin by accessing a patient account

- Select the Patient Tab

- Tap “Documents”

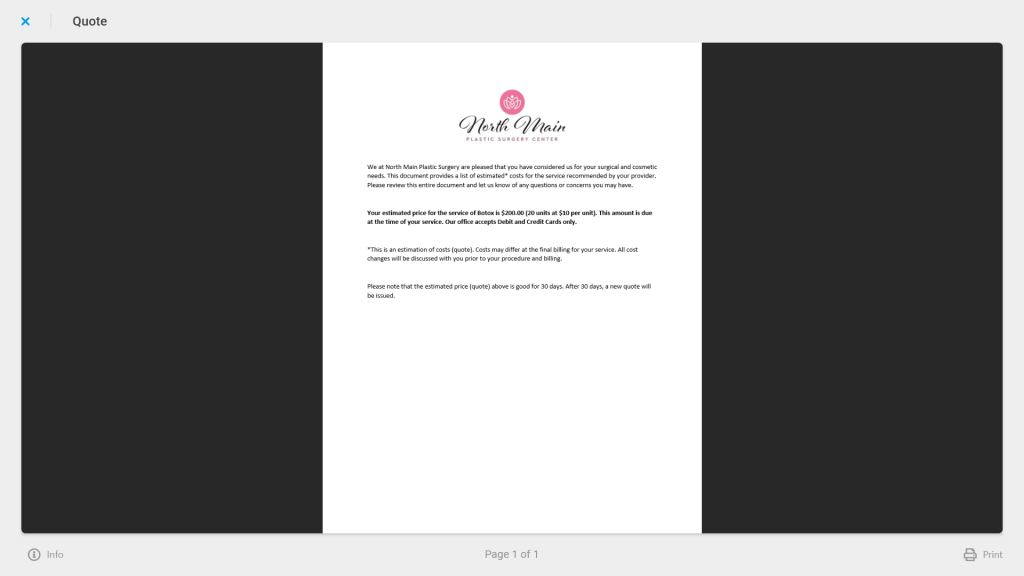
- Tap on the desired document
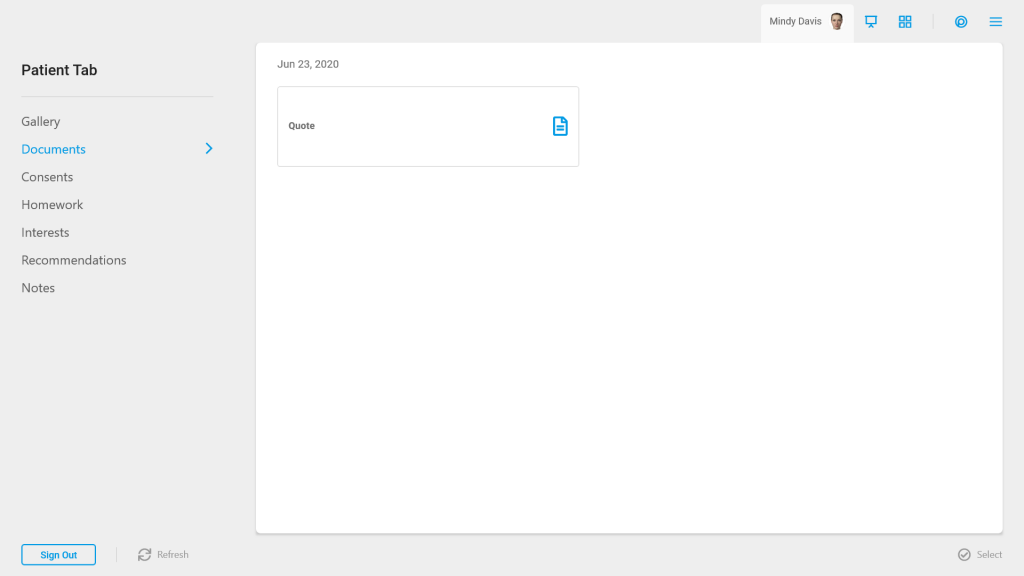
- This will open the document to allow for review
To Edit Document Details:
- Begin by accessing a patient account

- Select the Patient Tab

- Tap “Documents”

- Tap “Select”

- Tap the desired Document

- Select “Edit”

- Edit the Document Details in the provided area. Details include the document title and document tags
To Delete Documents:
- Begin by accessing a patient account

- Select the Patient Tab

- Tap “Documents”

- Tap “Select”

- Tap the desired Document

- Select “Delete”
