Learn how to add, view, and manage documents via the TouchMD Consult app.
To Add Documents (via Consult):
Scan Documents via iPad:
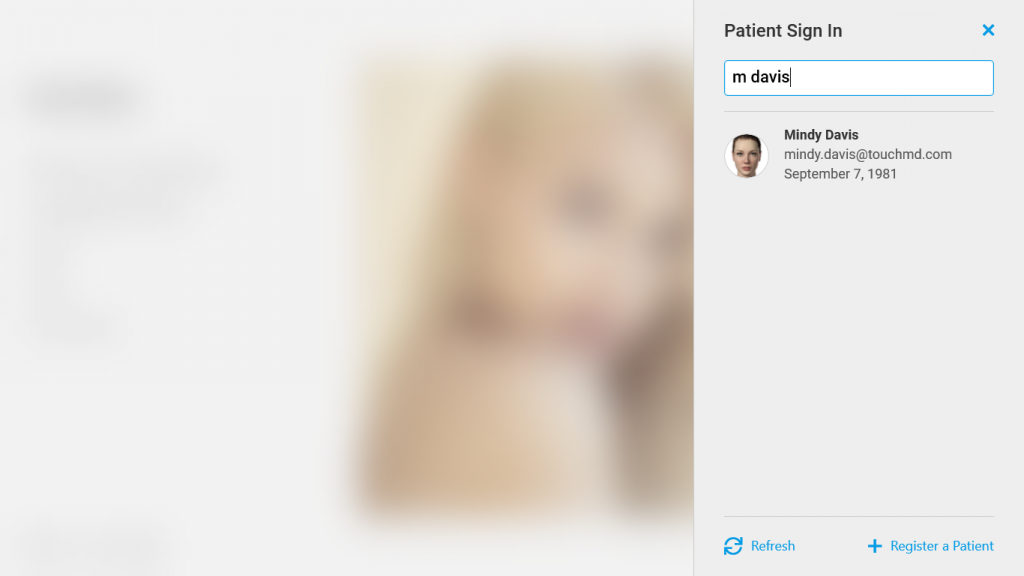
- Begin by accessing a patient account
- Select the Patient Tab

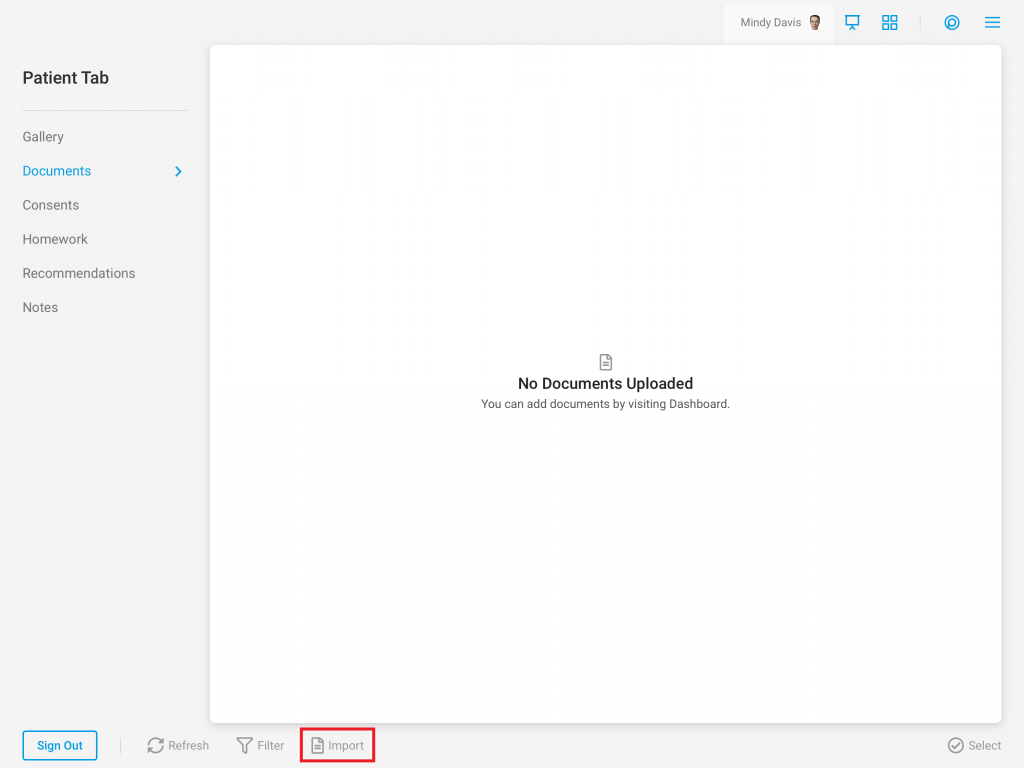
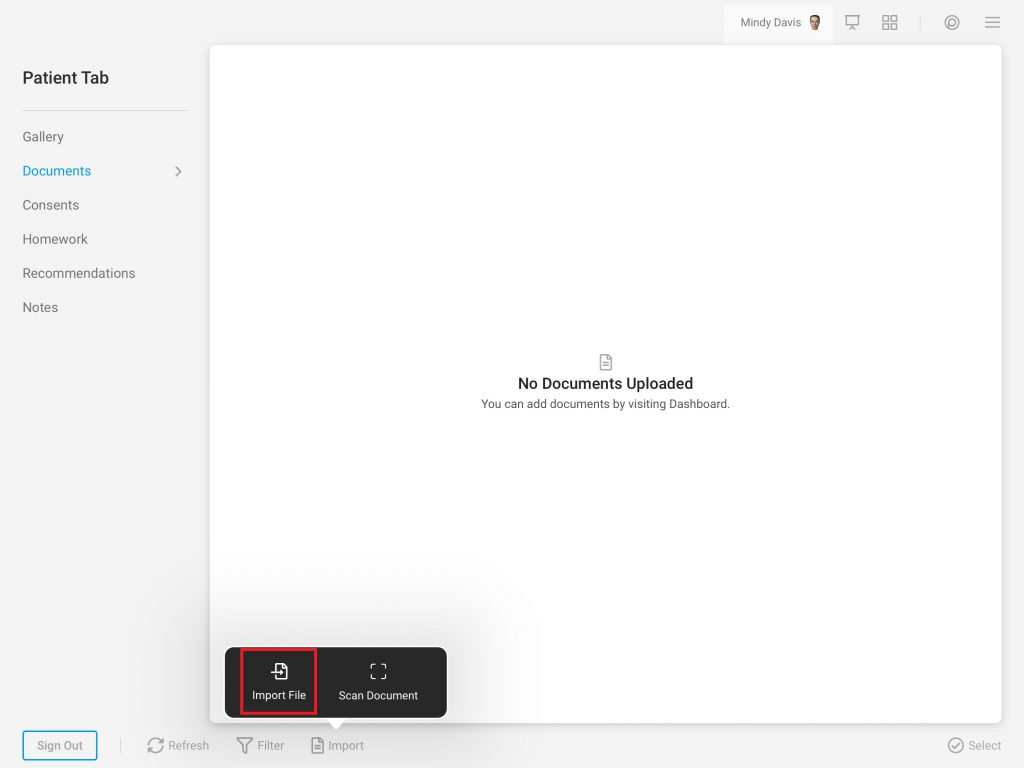
- Tap “Documents”

- Select “Import”
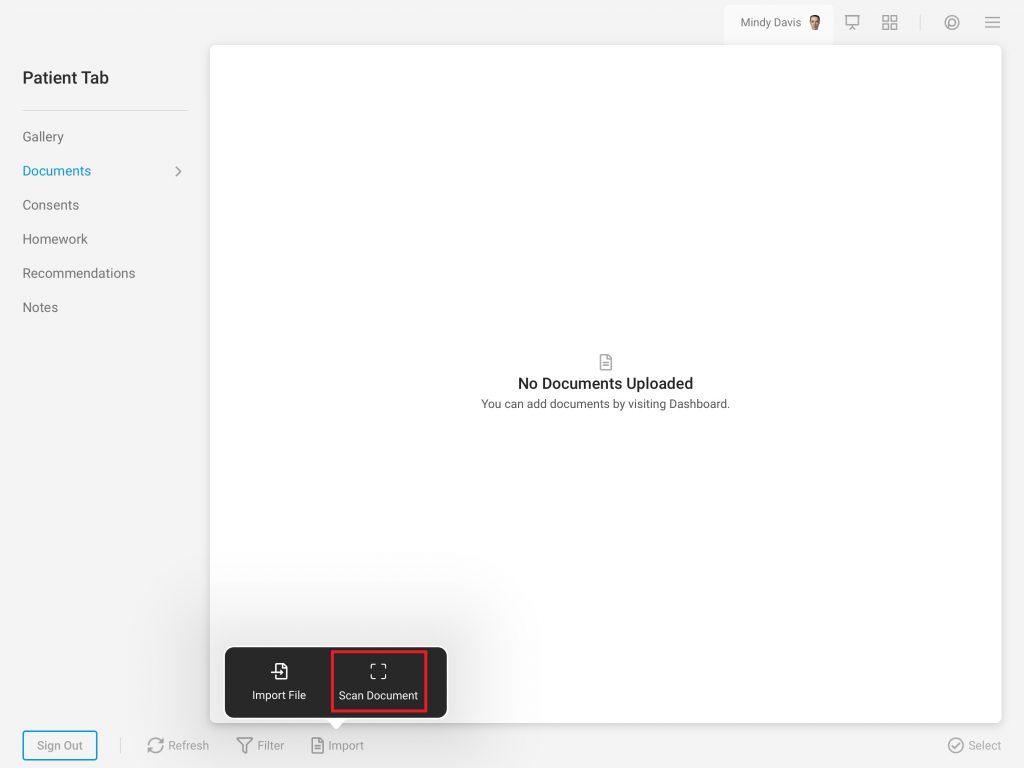
- Choose “Scan Document”
- The Scan Document feature will automatically recognize the document edges, take a picture, and turn it into a PDF. To save the scanned document into a patient account tap, “Save”.
For multi-page documents, simply scan each page and the system will automatically compile it into a single PDF.
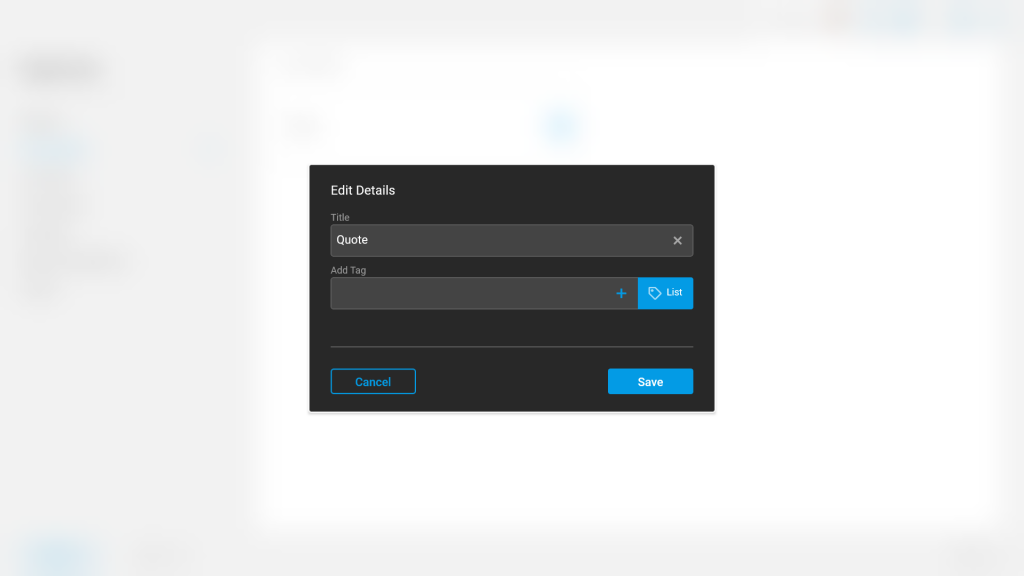
- Determine the document details in the “Edit Details” box and select “Save”. Here you are able to edit the document details such as; adding a title, tagging the document, and determining the visibility of the document to the patient.

Importing Documents via iPad:
- Begin by accessing a patient account
- Select the Patient Tab
- Tap “Documents”
- Select “Import”
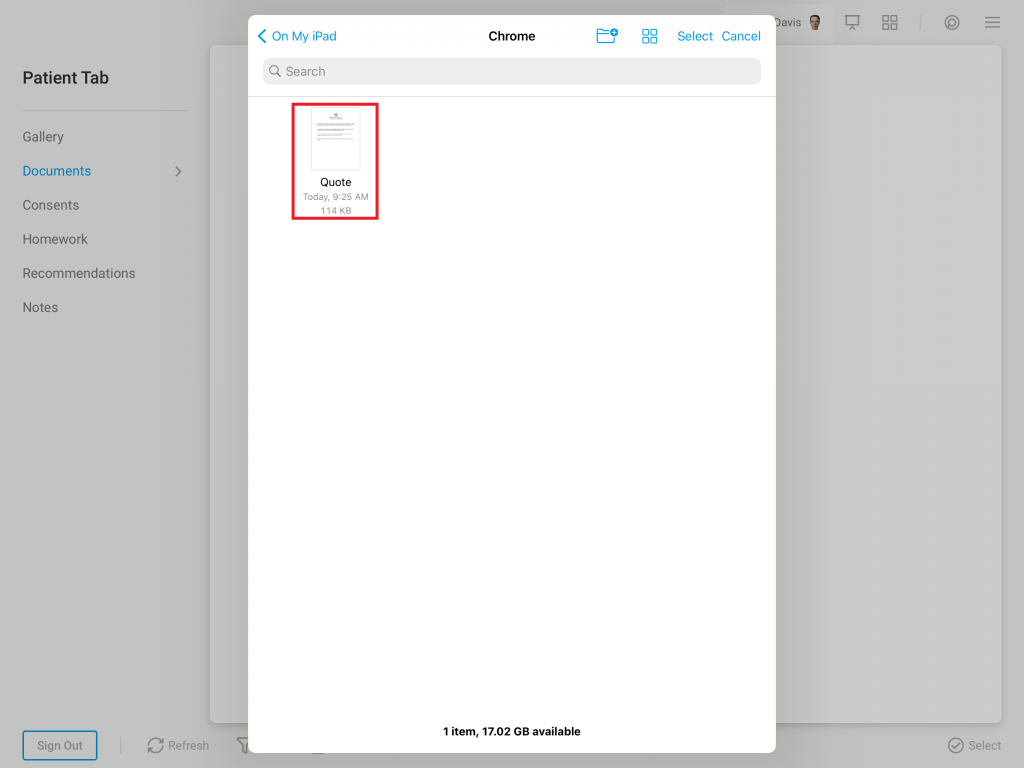
- Choose “Import File”
- Choose the desired document from your iPad

Importing Documents via Windows:
- Begin by accessing a patient account
- Select the Patient Tab
- Tap “Documents”
- Select “Import”

- Select “Your computer”

- Choose the desired document from your computer

Importing via the Dashboard:
To Determine Visibility of Documents (Hide/Show):
- Begin by accessing a patient account
- Select the Patient Tab
- Tap “Documents”
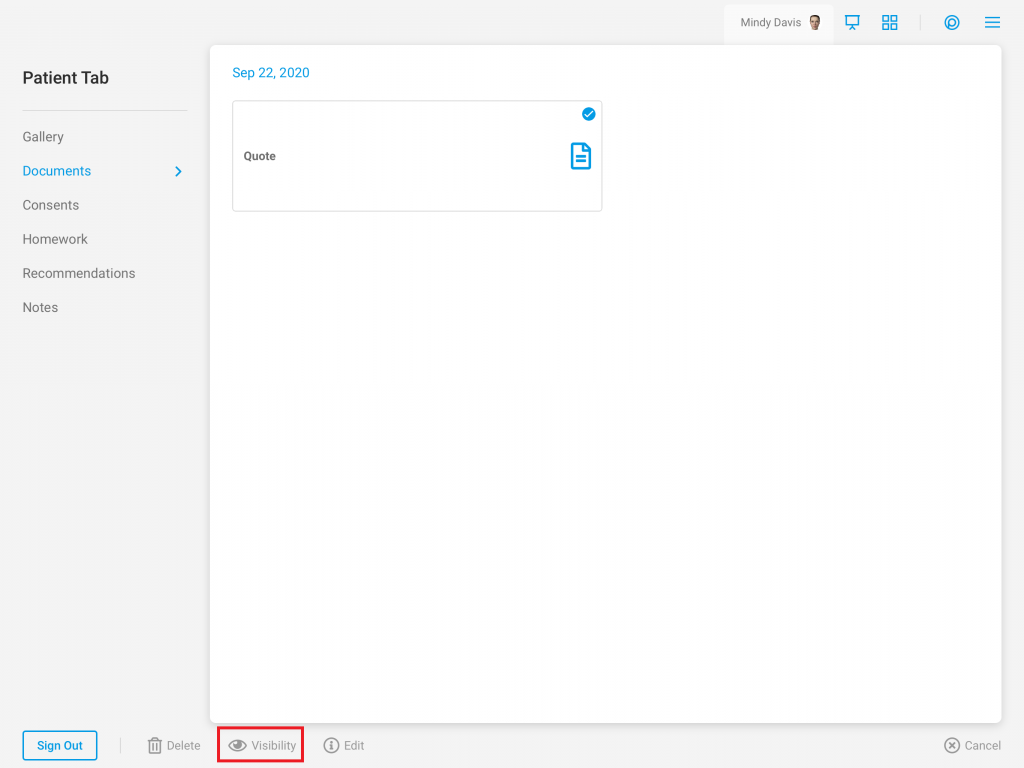
- Tap “Select”

- Tap the desired Document

- Select “Visibility”
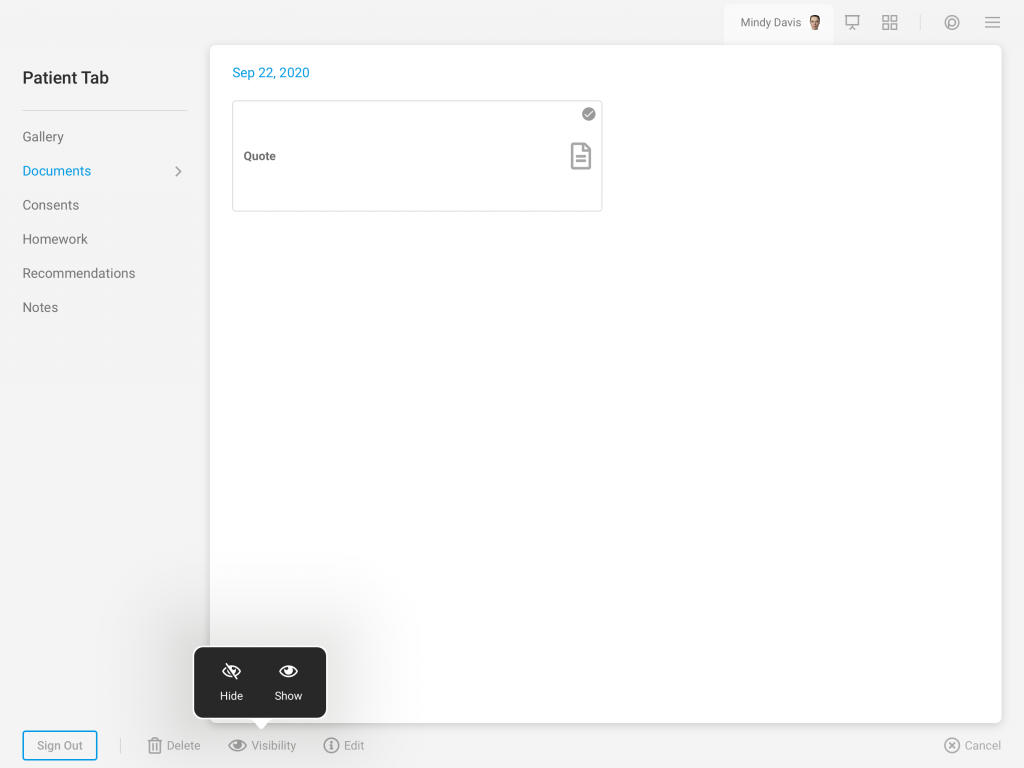
- Determine the desired visibility of the document. Tap “Hide” to hide the document from the patient. Tap “Show” to show hidden documents to the patient. NOTE: Hidden documents will have a gray square in the bottom right-hand corner to indicate it is hidden.
To View Documents:
- Begin by accessing a patient account
- Select the Patient Tab
- Tap “Documents”
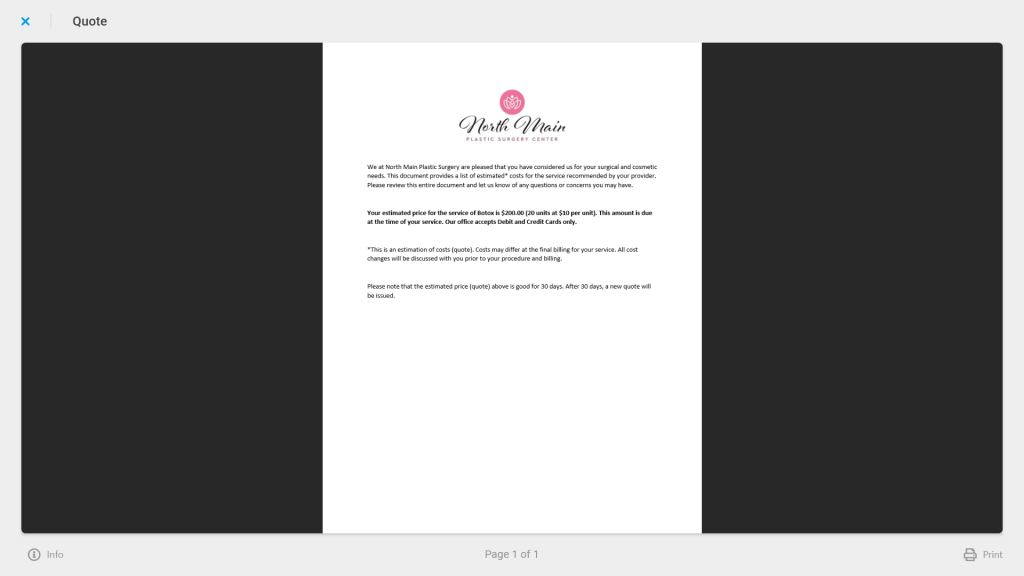
- Tap on the desired document
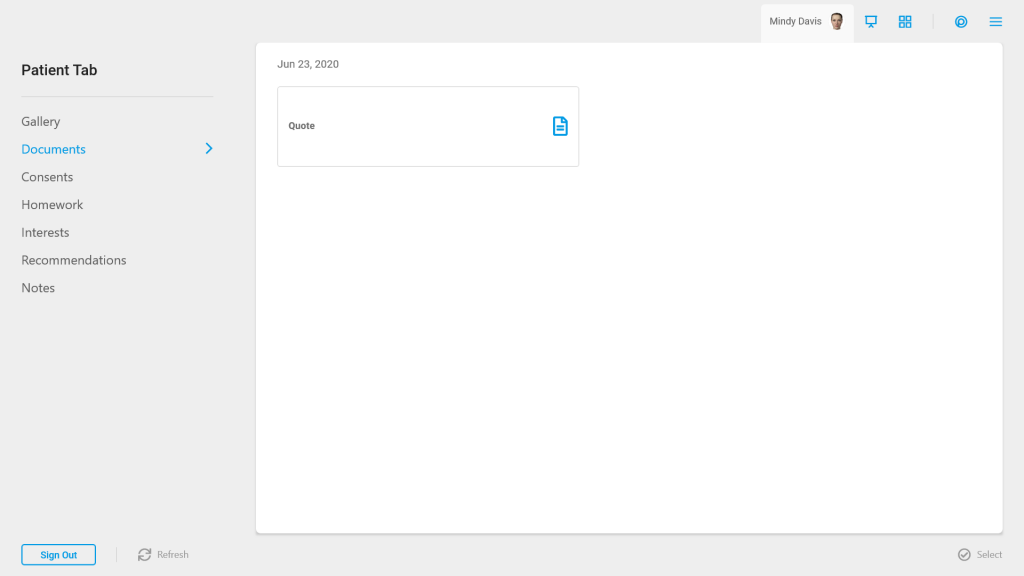
- This will open the document to allow for review
To Edit Document Details:
- Begin by accessing a patient account
- Select the Patient Tab
- Tap “Documents”
- Tap “Select”
- Tap the desired Document
- Select “Edit”

- Edit the Document Details in the provided area. Details include the document title and document tags
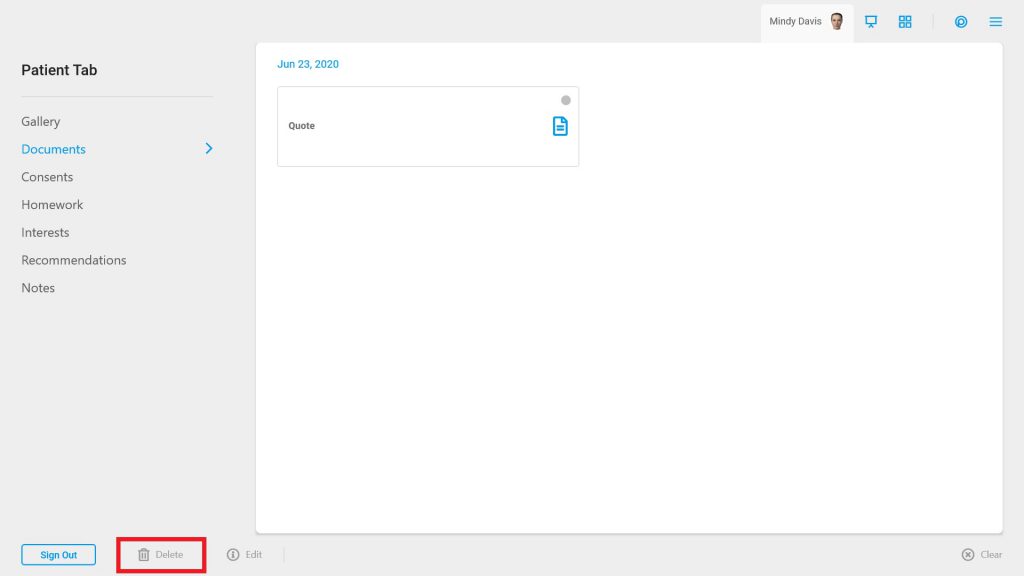
To Delete Documents:
- Begin by accessing a patient account
- Select the Patient Tab
- Tap “Documents”
- Tap “Select”
- Tap the desired Document
- Select “Delete”