Learn how to manage patient files via the TouchMD Dashboard.
Learn how to access your patient accounts’ Files via TouchMD Dashboard.
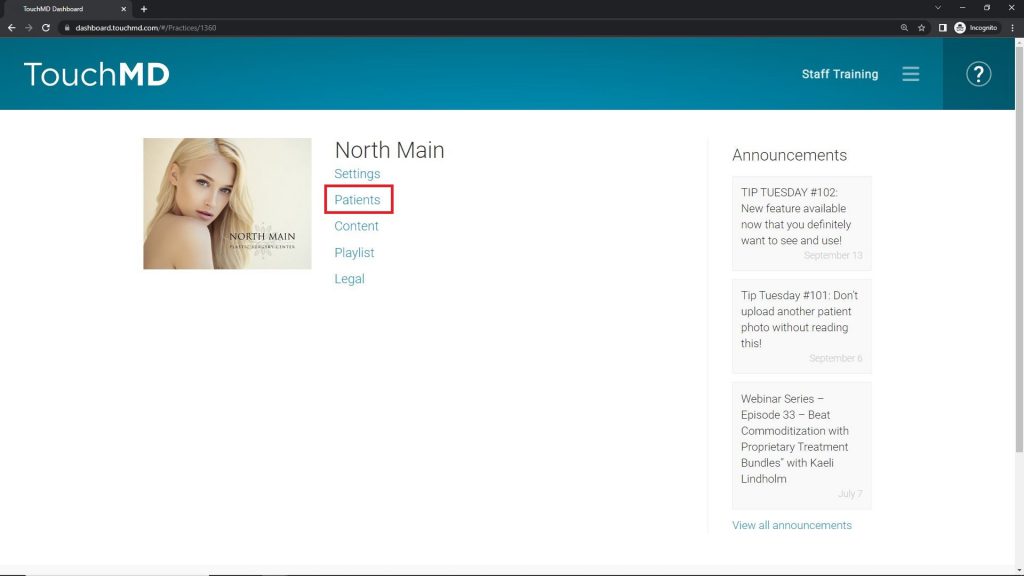
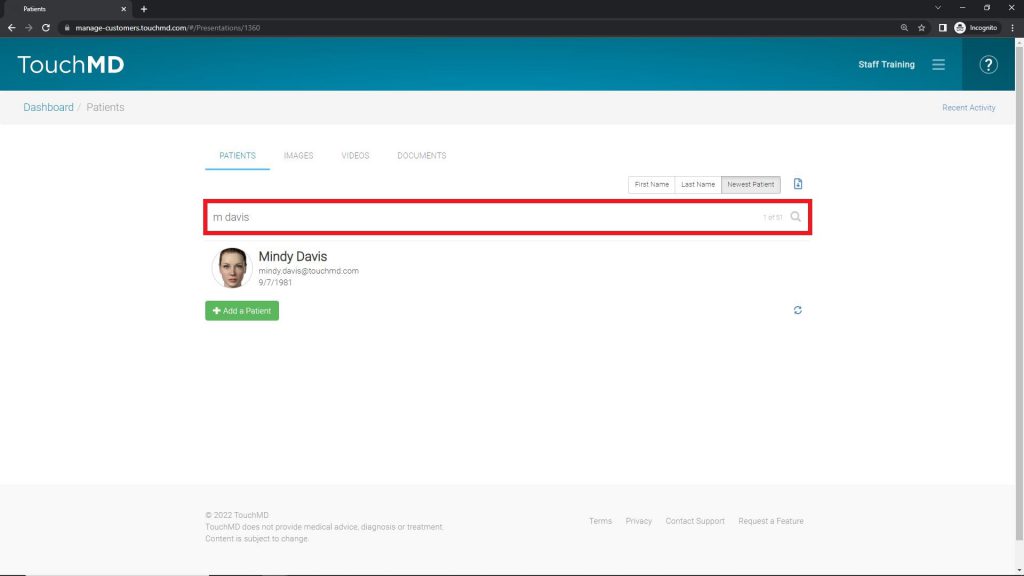
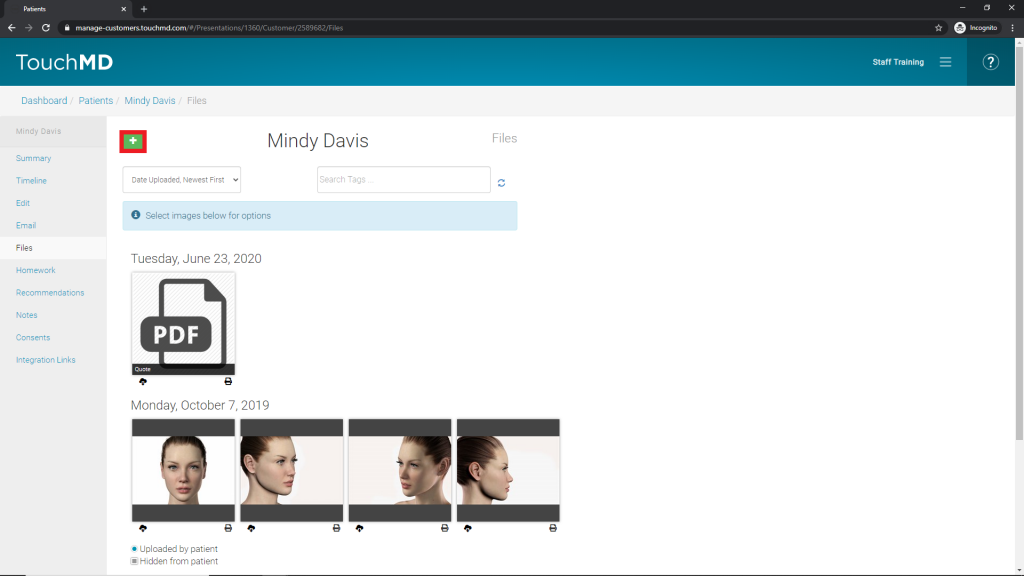
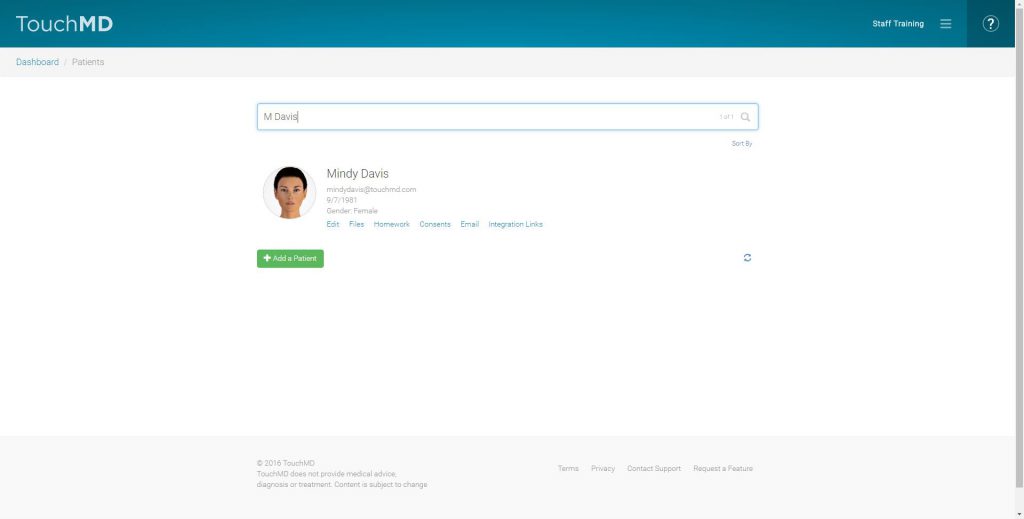
- Go to dashboard.touchmd.com and select “Patients”
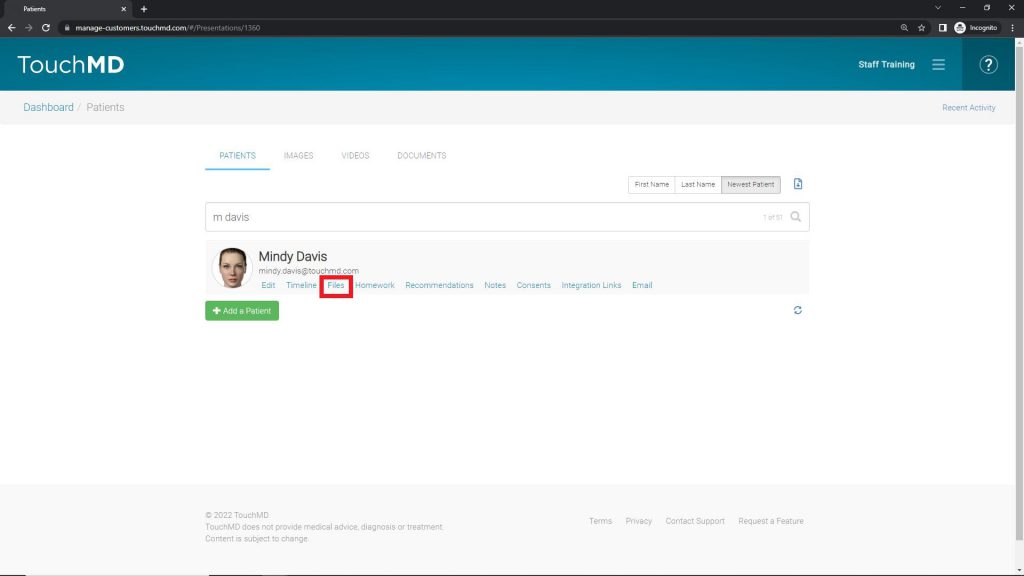
- Search for the desired patient account and select “Files”
Adding a File to a Patient Account:
- Go to dashboard.touchmd.com and select “Patients”
- Search for the desired patient account and select “Files”
- Select the “+” (only JPG & PDF file types are accepted. MP4s (videos) may only be added via Snap/Snap Pro)
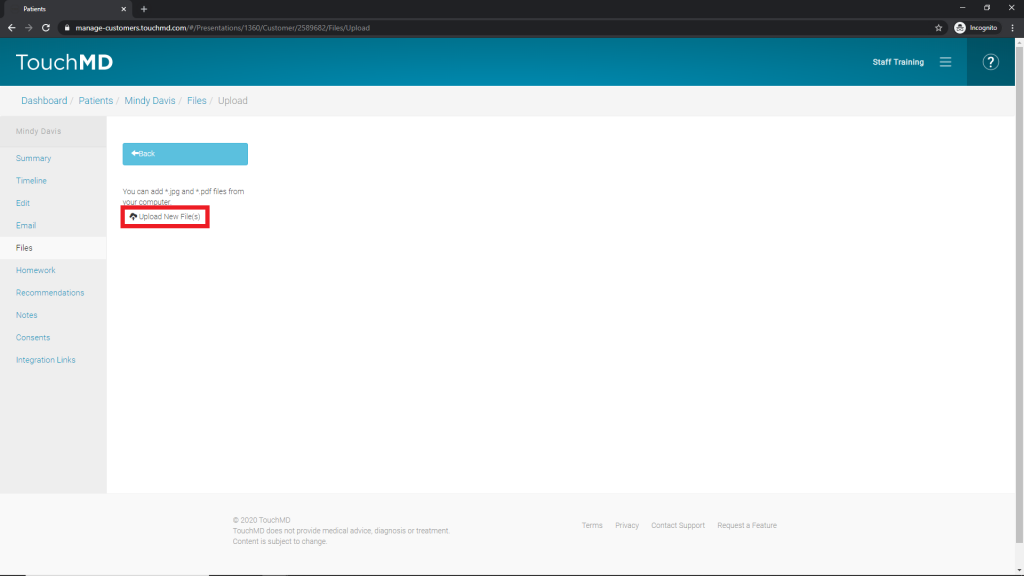
- Select “Upload New Files”
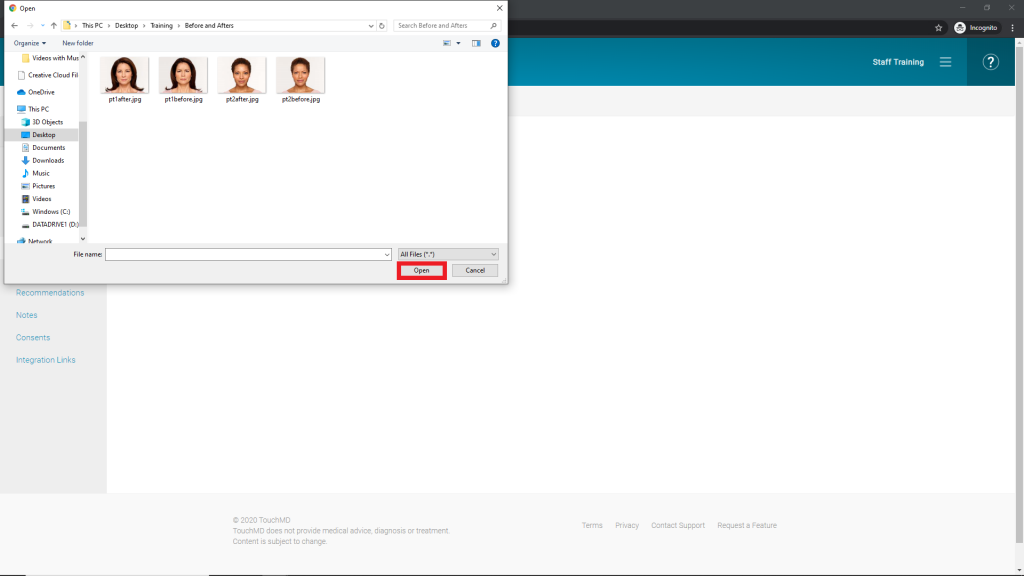
- Choose the desired file(s) and select “Open”
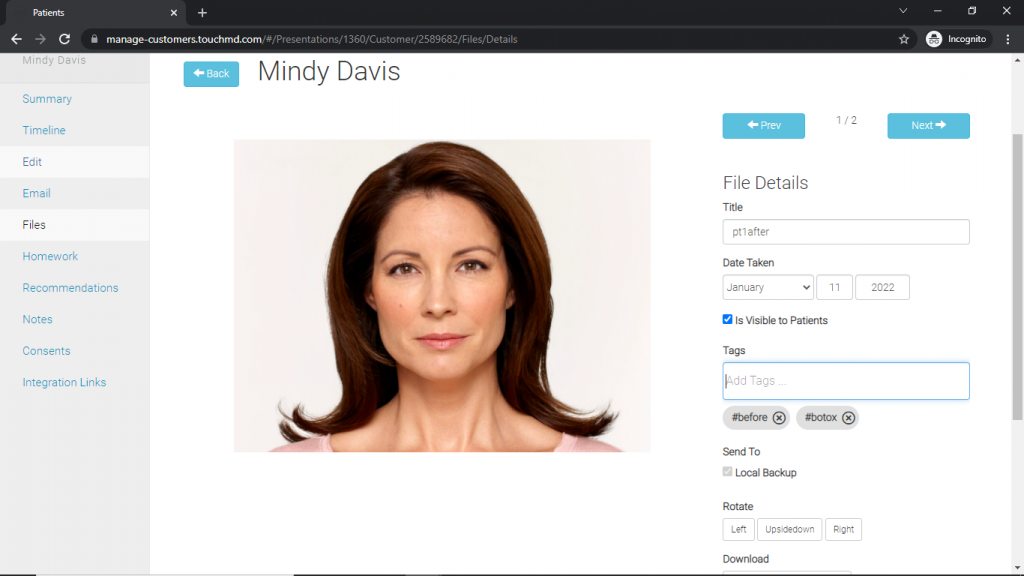
- Feel free to add/edit the title and add tags. Note that editing/adding the title and the tags must be done on EACH file. Use the arrow at the top to move to the next file
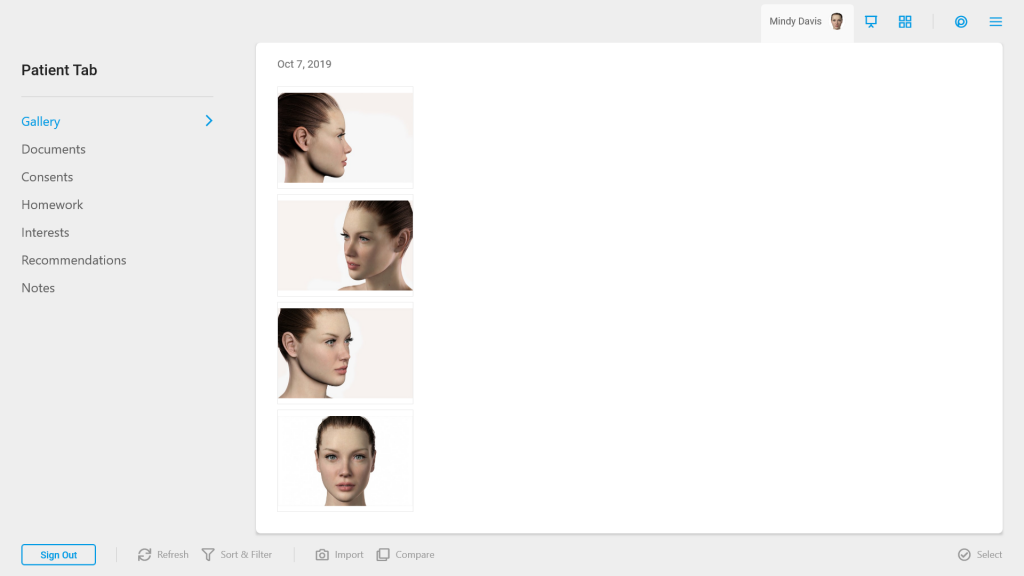
- Gallery:
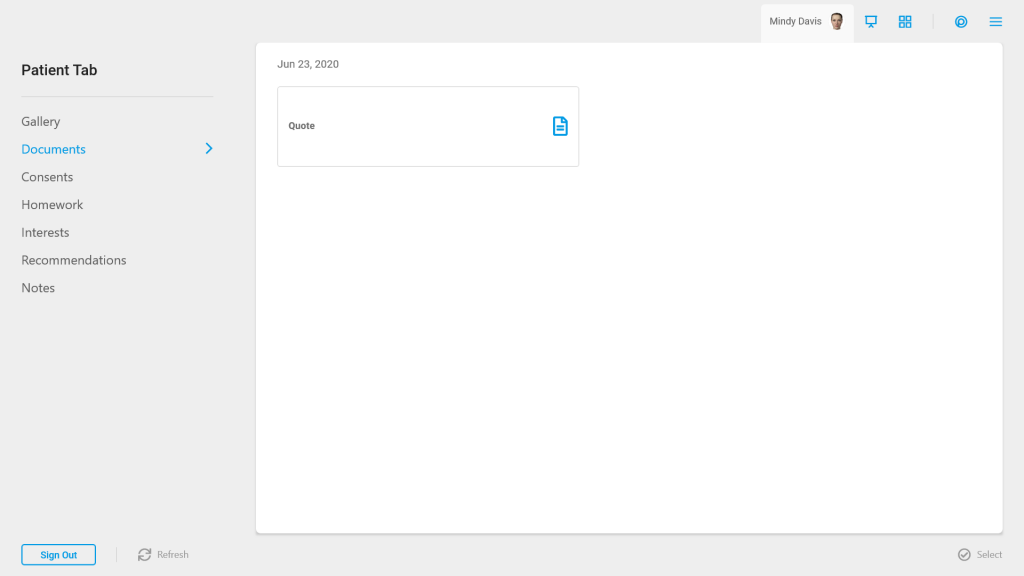
- Documents:
Deleting a File
- Go to dashboard.touchmd.com and select “Patients”
- Search for the desired patient account and select “Files”
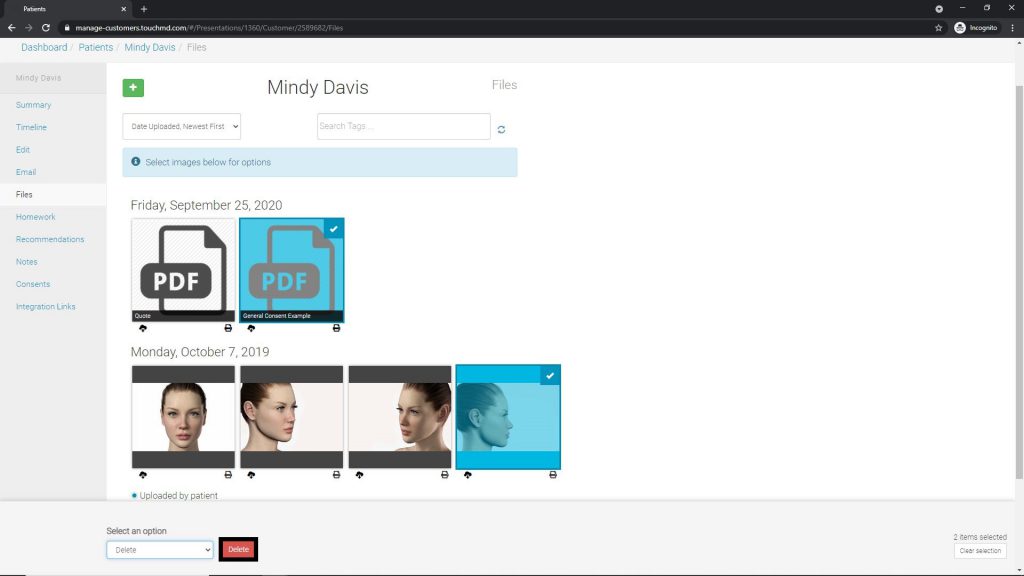
- Select the desired images, and from the menu select “Delete”
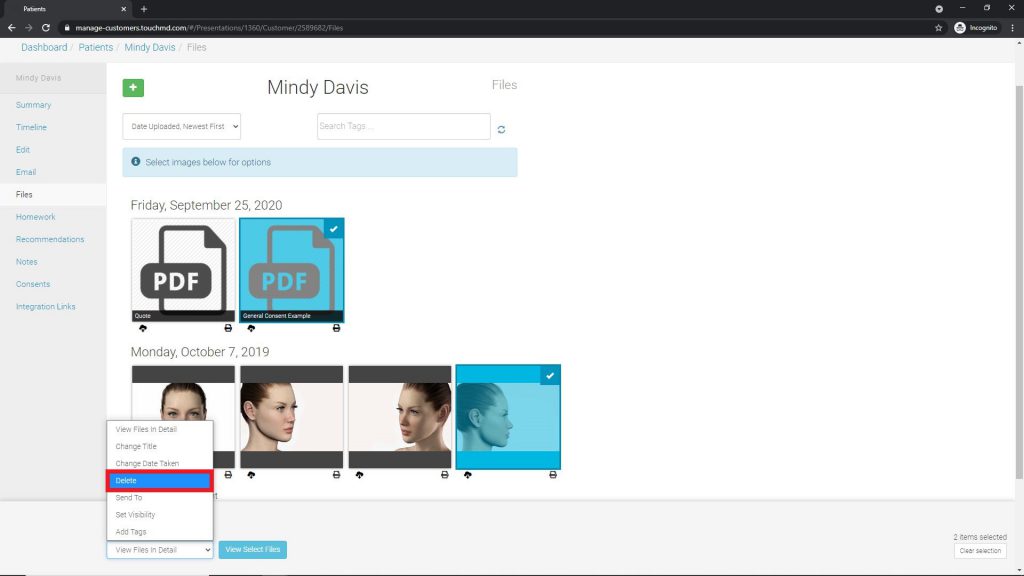
- Choose “Delete”
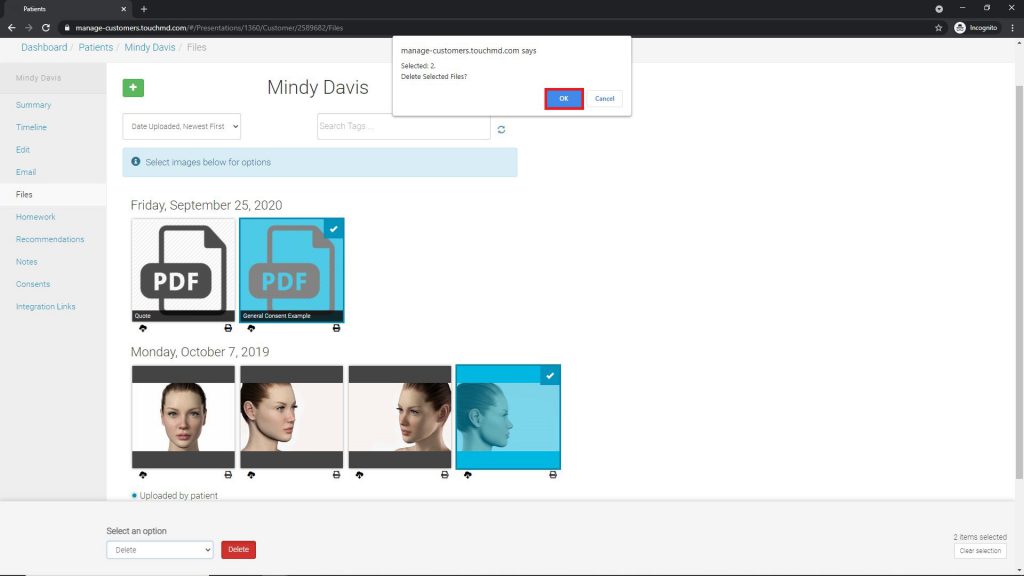
- Verify the action by selecting “OK”
Changing Visibility of a File
- Go to dashboard.touchmd.com and select “Patients”
- Search for the desired patient account and select “Files”
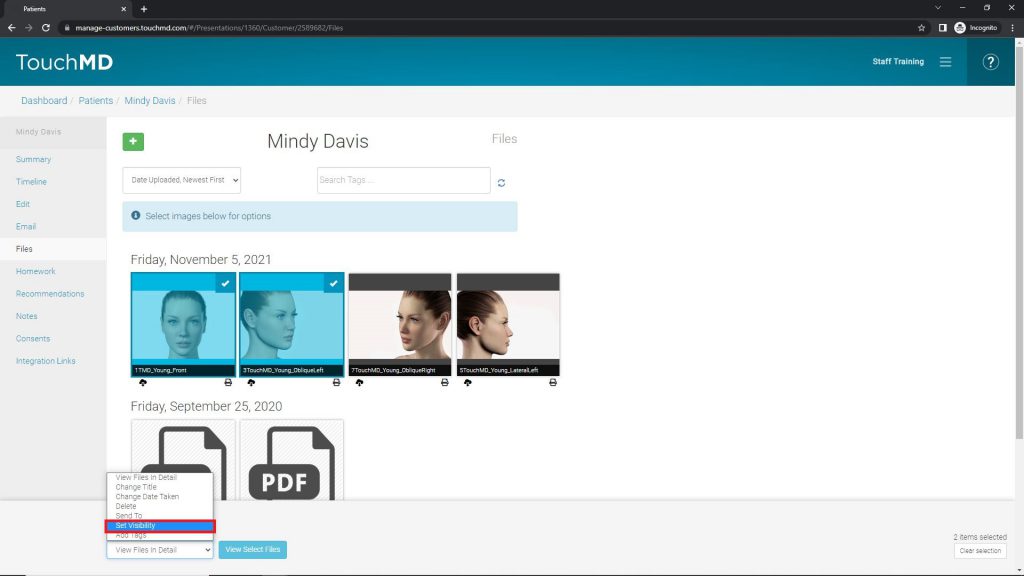
- Select the desired images, and from the menu select “Set Visibility”
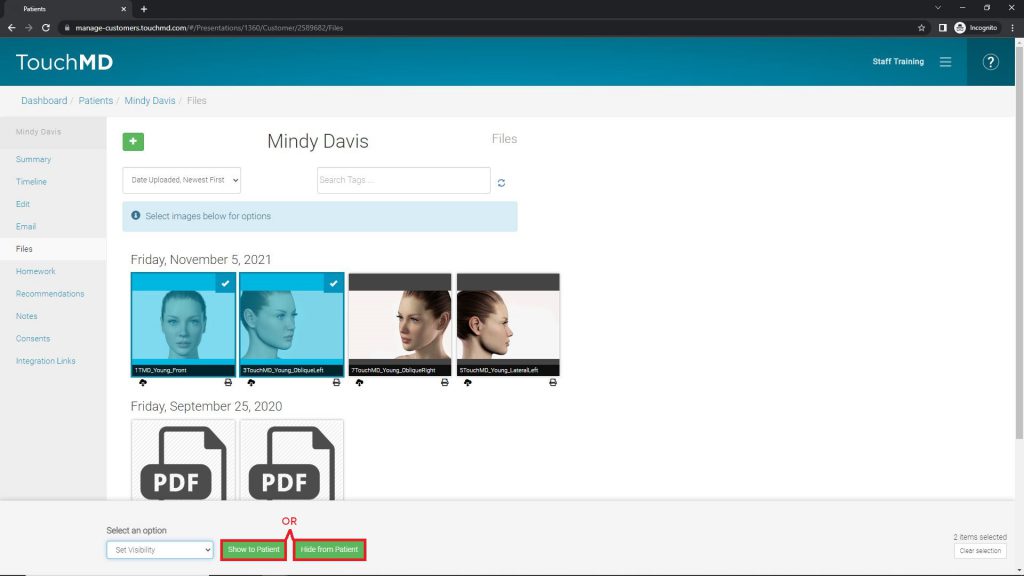
- Choose “Show to Patient” or “Hide from Patient”
 A small gray square will indicate if the image is hidden from the patient
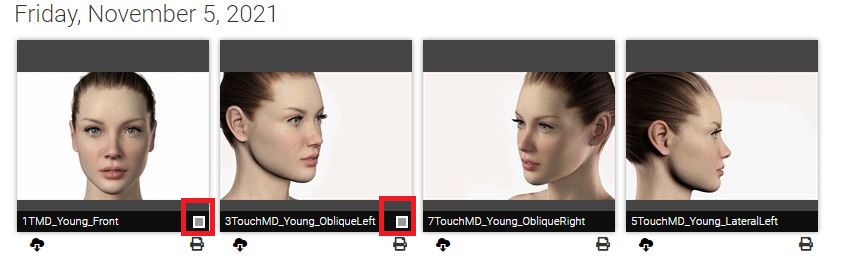
Editing the “Date Taken” of an Image
- Go to dashboard.touchmd.com and select “Patients”
- Search for the desired patient account and select “Files”
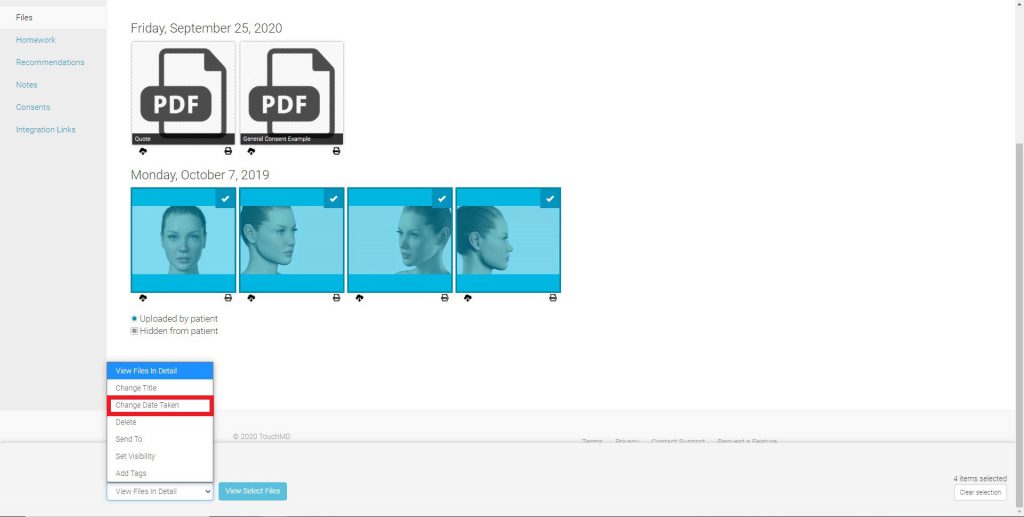
- Select the desired images, and from the menu select “Change Date Taken”
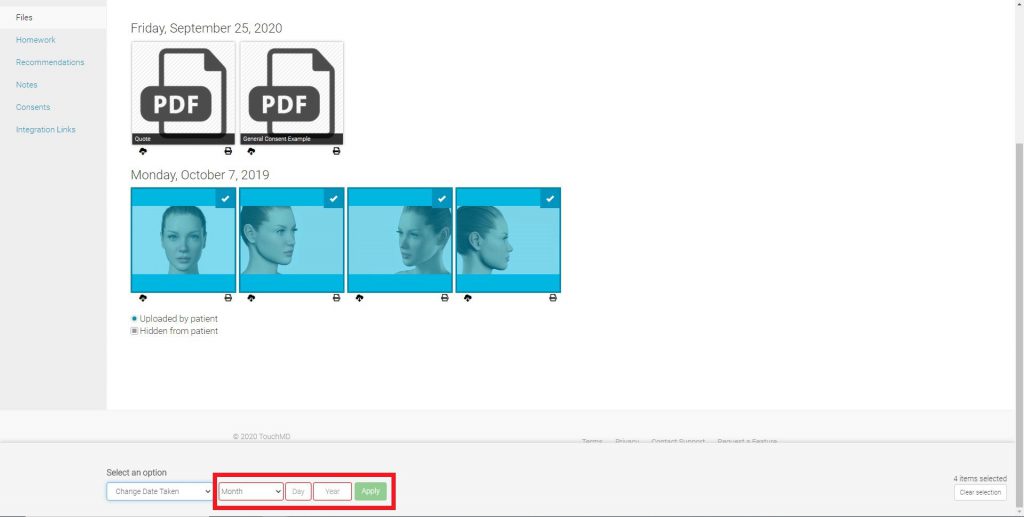
- Edit the date taken to the desired date and select “Apply”
 Consult:
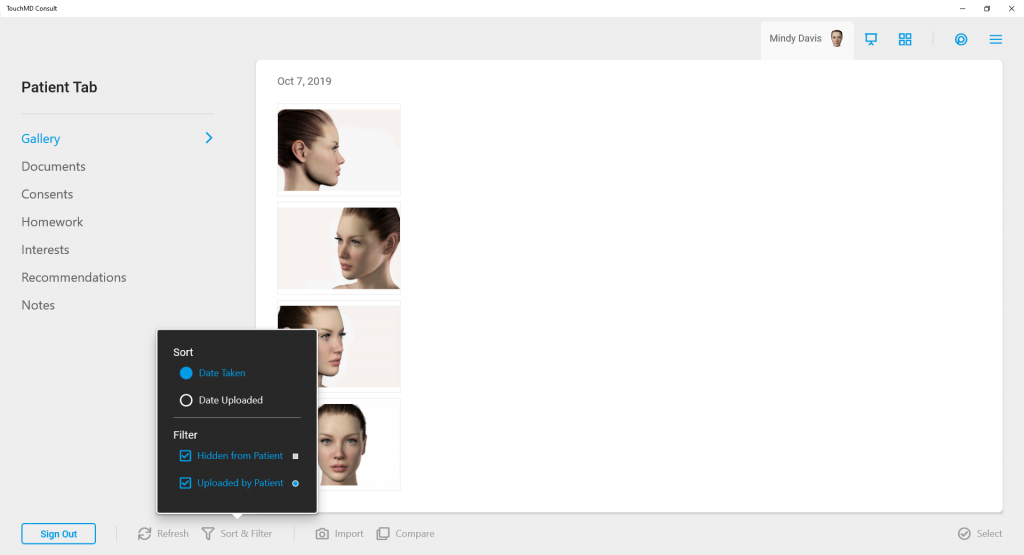
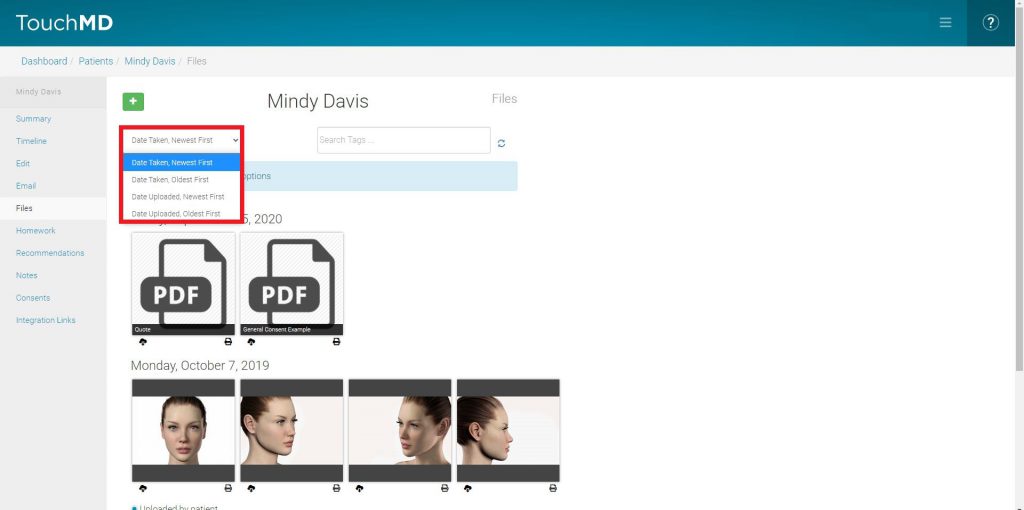
Adjusting the Sort Order of Images:
- Go to dashboard.touchmd.com and select “Patients”
- Search for the desired patient account and select “Files”
- Select the sort order menu and adjust it to your desired view
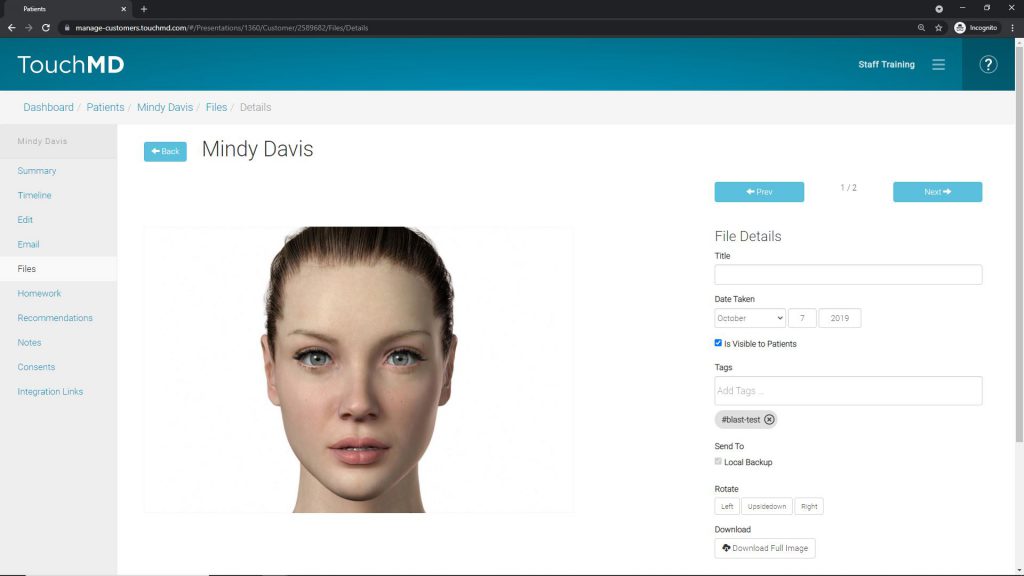
Editing File Details
- Go to dashboard.touchmd.com and select “Patients”
- Search for the desired patient account and select “Files”
- Select the desired images and from the menu select “View Files in Detail” and tap “View Select Files”
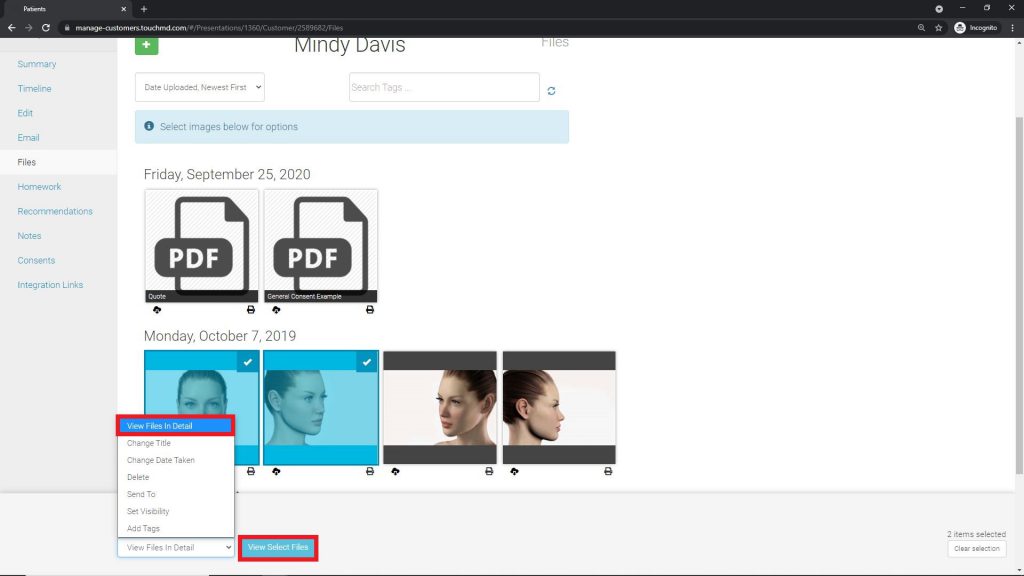
- Edit the desired details including: the title, date taken, image visibility, tags, send-to options, rotation, and downloading the image. (If multiple images are selected use the arrows at the top to move to the next image). Note that details will save automatically.