Using Wired Canon© Connect (iPad)
What is Canon© Connect?
Canon© Connect is a way to connect Canon digital cameras to the TouchMD SNAP through a wired connection, and then upload images taken from the Canon digital camera to a TouchMD patient’s account.
What Canon cameras are eligible?
Canon© Connect wired allows you to utilize most Canon cameras. It is recommended that the camera is at least manufactured in the year 2010 to the latest models and that it is an EOS model. Please note that although the camera may meet the criteria above, it is not guaranteed that a camera will be compatible. Our recommendation would be to utilize recent EOS models.
Recommended Cameras Models:
- EOS Rebel T8i – MSRP $899.99
- EOS RP – MSRP $1,299.00 (required for use with 3rd party flash systems)
- EOS R50 – MSRP $799.00
- EOS R100 – MSRP $599 (required for use with 3rd party flash systems)
Other cameras available (Please note that some models may have been discontinued by Canon, but may be acquired via other avenues):
- EOS Rebel SL3 – MSRP $649.99
- EOS M6 Mark II – MSRP $1,099.00
- EOS 90D – MSRP: $1,199.00 (required for use with 3rd party flash systems)
- EOS M50 Mark II – MSRP $699.99 (required for use with 3rd party flash systems)
- EOS M200 – MSRP: $549.99
Other Required Hardware:
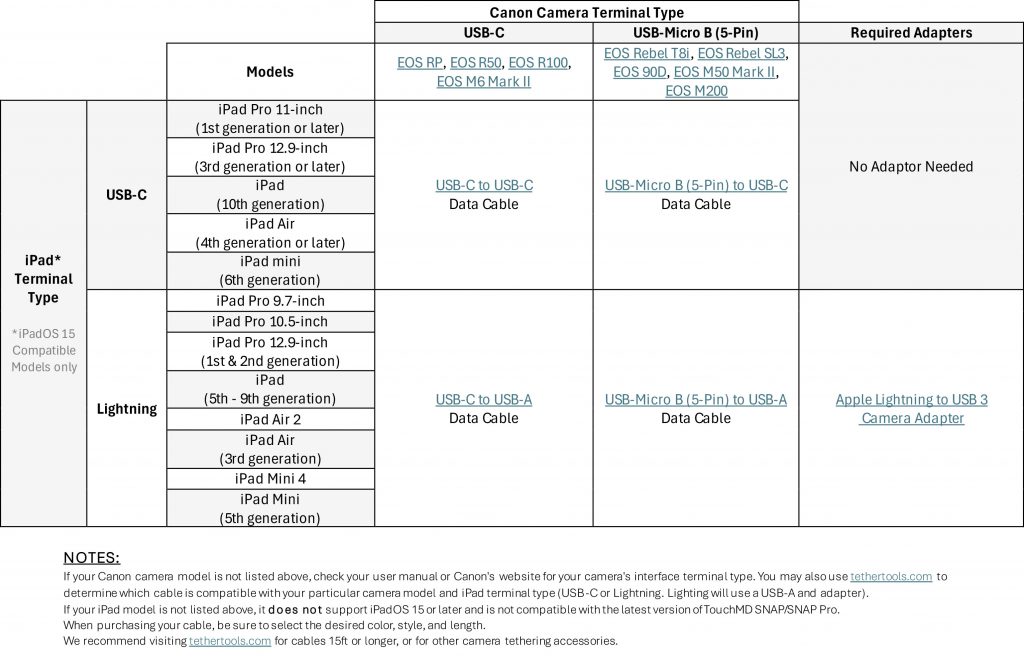
- USB-C to USB-C Data Cable Use for the following recommended camera models when connecting to iPads with a USB-C connector/charging port: EOS RP, PowerShot G7 X Mark III, EOS M6 Mark II, EOS R50, EOS R100
- USB Micro-B (5-Pin) to USB-C Data Cable Use for the following recommended camera models when connecting to iPads with a USB-C connector/charging port: EOS Rebel T8i, EOS Rebel SL3, EOS M200, EOS M50 Mark II, EOS 90D.
- USB-C to USB-A Data Cable Use for the following recommended camera models when connecting to iPads with a Lightning connector/charging port: EOS RP, PowerShot G7 X Mark III, EOS M6 Mark II, EOS R50, EOS R100
- USB Micro-B (5-Pin) to USB-A Data Cable Use for the following recommended camera models when connecting to iPads with a Lightning connector/charging port: EOS Rebel T8i, EOS Rebel SL3, EOS M200, EOS M50 Mark II, EOS 90D.
- For longer cables, utilize this website. This website allows you to determine which cable is compatible with your particular device.
USB Camera Adapters:
- If your iPad does not offer a USB-C connector, a Lightning to USB 3 Camera Adapter is required. If you are not sure if your iPad offers a USB-C connector, select here to learn which models offer it.
SD Card:
- An SD Card is required. It is recommended to use an empty SD card.
Apple iPad:
- Apple iPad Pro
- Other iPads may be utilized, but must compatible with iOS 15 or higher.
- An Apple iPhone maybe used, but “live view” is not available.
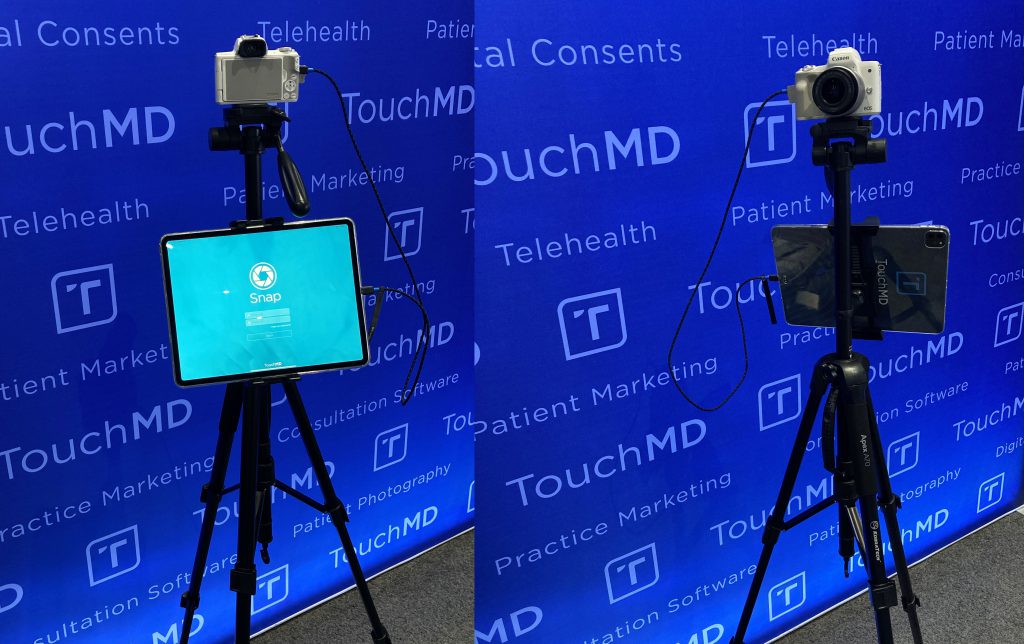
Optional Accessories (Pictured below):
How do I connect my camera?
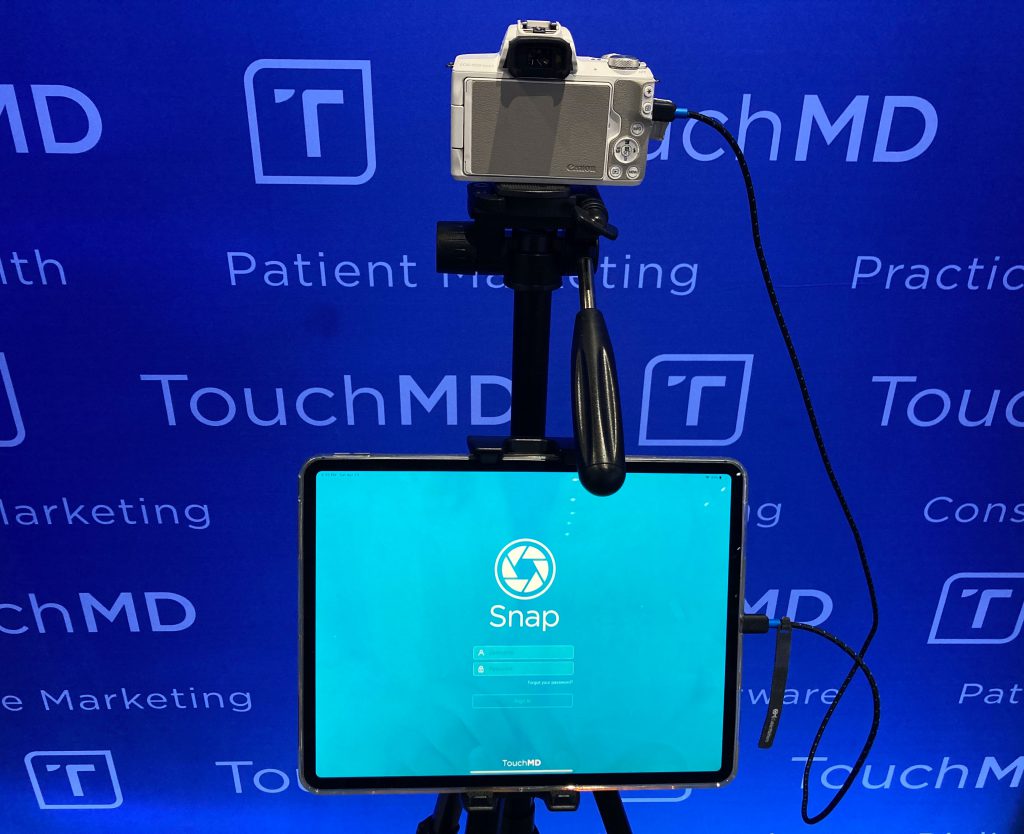
- Plug in your USB data cable compatible with your devices into your camera and iPad. If using an iPad that does not have an USB-C connector, a Lightning to USB 3 Camera Adapter will need to act as the connection point between your iPad and USB data cable that is connected to your camera. Ensure that you also have an empty SD card in your camera.

- Open and log into the TouchMD Snap and access a patient account on your iPad and power on your camera. A message should pop at the top of the Snap letting showing your connection status to the Canon Camera. After a few seconds this message will disappear, however your camera will remain connected until your power off your camera at which time a new message will let you know your camera is disconnected. NOTE: If the camera automatically powers off during the photo session, just cycle off/on the camera’s power switch to restore the connection.

- You are now ready to get started taking pictures using your Canon camera and uploading them to TouchMD! To learn how, please see this link: Uploading pictures with Canon Connect on a Wired iPad“
Uploading pictures with Canon Connect on a Wired iPad
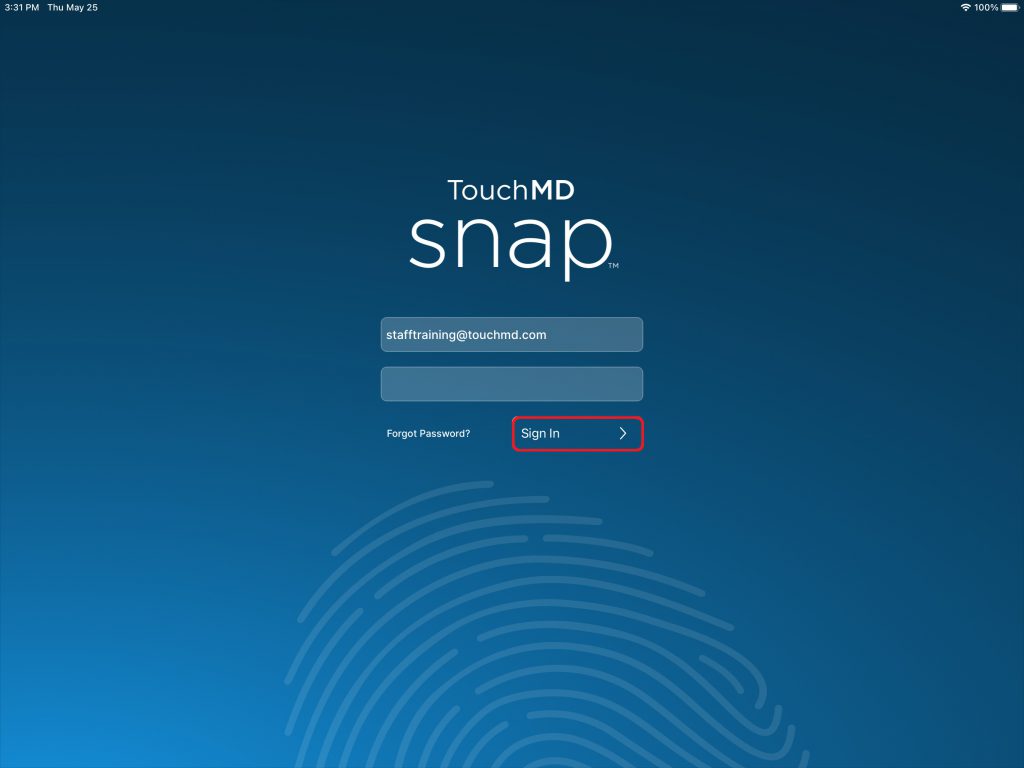
- Open and log into the Snap app with your TouchMD username and password
- Make sure your camera is connected to the iPad and power on your camera. (Ensure that you have an empty SD card in the camera)

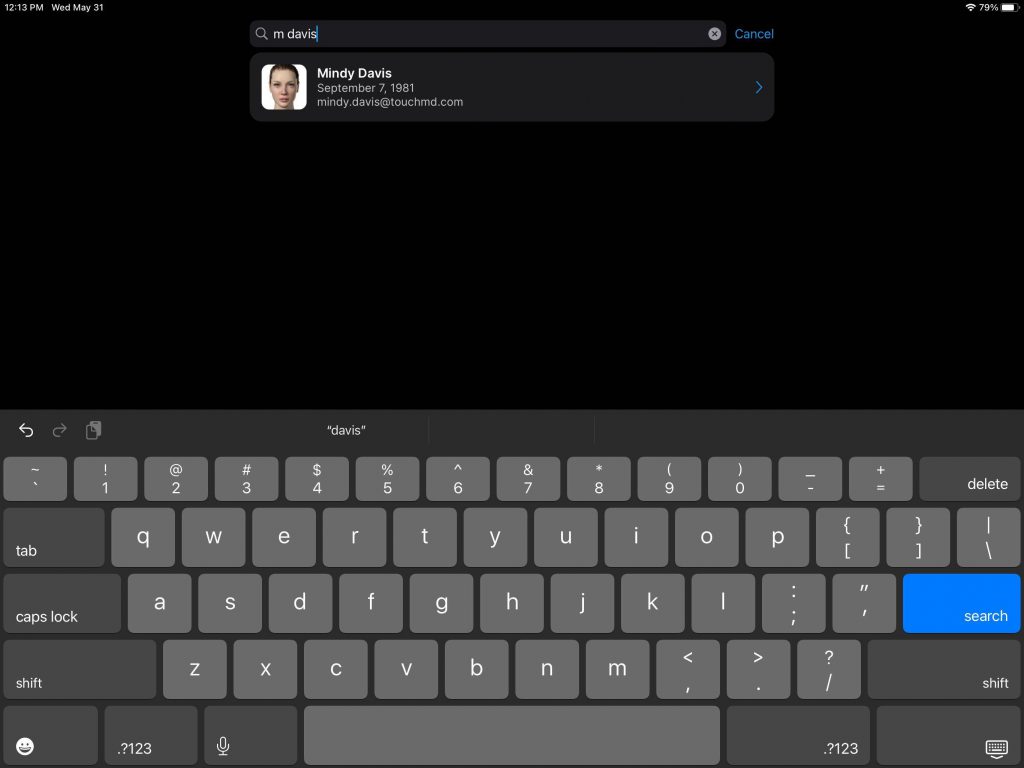
- Search for the desired patient
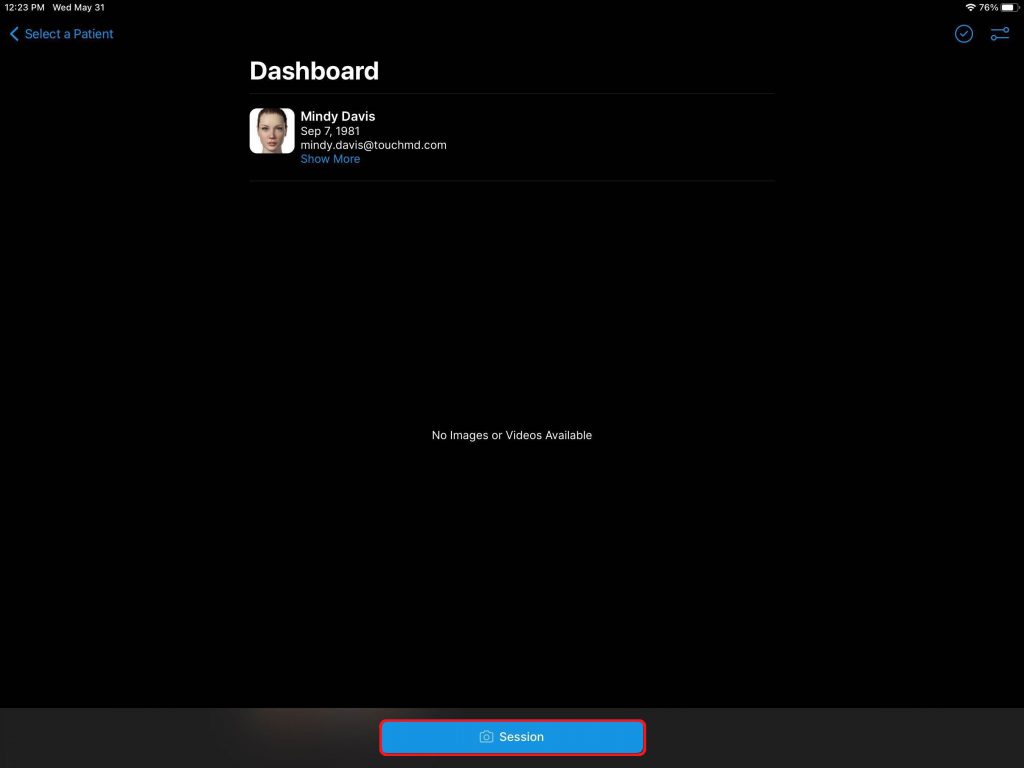
- Select “Session”
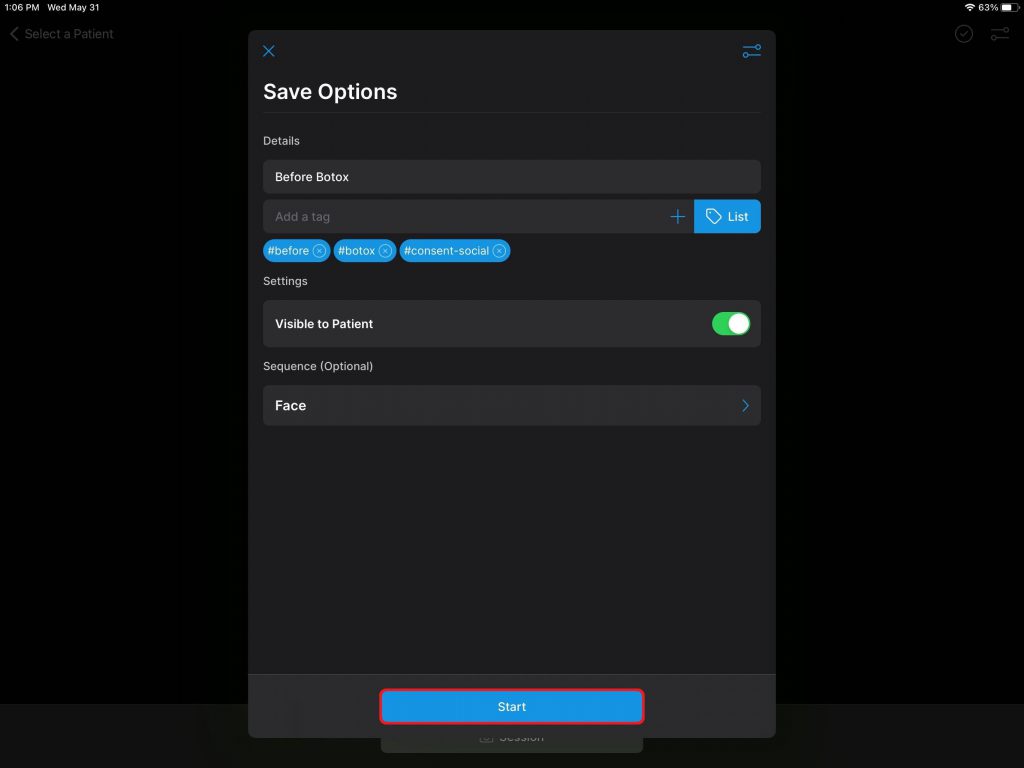
- Review the Save Options and select “Start”
- A message should pop at the top of the Snap showing your connection status to the Canon Camera. After a few seconds this message will disappear, however your camera will remain connected until you power off your camera at which time a new message will let you know your camera is disconnected. NOTE: If the camera automatically powers off during the photo session, just cycle off/on the camera’s power switch to restore the connection

You will be brought into the “Live View” mode automatically as seen above. - Take the desired photos of the patient with your Canon camera either by pressing on the camera’s shutter button or the built-in shutter button in the Snap app
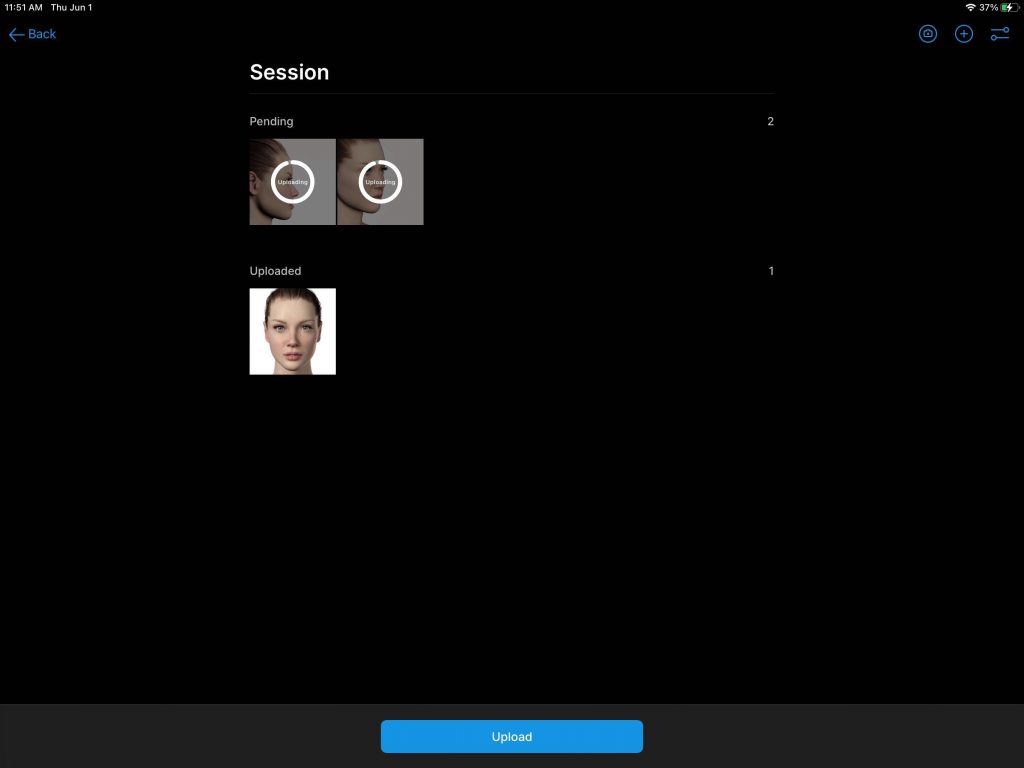
- The photos will be added to the file queue. If your Save Options were set to “Auto Upload” they will automatically upload. If your Save Options were set to “Manual Upload“, tap “Upload”
