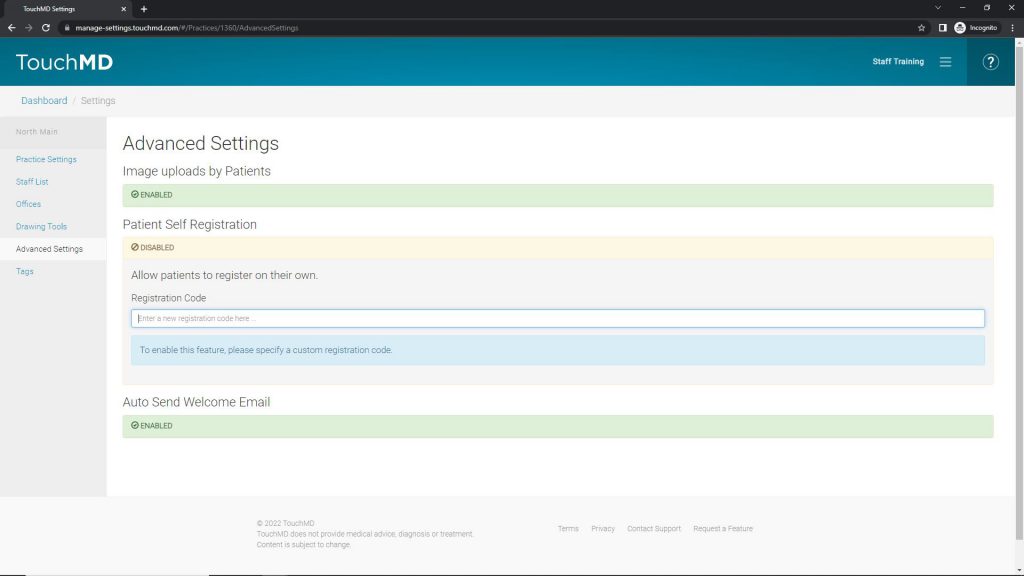
Learn about the Advanced Settings on the TouchMD Dashboard which include enabling the Patient Image Upload and the Patient Self Registration options.
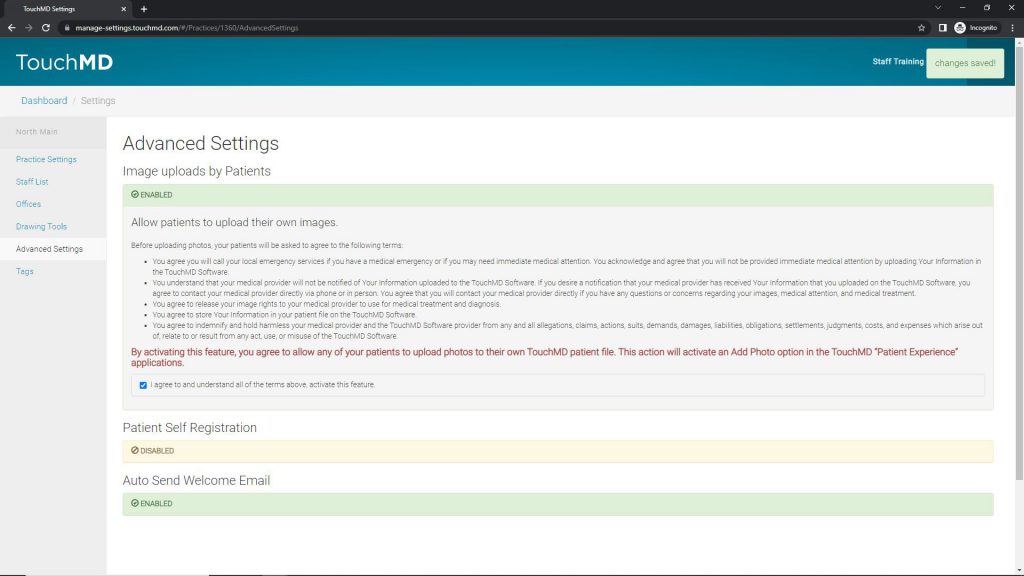
Patient Image Upload:
Learn how to enable the Patient Image Upload option. If you would like to learn the steps that a patient would take to upload a photo, select the following link: Assisting Patients to Upload an Image
- Login to dashboard.touchmd.com
- Select “Settings”
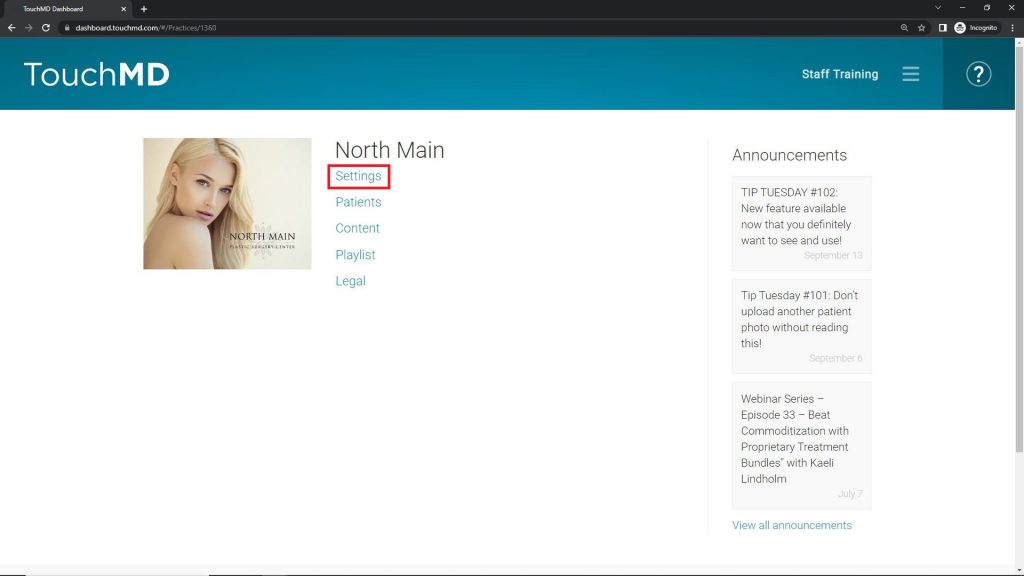
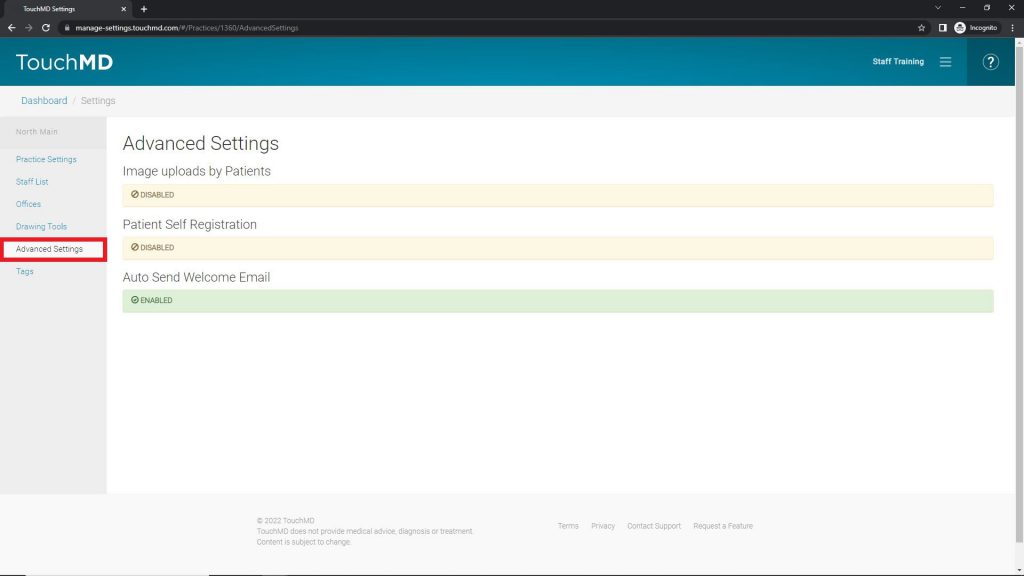
- Select “Advanced Settings”
- If you desire to enable this feature, check the box

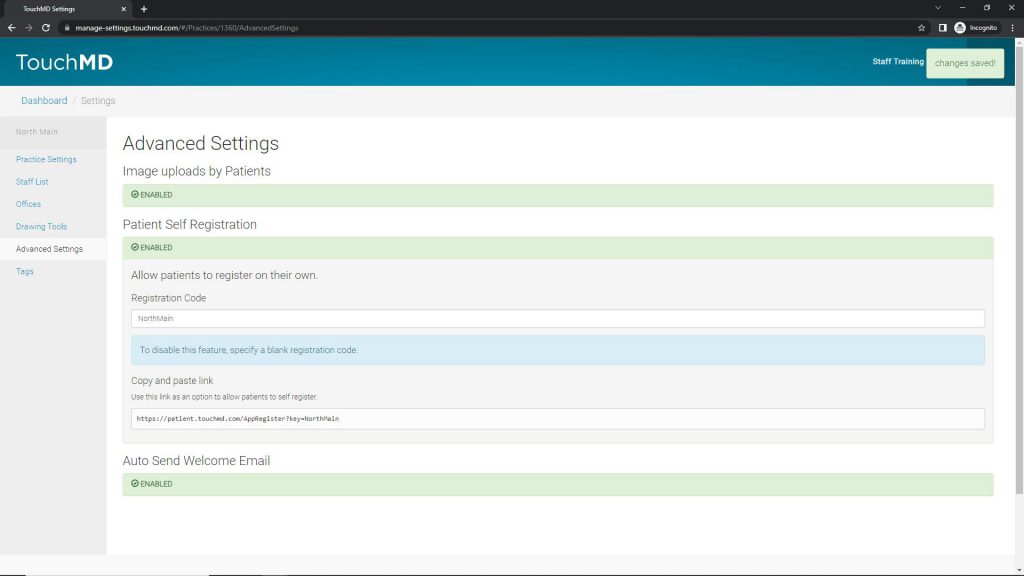
Patient Self Registration:
Learn how to enable the Patient Self Registration option.
- Login to dashboard.touchmd.com
- Select “Settings”
- Select “Advanced Settings”
- Enter in a unique registration code such as the last 4 digits of the practice/clinic phone number or a variation of the practice/clinic name. A unique URL will be produced and this may be provided to your patient
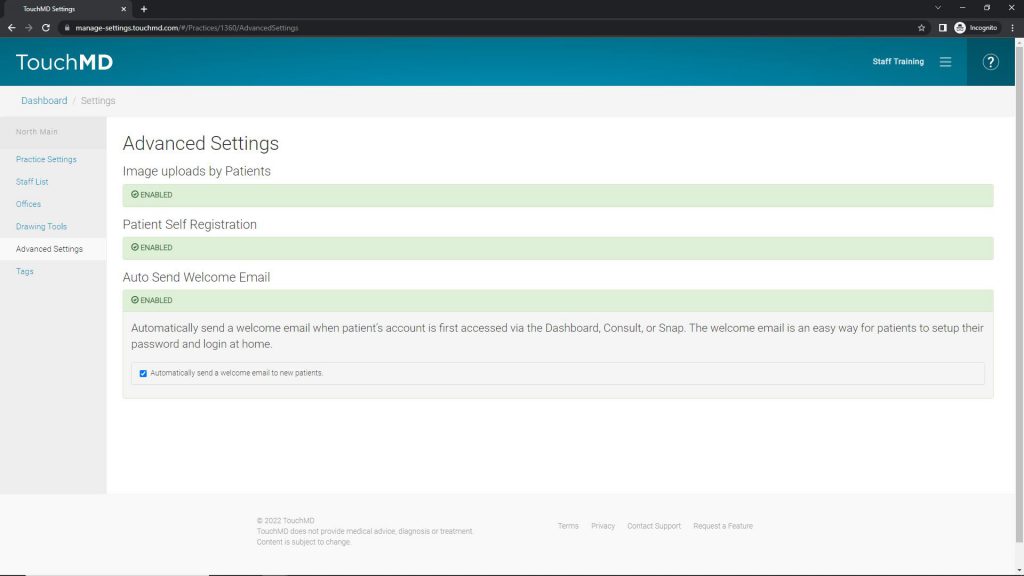
Auto Send Welcome Email:
Learn how to enable a TouchMD Welcome Email that will automatically send to your patients after they have been accessed via the TouchMD Dashboard, the Consult app, or the Snap app. Do you want to know how to customize the Welcome Email? If so, select here. Do you want to know when the Welcome Email will be sent? Select here.
- Login to dashboard.touchmd.com
- Select “Settings”
- Select “Advanced Settings”
- Leave this box checked if you want the Welcome Email to automatically sent to patients. Deselect if you would prefer to manually send this to patients