1. Home
  2. Patient Experience
  3. Assisting Patients to Upload an Image

Assisting Patients to Upload an Image

Learn how to assist your patients to upload photos into their secure TouchMD account.

Before You Begin

Before you begin ensure that the Patient Image Upload setting has been enabled. Learn how to do so by using this link: Advanced Settings

Have your patient do the following:

Step 1: Install & log into the myTouchMD patient app

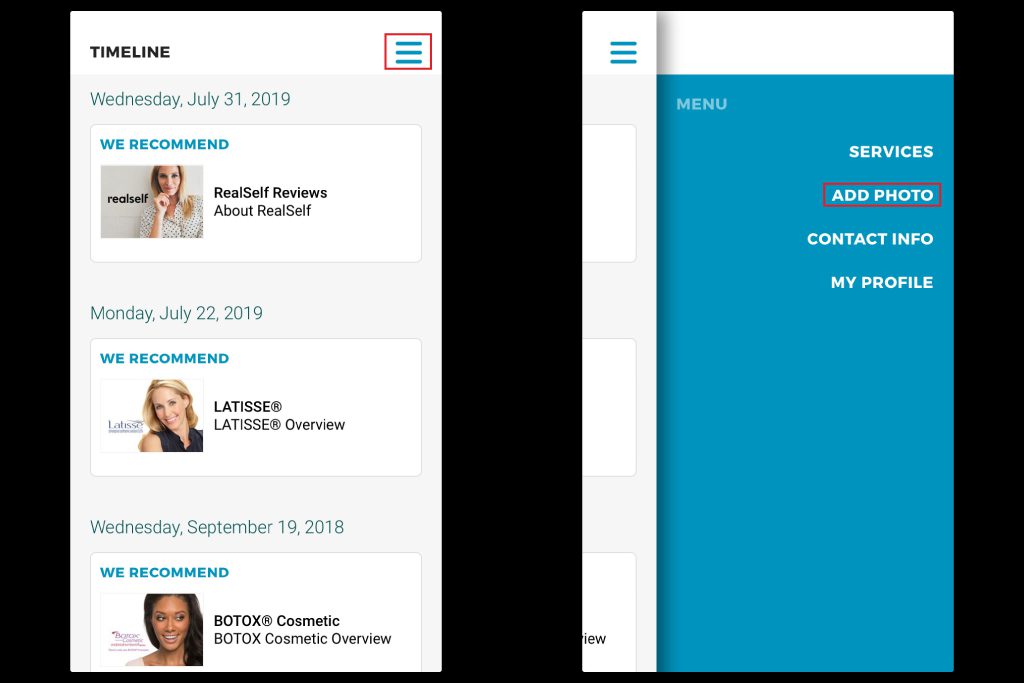
Step 2: Select the menu in the upper right-hand corner and tap “Add Photo”

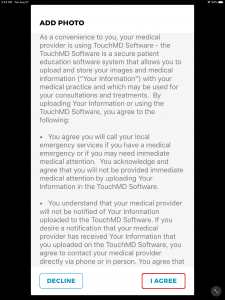
Step 3: Review and agree to the terms by selecting “I Agree”

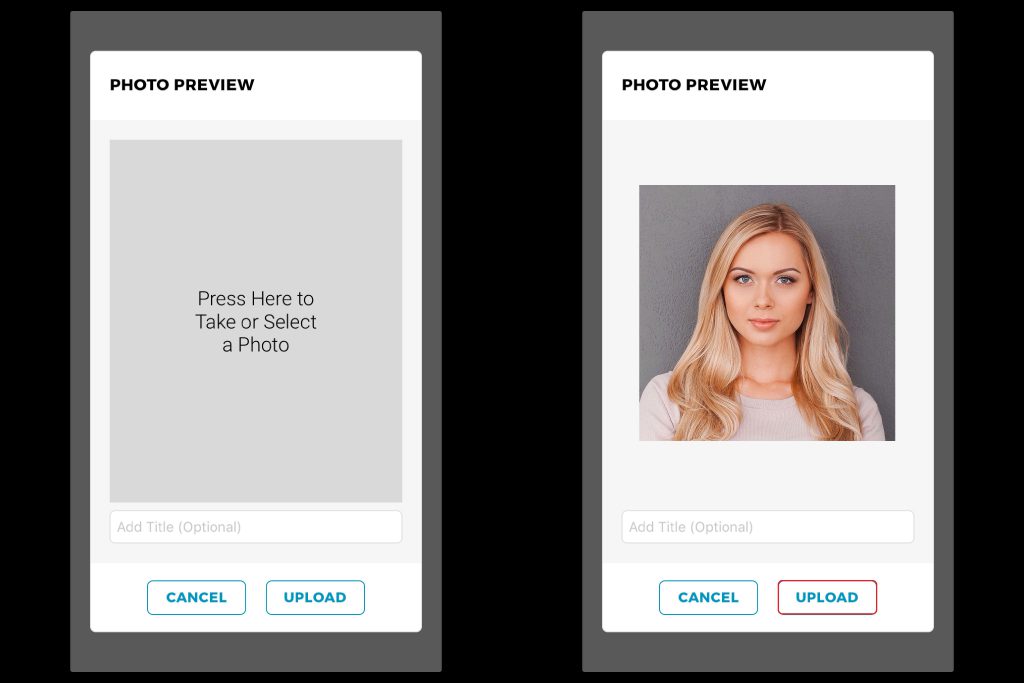
Step 4: Take or upload a photo and select “Upload”

Instructions for the Patient

Need instructions for them? Send the patient this link or send patient the PDF listed below in “Article Attachments”

Print

Updated on August 19, 2022

Article Attachments

Was this article helpful?

Related Articles

Leave a Comment