This article discusses how to setup an Aesthetic Record Scheduler (Booking Plan) to use in conjunction with TouchMD.
- Open a web browser and go to: https://app.aestheticrecord.com/touch-md-signup/booking
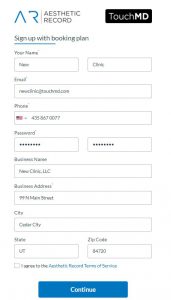
- Enter the required details for the doctor/owner of the practice/clinic and select “Continue”
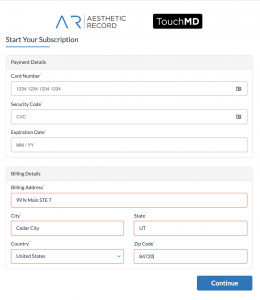
- Supply a credit card and its billing details to be placed on file with Aesthetic Record for any additional charge incurred through your use of Aesthetic Record services and select “Continue”
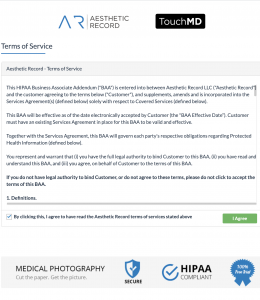
- Read and agree to Aesthetic Record’s HIPAA Business Associate Addendum
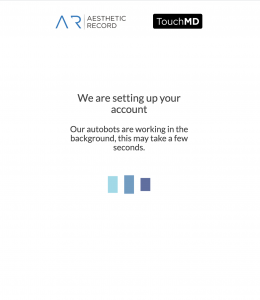
- Allow the autobots to set up your Aesthetic Record account
- Feel free to download the Aesthetic Record Training Agenda & Schedule Your first Onboarding Session

- Locate the Online Booking URL and supply the All Clinics URL to your TouchMD Client Success representative or [email protected]
To do so, please see Aesthetic Record Settings: “Appointments”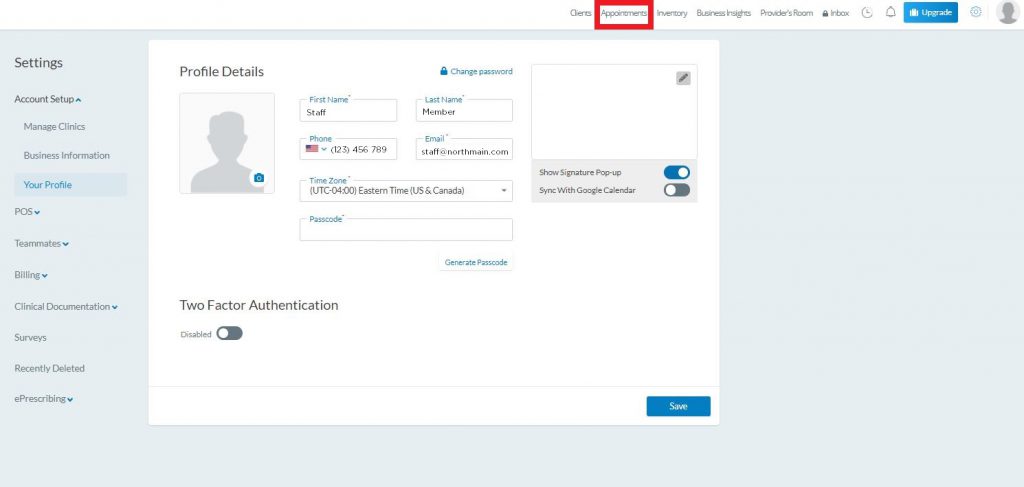
“Smart Configuration”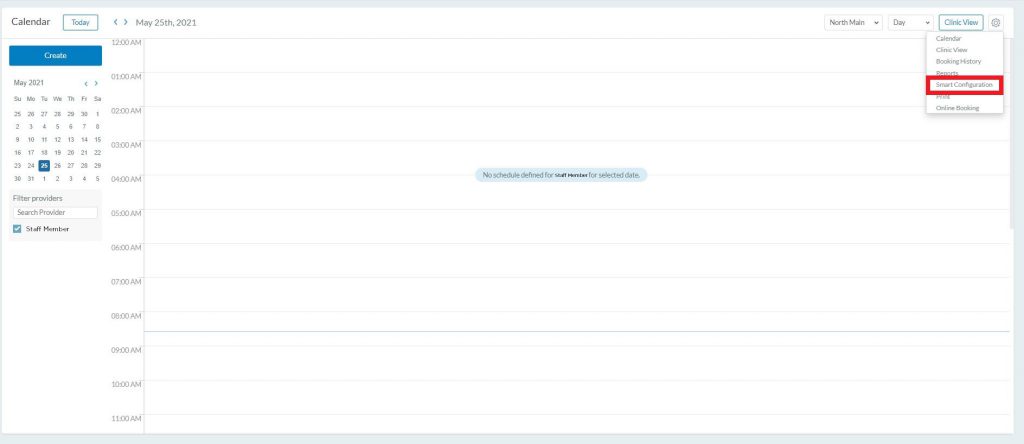
“Booking Portal”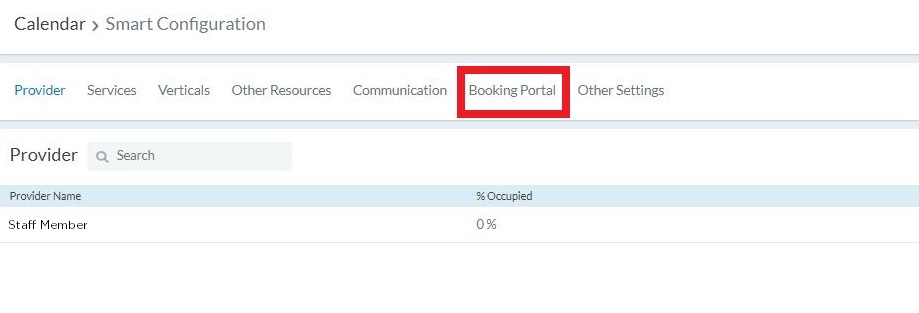
“All Clinics URL”