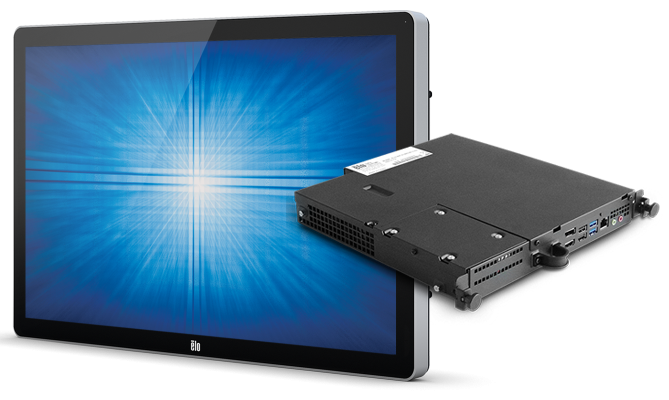
The following are assembly instructions for installers receiving an ELO Interactive Digital Signage (IDS) touchscreen monitor and an ELO Computer Module (ECM)
- Upackage the ECM and IDS per the instructions on the shipping boxes (for protection during the install, keep the foam screen protector attached to the front of the IDS).
- CAREFULLY place the IDS on a smooth flat surface with the screen down. Use the shipping foam still attached to protect the screen.
- Remove the ECM docking from the rear of the IDS
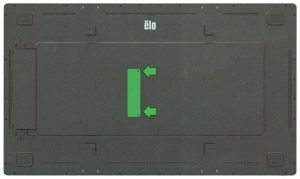
- Plug the power module into the ECM dock on the rear of the IDS (the ECM may be pre-installed or installed later).
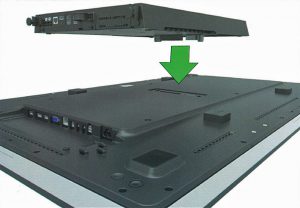
- Tighten the 4 captive screws in the corners of the ECM power module.
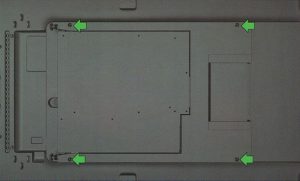
- Mount the IDS to any VESA compliant wallmount (400 x 400) using the extension spacers and screws included in the ECM box.
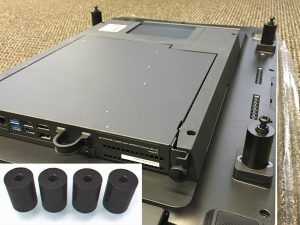
- Remove the foam & plastic sscreen protection from the screen once mounted.
- If using a wired network, connect an Ethernet cable to the ECM’s ethernet port. Otherwise, use an optional USB WiFi Adapter plugged into a USB port on the ECM.
- Plug in the power supply cord, and boot the computer using the power button on the rear bottom right corner of the screen.
- Press the On-screen Display (OSD) button above the power button on the rear bottom right corner of the screen to popup the OSD menu
- From the OSD menu, select “Audio Settings” and select “ECM Line In” from the “Audio Select” section to utilize the monitor’s speakers for the ECM. Adjust volume to 100% (the actual volume level will be set within Windows to the desired level).
- Open the Microsoft Store, search for and install the TouchMD Consult app (if not already installed).
- Open the TouchMD Consult app and have a staff member with the “Deployer” security roll enter their TouchMD login credentials to install and sync the practice’s presentation content
