Saving the Image Comparison Slider as a video is easy! While saving the video you are presented with advanced options to customize how your video will appear. Use this article to learn how to save save image comparison slider as a video.
This feature is part of the Consult app’s Image Tray. It allows you to make comparisons between two images. The two images selected will be superimposed on each other. The available slider may be dragged to show less or more of one image over the other. This typically works best with a before and an after image.
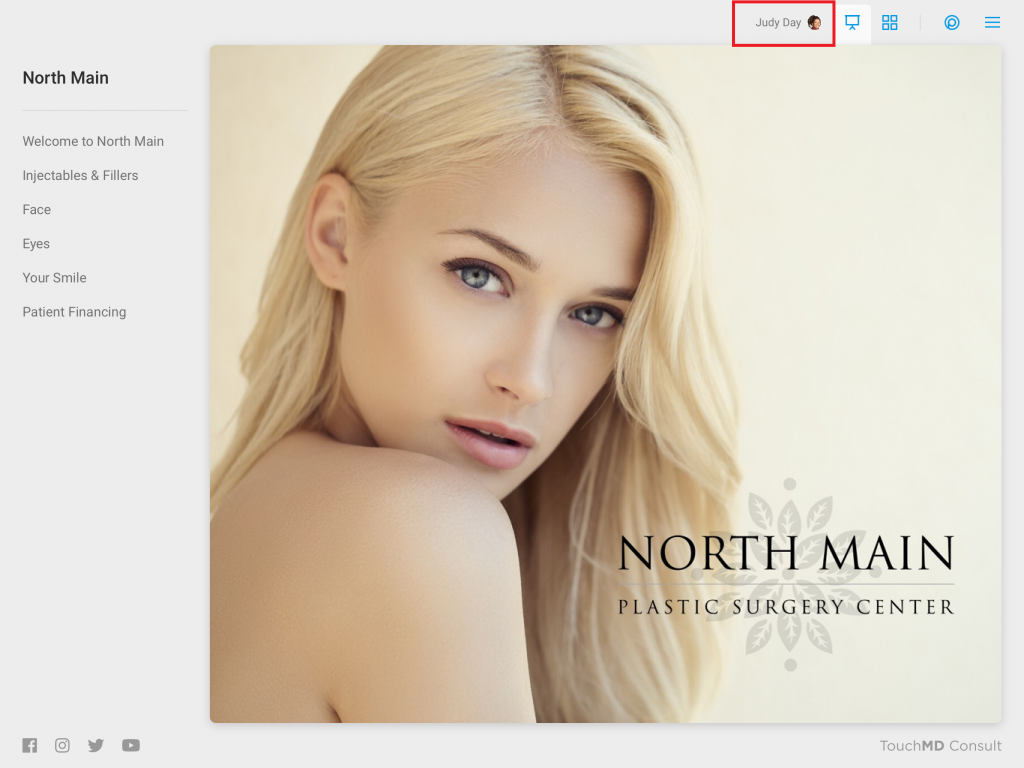
- Begin by accessing a patient account

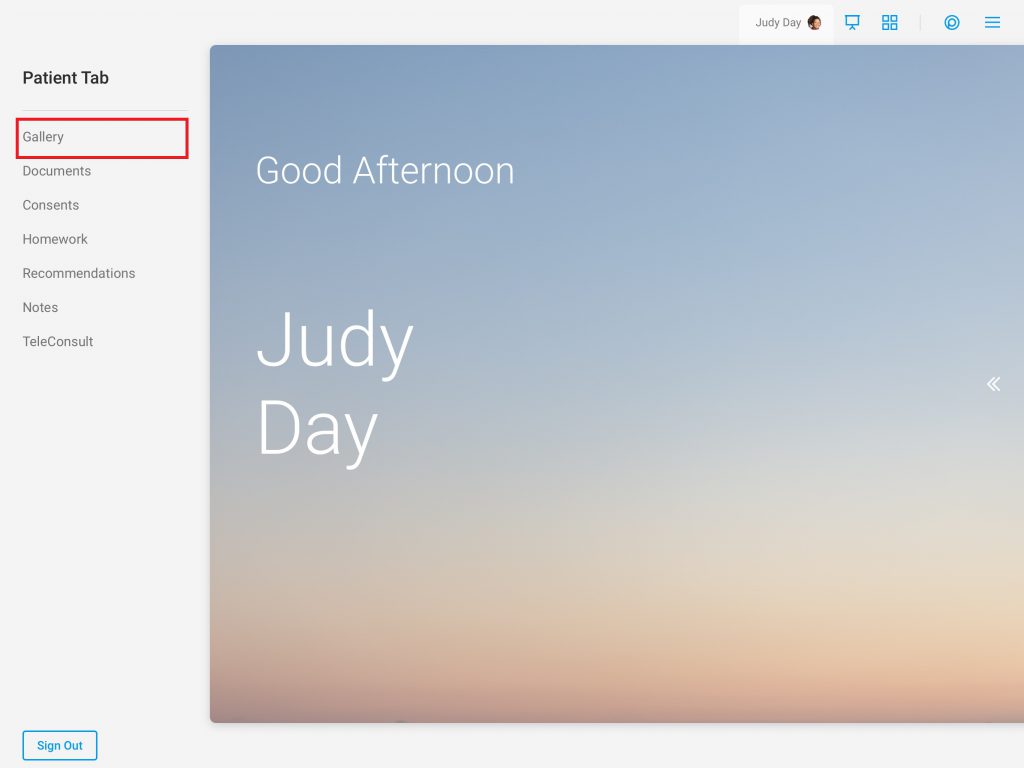
- Select the Patient Tab
- Tap Gallery
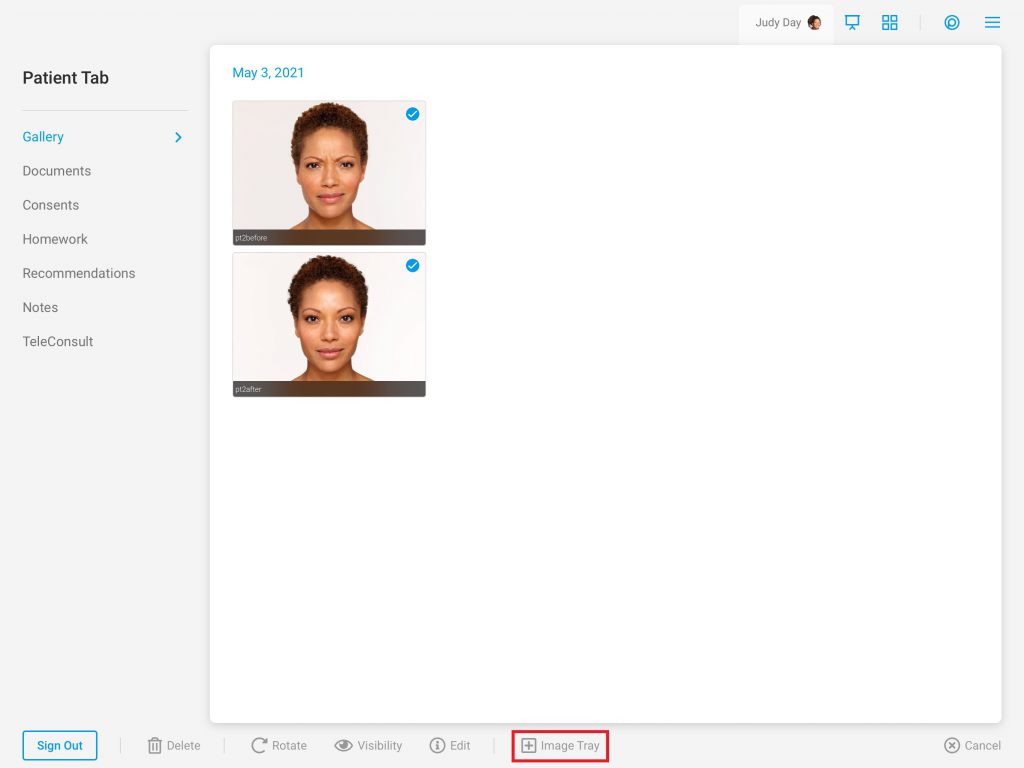
- Tap “Select”
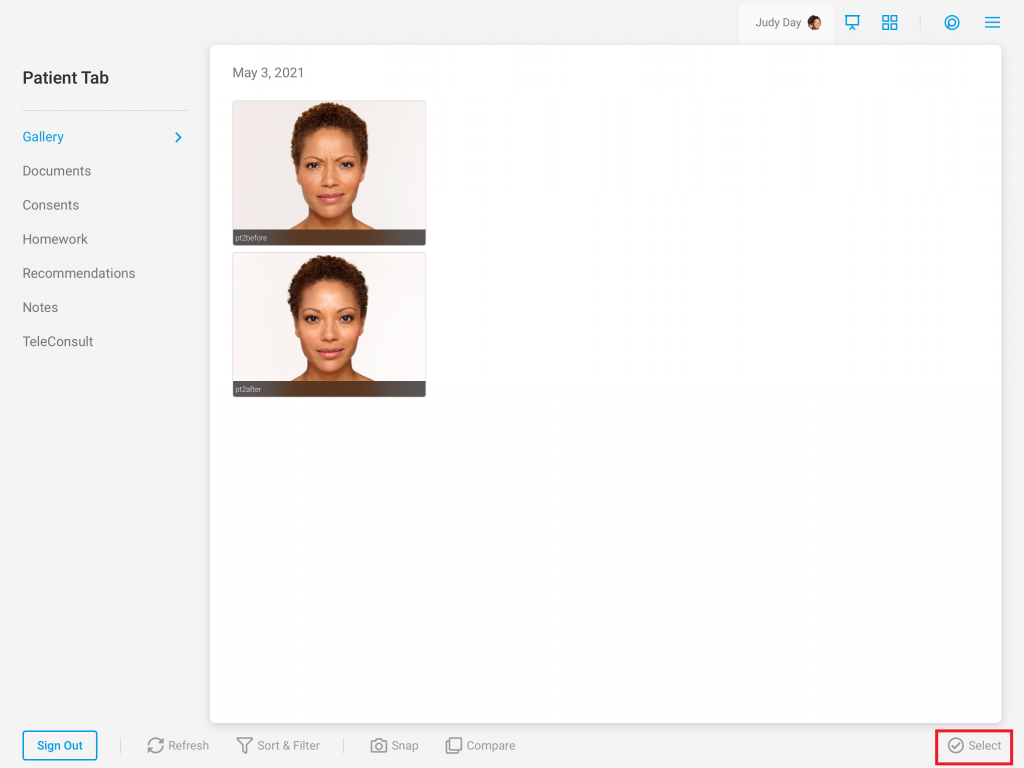
- Choose the desired two images by tapping each image
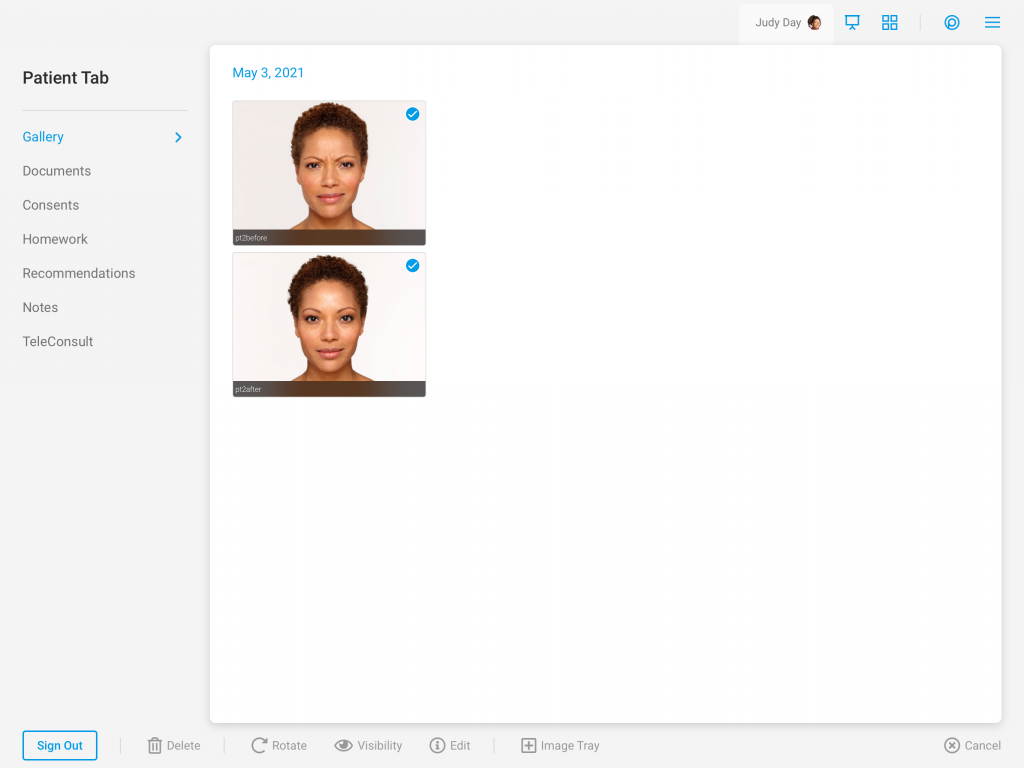
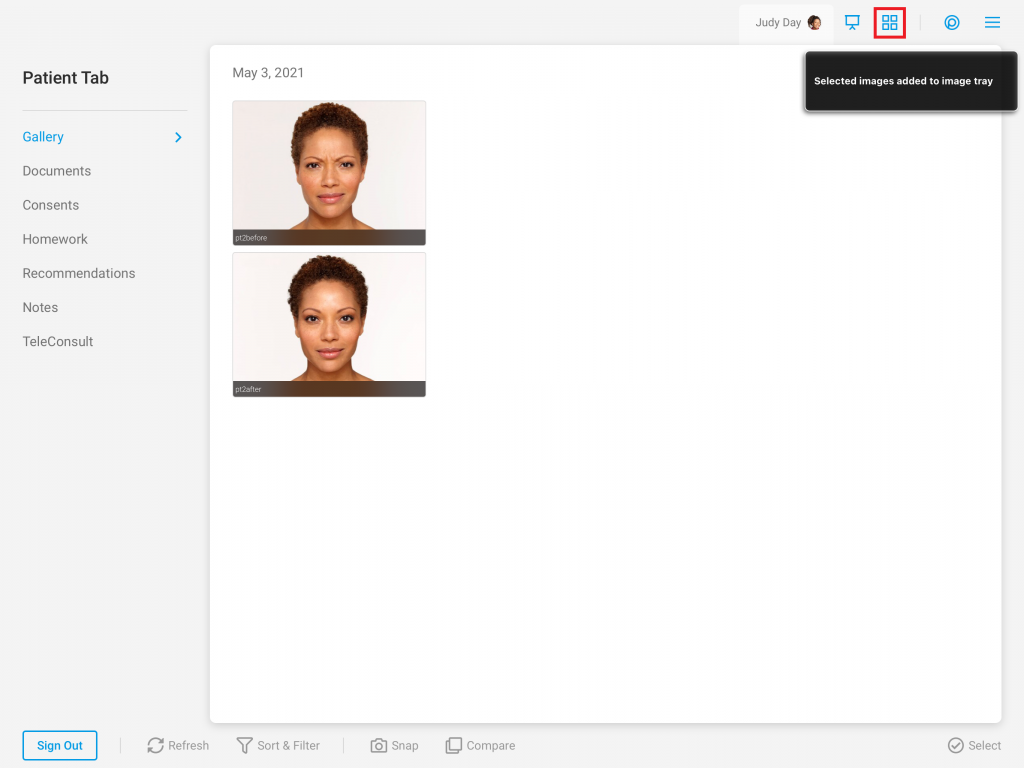
- Tap “+ Image Tray”
- Select the Image Tray Tab
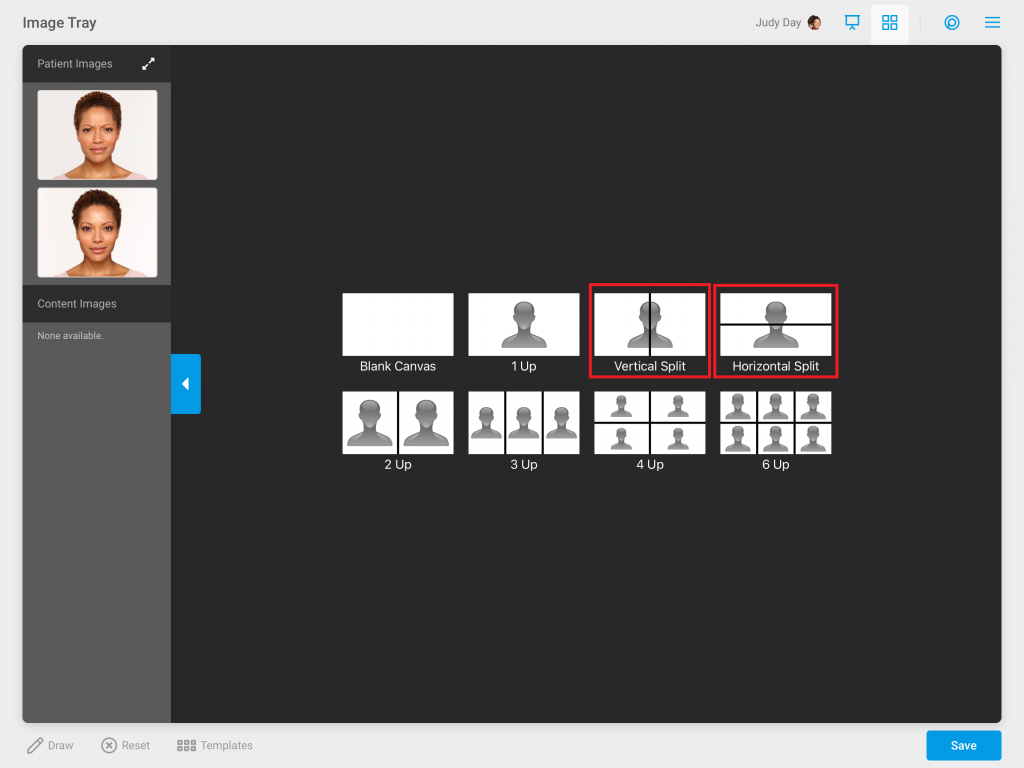
- Tap either the Vertical Split or the Horizontal Split template
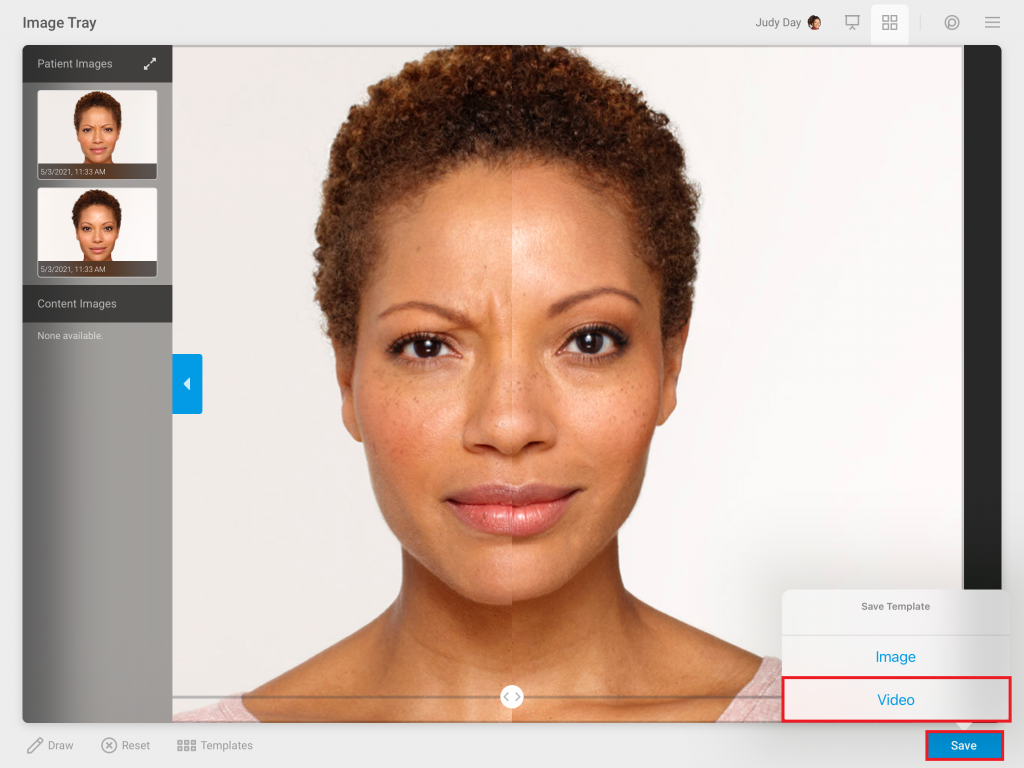
- Drag the images in the desired slots within the template. Resize images as needed

- Select “Save” and choose “Video”
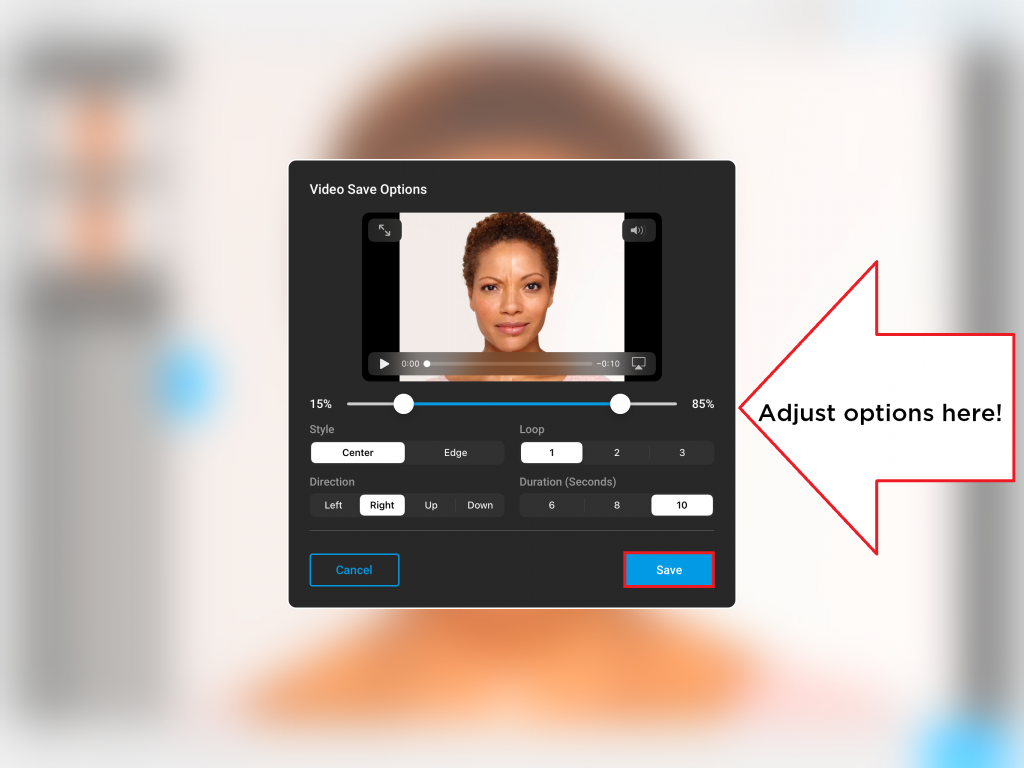
- Adjust the Video Save Options (see more details below) as desired and select “Save”
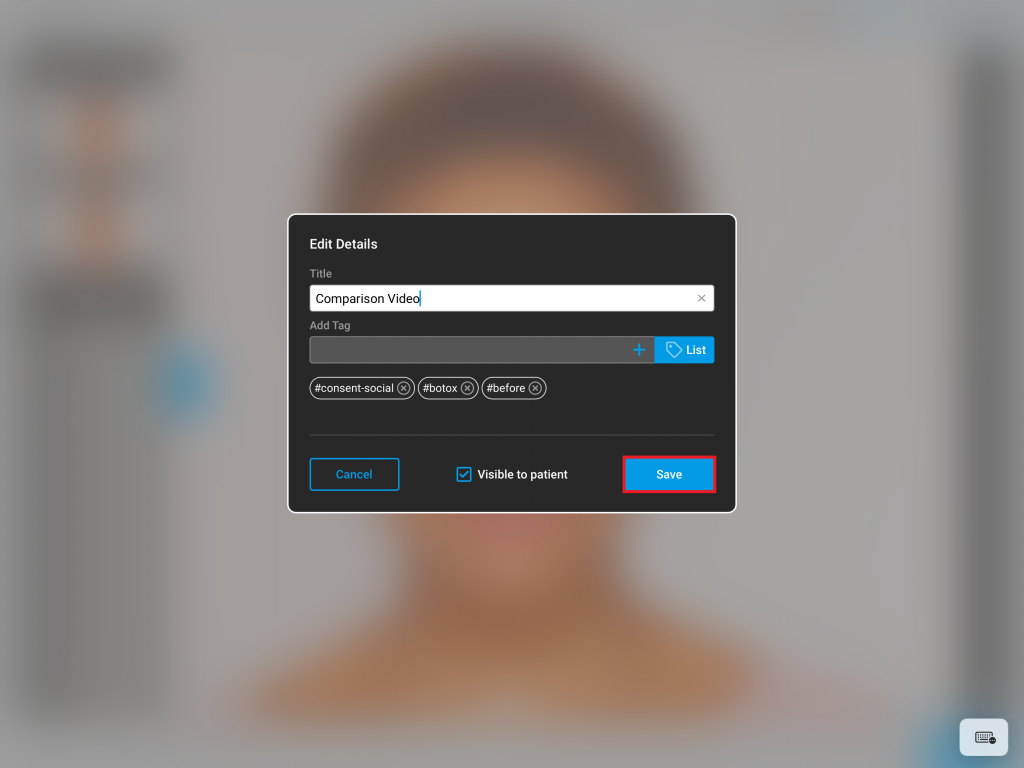
- Determine the details of the video and select “Save”
Save Video Options
Slider/Swipe Starting and Stopping Point
Through this option, determine the exact starting and stopping points of the slider/swipe in the final version of the video. By adjust this option, the slider/swipe range of motion will be more focused on the result rather than the irrelevant areas of the patient face/body and/or background
Style of the Slider/Swipe
Through this option, determine where the motion of slider/swipe begins in the final version of the video. Choices include the “Edge” or the “Center”
Number of Loops
Through this option, determine how many times the motion of the slider/swipe loops in the final version of the video. Choices include 1, 2, 3.
Direction of Slider/Swipe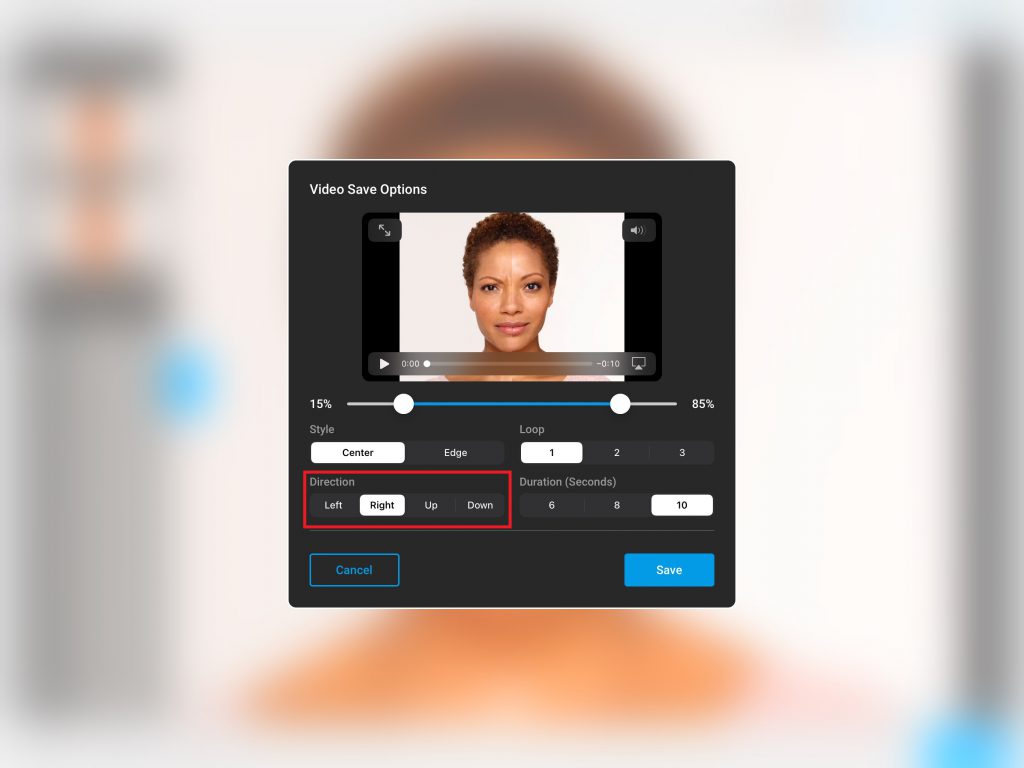
Through this option, determine which direction the motion of slider/swipe begins in the final version of the video. Choices include “Left”, “Right”, “Up” or “Down”
Duration of the Video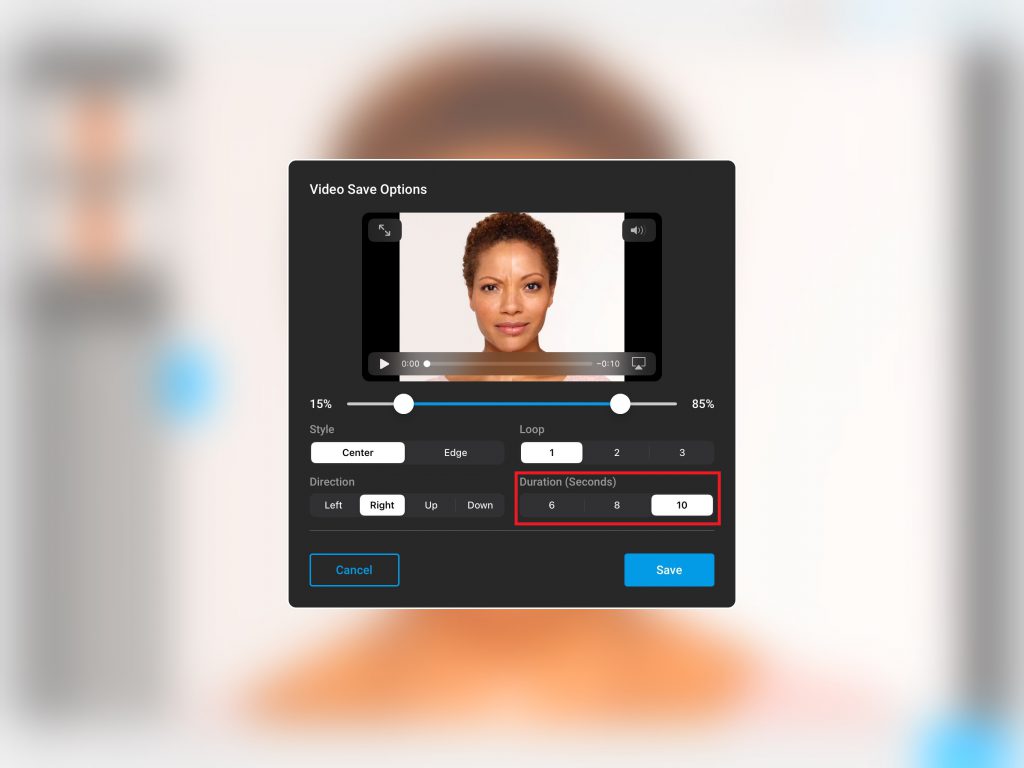
Through this option, choose the length of the video. Note that this will increase the speed of the slider/swipe