- Take the desired pictures of the patient with your Canon camera
- Leave the Canon camera on
- In SNAP, search for the desired patient
- Start a new session for the patient and select your session options (auto upload is recommended). If your Canon camera is on, SNAP will automatically connect to it at this point. NOTE: If you would like to verify connection, you can swipe left on session options to reveal the “Canon Camera Control API screen”. If connected, this screen will display “Connected Canon camera successfully”
- On the SNAP camera preview screen, tap the session review button

- On the session screen, tap the Camera button in the upper right corner. This will display the most recent image available on the SD card in your Canon camera (if pictures from the camera do not display here, see the WiFi Troubleshooting section below):
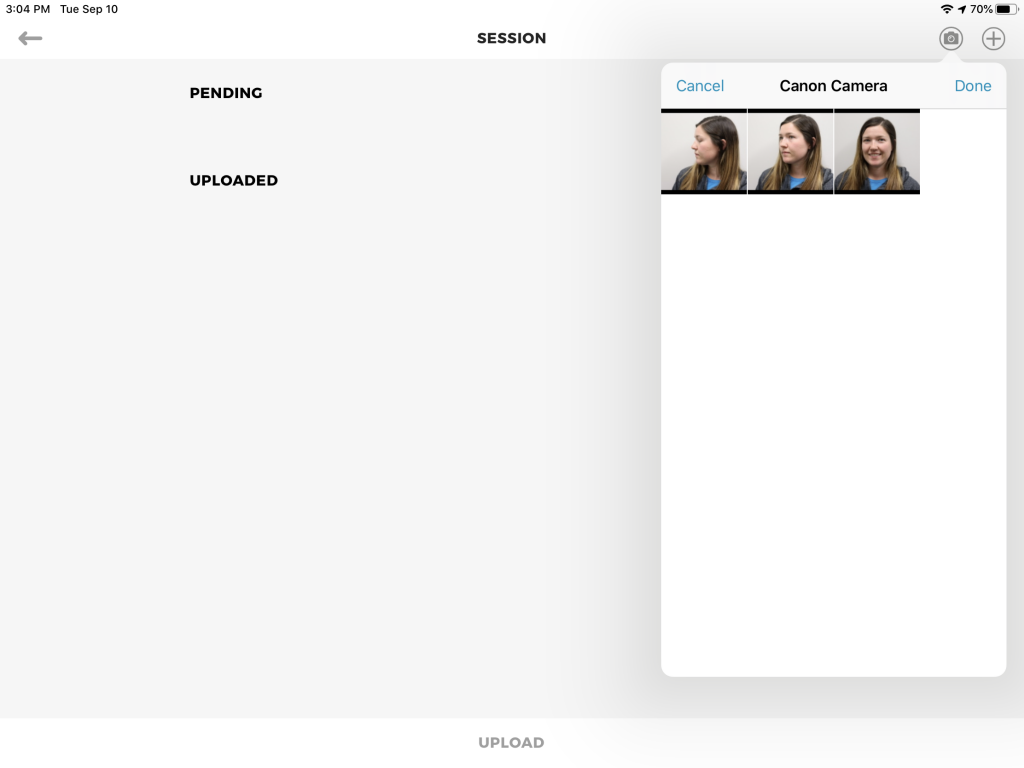
- Tap the pictures you would like to transfer from your Canon camera to SNAP (a blue check mark will display on selected images), and tap the done button:

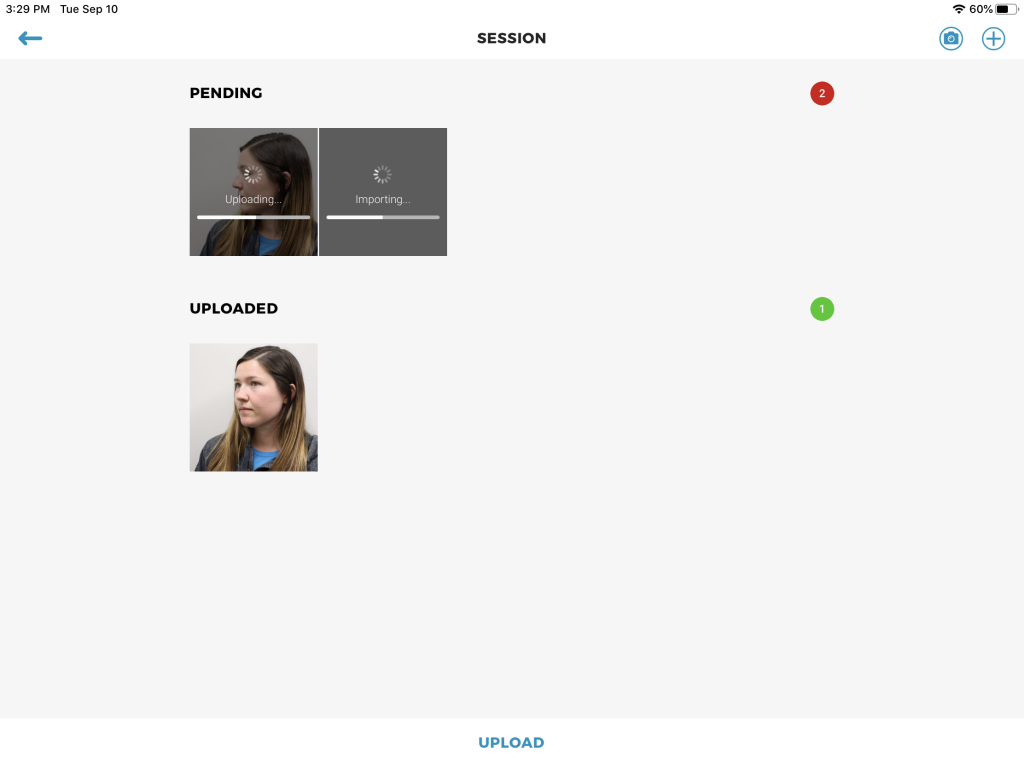
- The images will begin importing from the camera to SNAP in the pending image list. If you have “Auto Upload” set (recommended), pictures will begin uploading to the Patient’s TouchMD file:

- Pictures successfully uploaded to Patient’s TouchMD file, will display in the uploaded image list:
- When all pictures successfully transferred from the Canon camera and uploaded to Patient’s TouchMD file the pending image list will be empty:
 Note: If you have the “Auto Upload” session option disable, you will need to tap the “Upload” button to save the images to the Patient’s TouchMD file.
 - Tap the back button when done.
- Tap “Done” to end the patient’s photo session and review the images uploaded to the patient’s gallery.

Uploading pictures with Canon Connect on an iPad Wirelessly (No Longer Recommended)
Updated on October 10, 2024