What is Canon© Connect?
Canon© Connect is a way to connect select new Canon digital cameras to the TouchMD SNAP through a WiFi connection, and then upload images taken from the Canon digital camera to a TouchMD patient’s account.
What Canon cameras are eligible?
Canon© Connect is using Canon’s new “CCAPI” technology, which will be available in most new advanced Canon cameras. Since this is new technology built into the camera chipset, it will not be available on older model cameras. Only the cameras listed below are compatible and were specifically designed by Canon to have this technology. Please ensure you use one of these cameras in conjunction with Canon© Connect.
Recommended Cameras Models:
- EOS Rebel T8i – MSRP $899.99
- EOS RP – MSRP $1,899.00 (required for use with 3rd party flash systems)
- EOS M50 Mark II – MSRP $699.99 (required for use with 3rd party flash systems)
- EOS M200 – MSRP: $549.99
- EOS Rebel SL3 – MSRP $649.99
- EOS M6 Mark II – MSRP $1,099.00
- EOS 90D – MSRP: $1,199.00 (required for use with 3rd party flash systems)
USB Data Cables:
- Canon Interface Cable IFC-600PCU (USB to Micro-B 5-Pin) – MSRP: $12.80. Use for the following recommended camera models: EOS Rebel T8i, EOS Rebel SL3, and EOS M200. If you already have a generic or phone USB to Micro-B 5-Pin data cable, it is worth a trying the CCAPI Activation with it before ordering a Canon cable. However we can’t guarantee compatibility.
- Canon Interface Cable IFC-100U (USB-C to USB-C) – MSRP: $60. Use for the following recommended models: EOS RP and PowerShot G7 X Mark III. If you already have a generic or phone USB to USB-C or USB-C to USB-C data cable, it is worth trying the CCAPI Activation with it before ordering a Canon cable. However we can’t guarantee compatibility.
SD Card:
It is recommended to use an empty SD card.
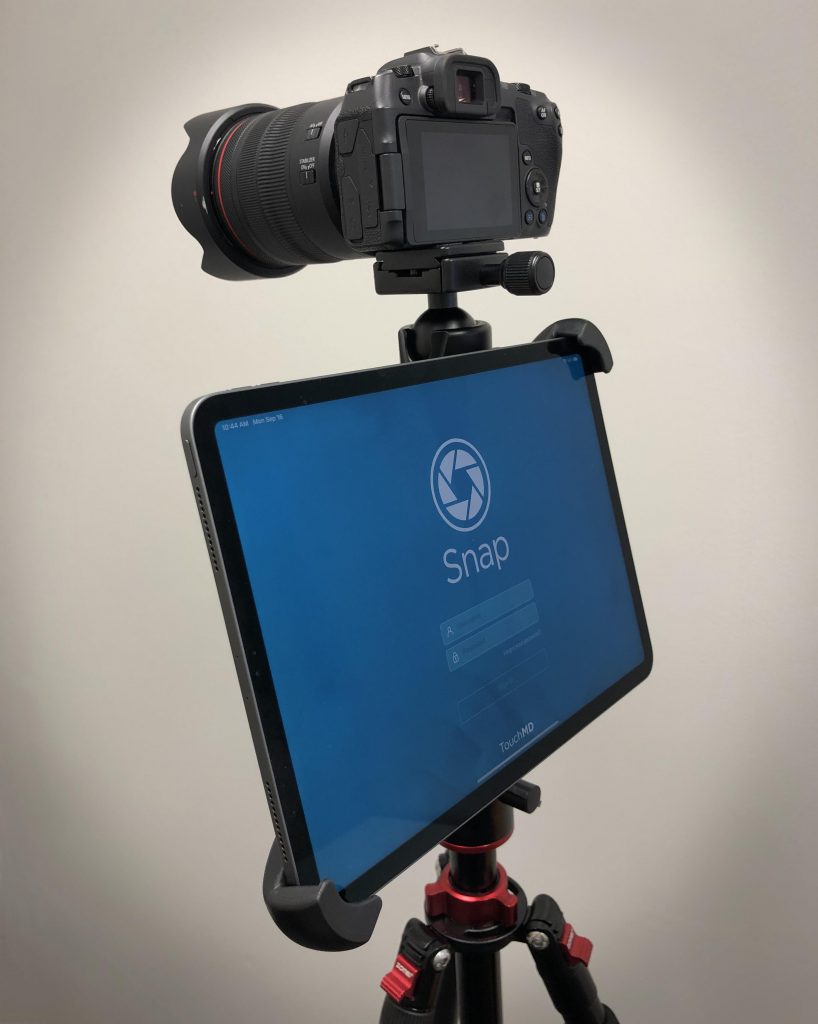
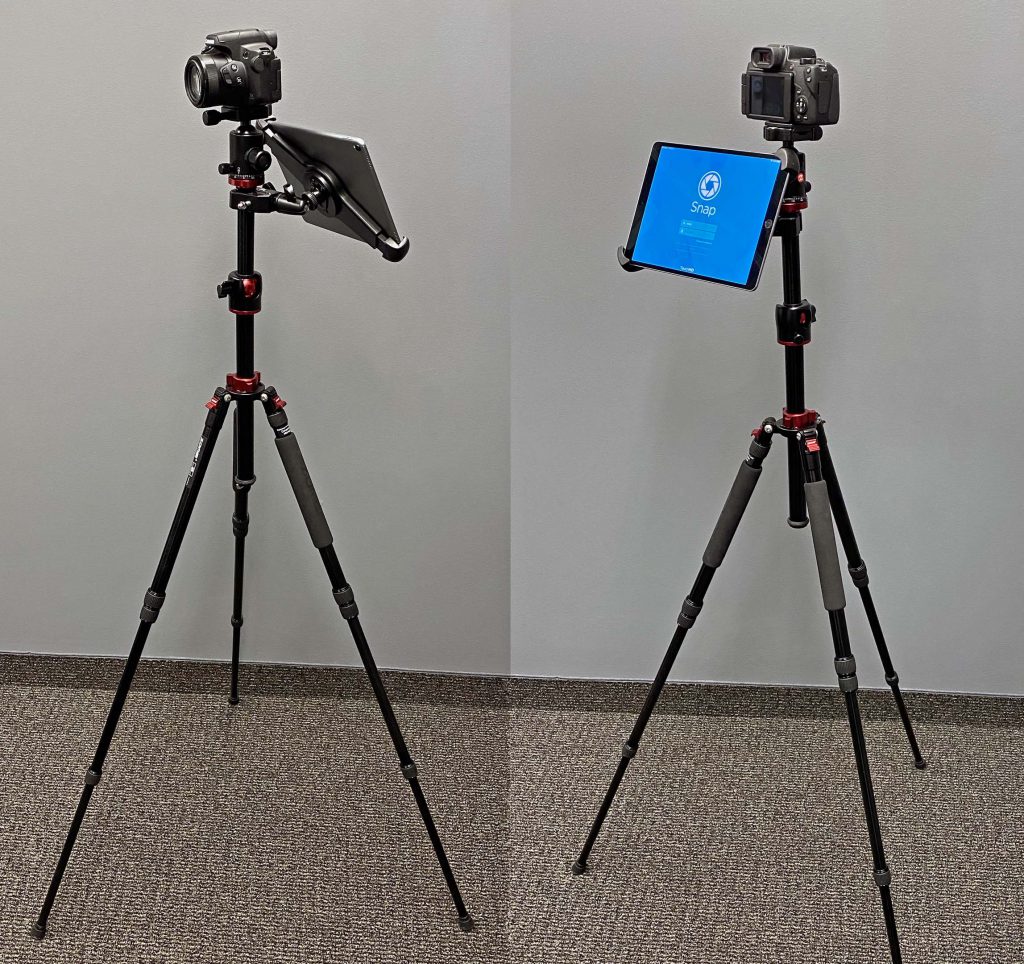
Optional Accessories (Pictured below):
- GEEKOTO 75” Tripod – $130
- iShot G10 Pro Large Universal Tablet Mount – $50
- Apple iPad – Starting at $329
How do I setup my Camera?
Verify the Camera Control API (CCAPI) is installed on your camera
Confirm CCAPI activation. The [Camera Control API] will be displayed on the [Wi-Fi Settings] screen when the CCAPI Function is activated on your camera. Note: The menu screen displaying [Wi-Fi settings] varies depending on the camera, but can usually found on the WiFi tab of the camera menu. For more details, refer to your camera’s Advanced User Guide.
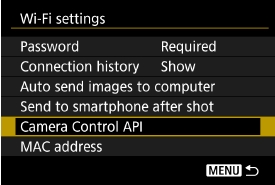
If you see the [Camera Control API] skip to “Establishing a Wi-Fi Connection via an access point” section below, else follow these instructions for enabling the CCAPI:
Enabling CCAPI (Camera Connect API)
Connect the camera to a computer with the USB interface cable then activate the CCAPI (Camera Control API) function. Note: The USB interface cable is usually not included with the camera, and needs to be purchased separately.
Preparation:
Contact [email protected] to request access to the CCAPI Activation Tool. Please provide your camera’s model, serial number, and office name and contact information in the request. TouchMD will send you one time only download link for the CCAPI Activation Tool
Before following these steps, make sure you have downloaded the required files (Activation Tools) on your computer using the link provided by TouchMD:
- Start up your computer and connect to the internet. The CCAPI function will not activate if you are not connected to the internet.
- Turn the camera off and connect the camera to a computer with a USB interface cable (sold separately).
- Set camera Shooting mode to M, Tv, Av, P (DO NOT set to Auto [Green box]) and then turn the camera on. NOTE: If you have the Canon EOS Utility installed, this program may open automatically when the camera is connected and powered on. Make sure you close the Canon EOS Utility program (and any other Canon software programs installed) prior to continuing to the next step.
- Extract the CCAPI_Activation_Tools files downloaded from TouchMD. This step will create a new folder of the same name:
- For Windows: Right-click on the CCAPI_Activation_Tools.zip file and select “Extract All”
- For Apple Mac: Double click on the CCAPI Activation Tools for Mac file to unzip the file, then run the “Macintosh.dmg”
- Launch the Activation Tool by double-clicking on the “CCAPI Activation Tool” program file.
- Click [Execute Activation].
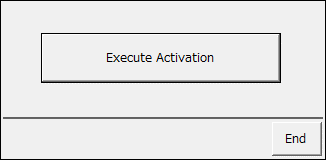
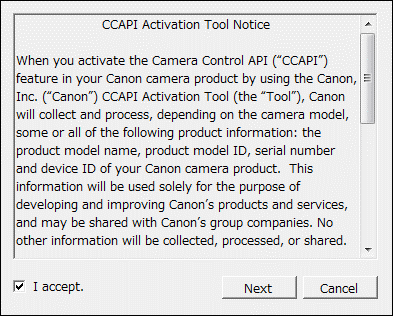
- Please check [I accept.] checkbox to confirm that you have read and agreed to the message displayed then click [Next]
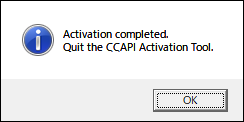
- When the activation is completed Quit the Activation Tool.
- Click [OK] on the dialog
- Turn the camera off and disconnect the interface cable.
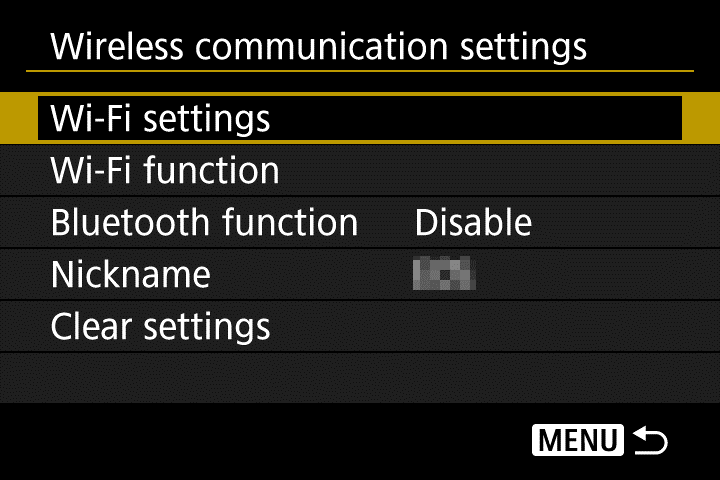
- Confirm activation. [Camera Control API] should be displayed on the [Wi-Fi settings] screen when the CCAPI function is activated. The [Wi-Fi settings] menu can be found on the [Wireless communications settings] screen if not displayed after activation.
Establishing a Wi-Fi Connection via an access point
Before following these steps please make sure the following is done: Your TouchMD devices are connected to the same WiFi network as the camera will be. If using an iPad, your iPad iOS is up to date by checking “General -> Software Update” in the “Settings” app, and that you have the latest version of TouchMD SNAP by checking “Updates” in the “App Store” app.
Learn how to establishing a Wi-Fi connection via an access point for the Snap app in conjunction with Canon Connect. The Snap app may be installed on an Apple iPad/iPhone.
- Select [Wi-Fi settings] from the Wireless Settings menu. The Wireless Settings menu screen displaying [Wi-Fi settings] varies depending on the camera. but can usually found on the WiFi tab of the camera menu. For more details, refer to your camera’s Advanced User Guide.
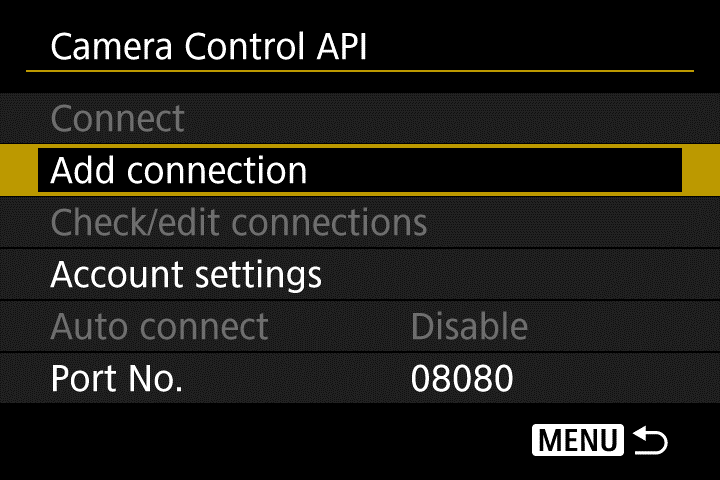
- Select [Camera Control API].
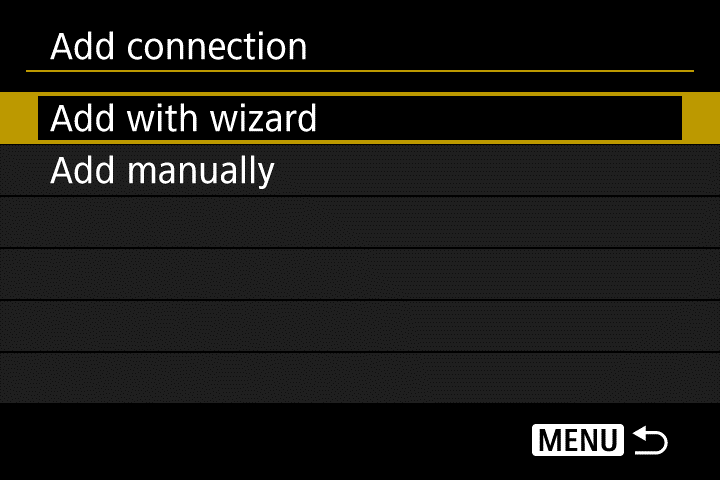
- Select [Add connection].
- Select [Add with wizard].
- Scroll down until you find your desired WiFi network or access point and select it. This should match the WiFi network or access point that your TouchMD devices are connected to.
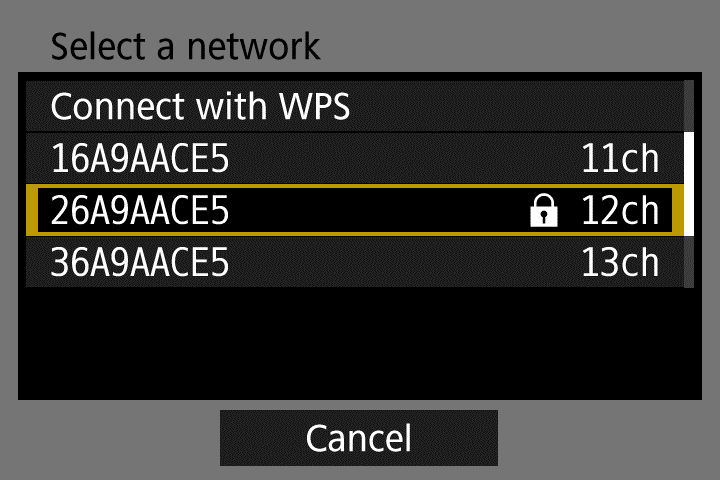
- Enter the password for the WiFi access point and select [OK].

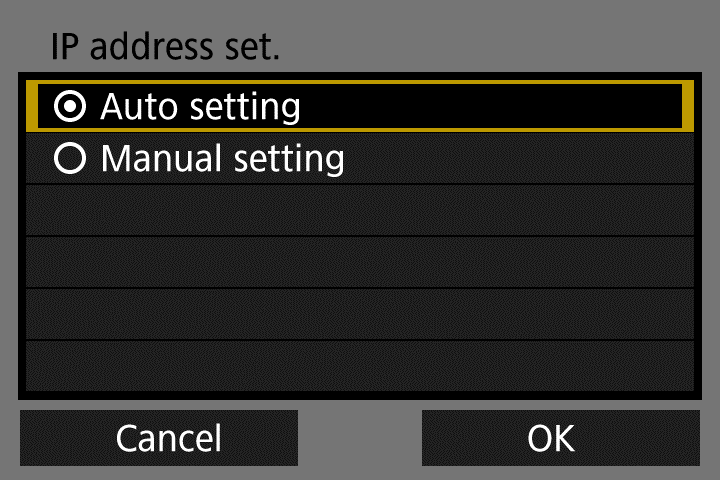
- On the IP address set screen, select [Auto setting] and select [OK].
- When the screen on the below is displayed on the camera, you are ready to connect the camera to your TouchMD device.
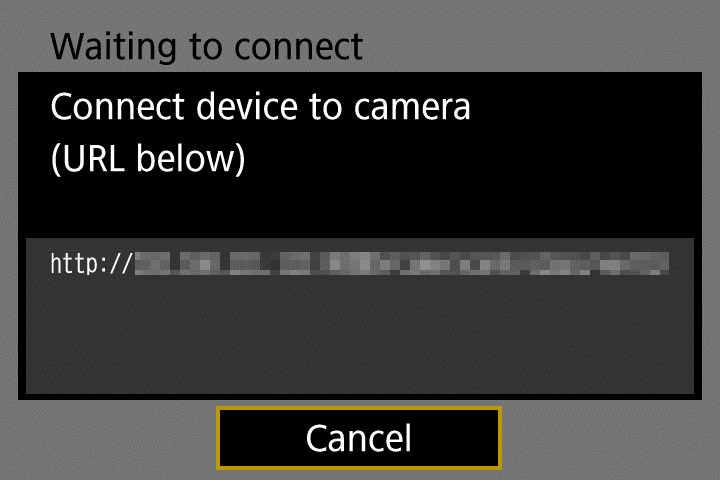
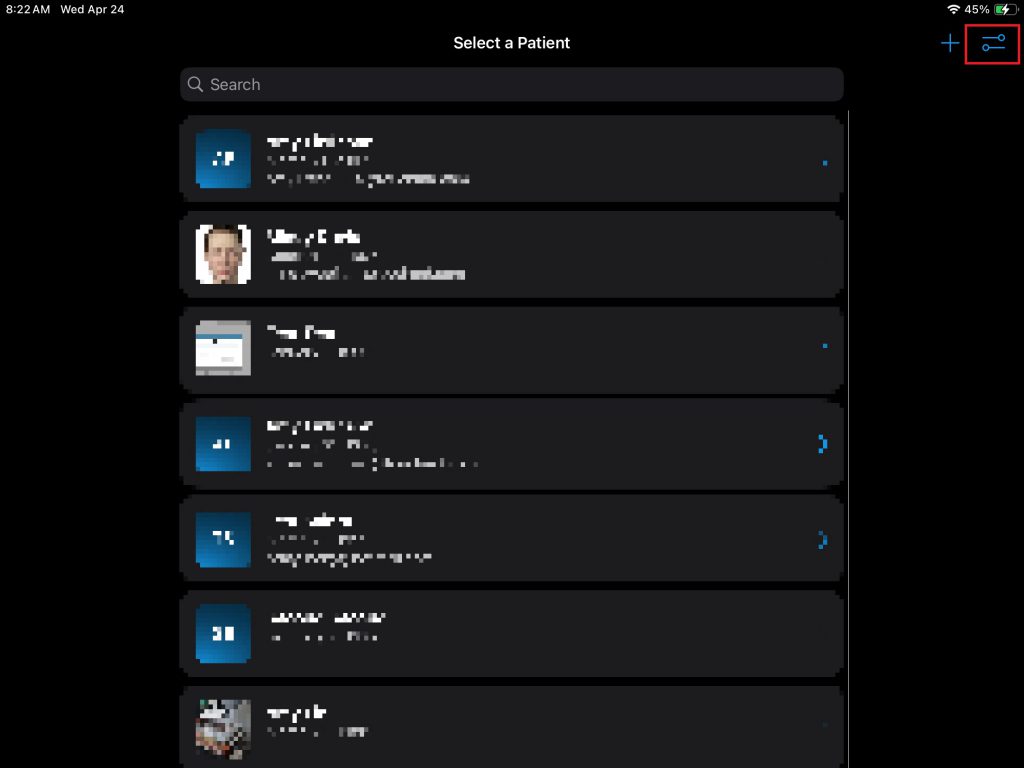
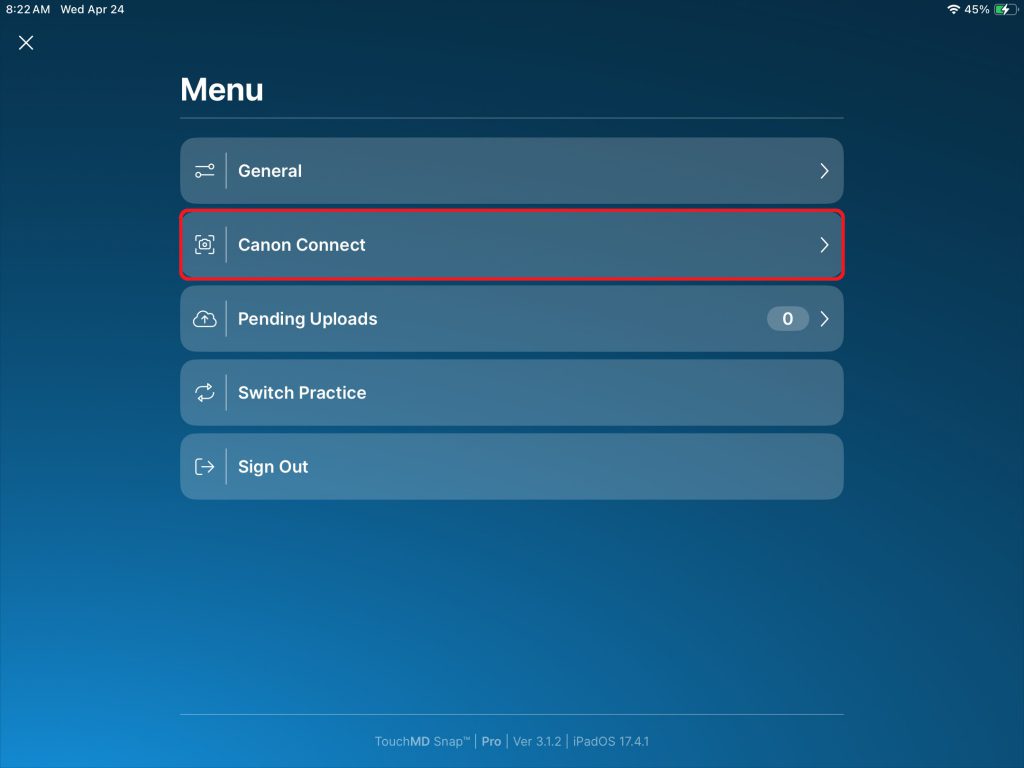
- CONNECT TO SNAP ON THE IPAD: Open TouchMD Snap on your iPad, select the Settings Menu, tap “Canon Camera” to reveal the “Canon Camera Settings” screen.
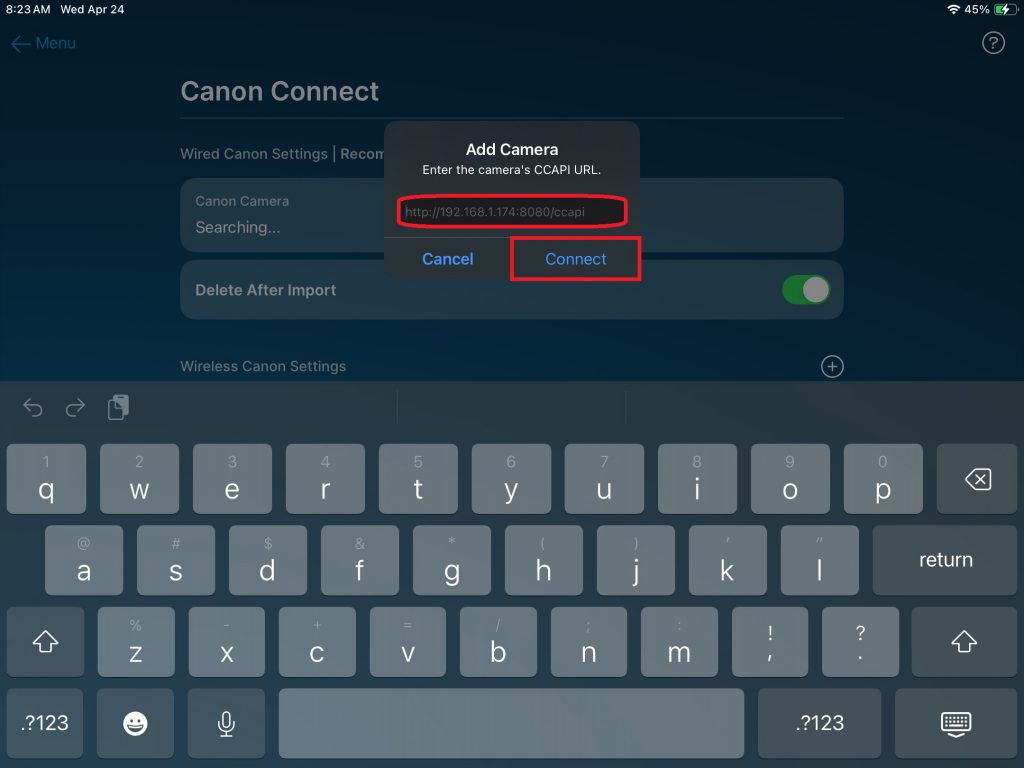
- On the “Canon Camera Settings” screen tap the menu, “+” enter the full URL displayed on the camera’s “Camera Information” screen, and tap “Connect”. If successful, this screen will display confirm the camera connection and display your camera information:

Enable “Delete After Import” and exit this screen. We highly recommend that you enable the “Delete After Import” option. If you don’t enable this option, all images will remain on the camera’s SD card, will be accessed during each photo session, and potentially slow down the photo process. If you would like a backup copy, we encourage you to consider our Local Backup option. Click here to learn more, or contact your Account Manager. If you decide to not enable the “Delete After Import” we recommend you transfer images off your SD card daily.
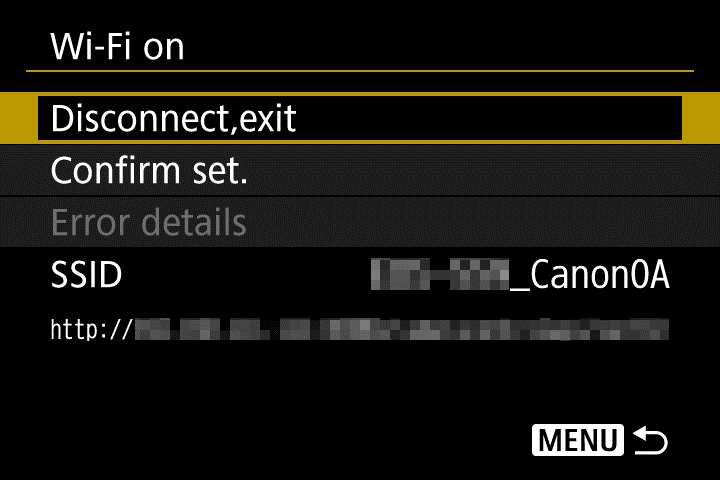
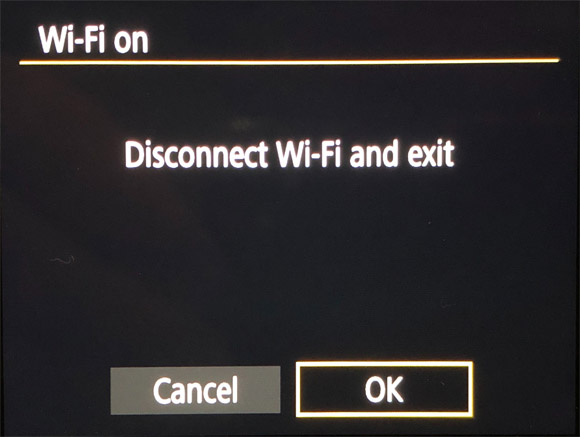
- The “WiFi on” screen below should now be displayed on your Canon camera. Select [Disconnect, exit] to register the connection and view the CCAPI settings. On the next screen select [OK] to “Disconnect WiFi and exit”.
- You should now be at the Camera Control API settings screen.
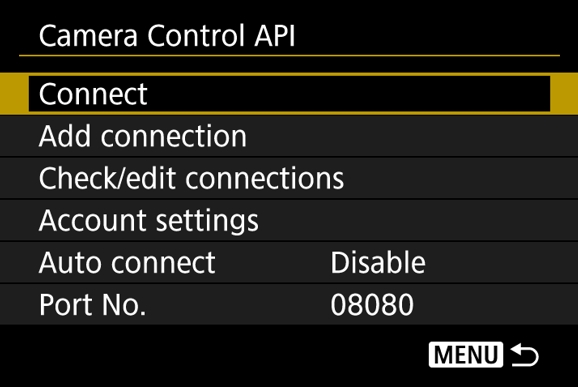
- On the Camera Control API settings screen, select the “Auto connect” setting and choose “Enable”.
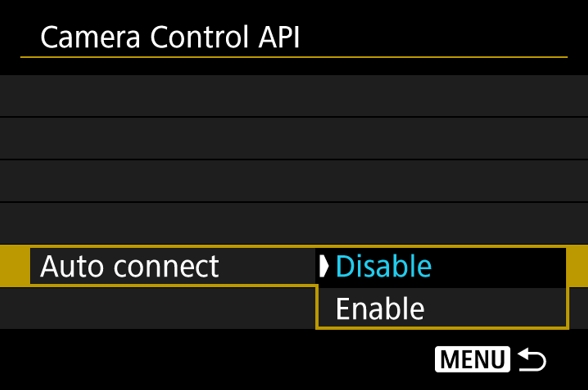
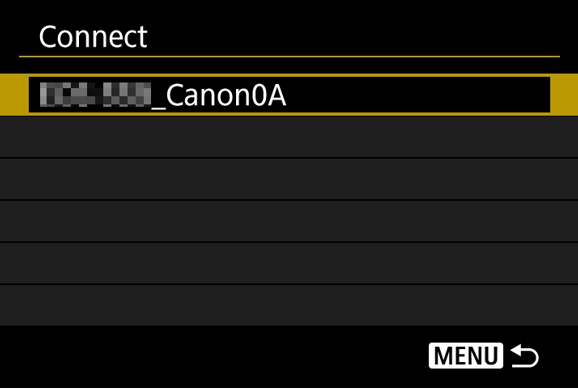
- Auto Connect should now be set to “Enable”. On the Camera Control API settings screen, select “Connect”.

- Select your WiFi connection
- When the screen on the below is displayed on the camera, you are ready to connect the camera to your TouchMD device again using steps 9-11 above.
- After following steps 9-11 above to connect the camera to your TouchMD device, the “WiFi on” screen below should now be displayed on your Canon camera. The CCAPI Wi-Fi connection is now complete! Press the [Menu] button until you exit the camera settings menu.
- You are now ready to get started taking pictures using your Canon camera and uploading them to TouchMD! To learn how, please see this link: Uploading pictures with Canon Connect on an iPad Wirelessly“