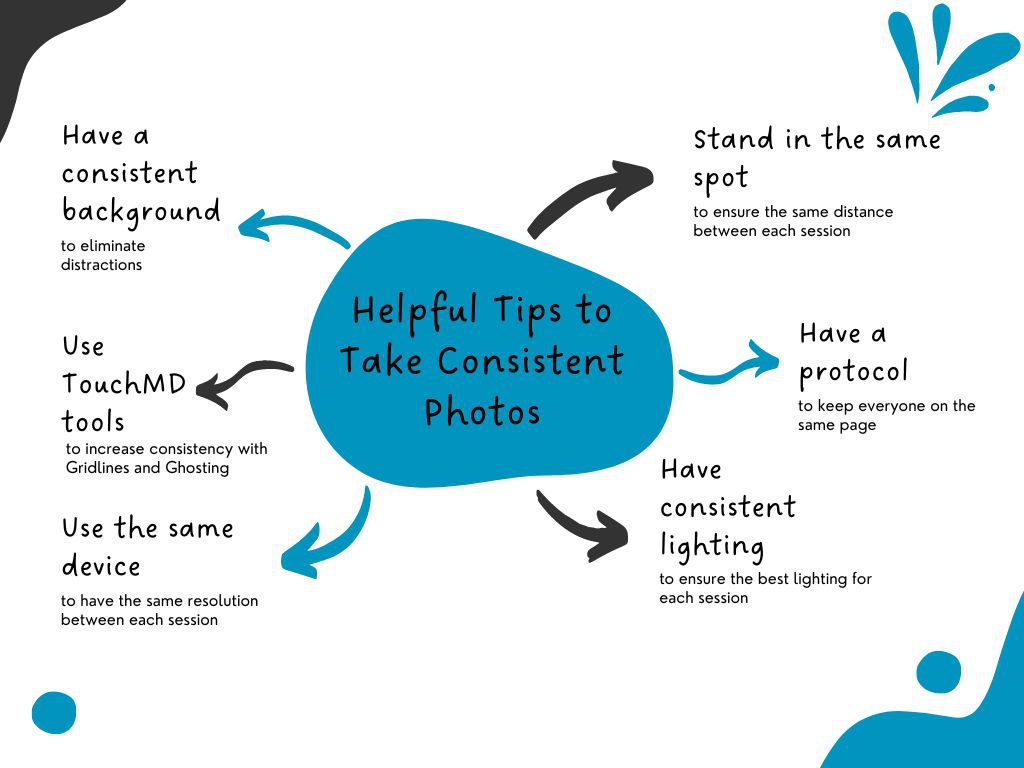
Before and after photos tell patients a story. It is important to get the best photos possible. Here are a few tips that we have gathered over the years to obtain the most consistent before and after photos.
Have a Protocol
Having a photography standard in your practice/clinic will ensure that everyone will be on the same page. It is important to convey to your staff what you would like when they take photos. Our recommendation would be to create a guide in which they may refer. Considering adding visuals along with written instructions. Details matter. Here are a few things to consider as you build your guide:
- Where should they be taking photos? (Which rooms and what is your background)
- Where would you like both the patient and the staff to stand? Will this differ for different procedures/surgeries?
- Where should the photography equipment be positioned? Will the camera’s position differ ever?
- What lighting would you prefer them to use?
- How many photos would you like of each type of procedure/surgery? Will this differ for different procedures/surgeries?
- What parts of the body/face should be included in each type of procedure/surgery?
- How should the patient be posed? (i.e., what should they be doing with their arms/hands)
- Which angles should they take photos at for each procedure/surgery? Will this differ for different procedures/surgeries?
- What distances should they be taking photos at? Will this differ for different procedures/surgeries?
- What orientation should they be holding/setting the device in? (portrait or landscape)
- What should the patient be wearing/not wearing (makeup/jewelry/clothing, etc…)
Consistent Background
Having a consistent background will help eliminate any distractions from your before and after images. We recommend using a single background color such as; Middle Gray. If possible, we recommend that the background is large enough to allow for wide and close up shots without any distractions i.e., light switches, outlets, doors, etc… A photo studio/room will provide the best results, but if photos must be taken in multiple rooms please ensure the same background is available in every room.
Consistent Lighting
Having consistent lighting between each photo session with a patient will offer the best results. Many practices differ on their preferred lighting. Some will opt to use natural lighting while others will use artificial lighting. We recommend doing your own research and experimenting with different lighting. However, for the best consistency, we would recommend that you use an option that allows for the most consistent lighting and does not cause shadowing. Note that using lighting that is coming from windows may differ each day (or even hour) due to the weather outside. It is not a recommend lighting solution. You could consider blackout shades as a solution to block outside light if you are taking photos in a room with Windows. A photo studio/room will provide the best results, but if photos must be taken in multiple rooms, please ensure the same lighting (including position of the lighting) is available in every room.
Patient and Staff Positioning
Having it outlined where you would like the patient and staff to stand while taking a picture can make a world of difference. Consider using tape on the floor of where the patient should stand and where the staff should stand. If you need to capture multiple angels/distances, you may want to use different colors of tape for each position. Another item to consider would be where you would like the patient to direct their eyes. Opt to place a marker of sorts on the walls so that you may ask the patient to look in that direction. A photo studio/room will provide the best results, but if photos must be taken in multiple rooms, please ensure the same positions/markers are place in every room.
You will also want to consider how the patients body should be posed for each procedure/surgery.
If using an Apple iPad/iPhone, it is not recommended to digitally zoom (pinch in to zoom) on the photo view to get closer shot as this distorts the quality of the photo.
Photo Orientation
Portrait or landscape? Whatever your preference is, it is recommend that uniformity is maintained between each photo session. For example, if the before photos are taken in landscape, the after photos should also be taken in landscape. By matching the orientation from session to session, your photos will be easier to match up. Your marketing and social media managers will thank you!
What to wear?
Another aspect of uniformity between before and after images will be what your patient is wearing/not wearing.
- Clothing: It is best to determine beforehand what clothing your patient should/should not be wearing for each type of procedure/surgery. Some practices will opt to have a patient wear their own clothing while others will provide disposable clothing/drapes. For best results, it is recommended it is the same for each photo session and that the clothing does not detract from/cover up the result of the surgery/procedure.
- Jewelry: Jewelry can distract the viewers eye from the end result of the surgery/procedure. It is recommend that all jewelry that will be in the shot be removed.
- Makeup: Makeup can cover up the area needed to be photographed. It is recommend that all makeup that will be in the shot be removed.
Device Matters
Choosing which device to use to take photos matters. Depending on the resolution desired, you will want to choose from TouchMD’s Snap app on Apple iPads/iPhones or TouchMD’s Canon© Connect (we recommend wired Canon© Connect for iPad). Both are excellent options to choose from.
For consistency, it is recommended that the same type of device is used for each photo session. For example, if you take the before photo on an iPad, take the after photo on an iPad. Do not use an iPhone. Also, to increase consistency, be sure that each device is the exact same model.
A photo studio/room with a dedicated device will provide the best results, but if photos must be taken in multiple rooms, please ensure the same type (and model) are used in every instance.
Using TouchMD Tools to Assist with Consistency
TouchMD offers some built-in tools to assist with consistency between your before and after photos.
- Auto Face Capture: Snap Pro’s Auto Face Capture enables you to quickly achieve high quality photos while still leveraging the convenience and efficiency of using the iPhone or iPad in the treatment room.
- Background Removal: Use this tool to quickly replace the background color of any photo as it is taken in Snap or quickly replace the background color of any existing patient photo in Consult. Select from 8 common colors or add up to four custom colors of your own.
- Gridlines: Gridlines are used to create consistent photos between the before and after photo sessions by using the provided gridline options for each session. Use the desired grid to line up the patient’s face or body. Select here for a gridline guide.
- Ghosting: The Ghosting Overlays are used to create consistent photos between the before and after photo sessions by using a previously taken photo as a guide. These are excellent to help you ensure that you are matching your before photo as much as possible by determining the distance between the staff and patient and matching the angle of the patient’s face/body.
- White balance/exposure: White balance and exposure settings may be used to manually adjust these settings as desired. Use the White Balance to adjust the “Temp” and “Tint”. Use the Exposure to adjust the “Dur” and “ISO”
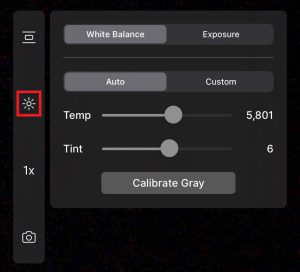
- Calibrate Gray: While using Snap’s advanced camera controls you will notice a button called “Calibrate Gray”. This button is designed to help automatically adjust white balance (temperature) settings consistently by providing a reference point (a gray card) for a particular image set and all images captured thereafter in the session. Learn more here.
- Snap Lens Options: Lens options are available to help you take better images during your photo sessions with your patients. You can take full-body photos and high quality close-ups from the same spot, without having to step closer to the patient! This feature is only available on devices with more than 1 camera lens. Learn more here.
- Focus: Use the built-in auto focus (yellow or blue box) to determine the focus spot of the photo session. Tap on the screen to determine this spot. If box is blue, it is auto-focusing. If it is yellow it has completed the auto-focusing.
Additional Hardware Tips
Add another level of stability to your images by using a tripod. By using a tripod your staff does not have to worry if they have the camera/device level. This may also help with consistency between height differences of each person in the practice. If a tripod is not feasible, consider having something that your staff may rest their arms on while taking the picture for stability.