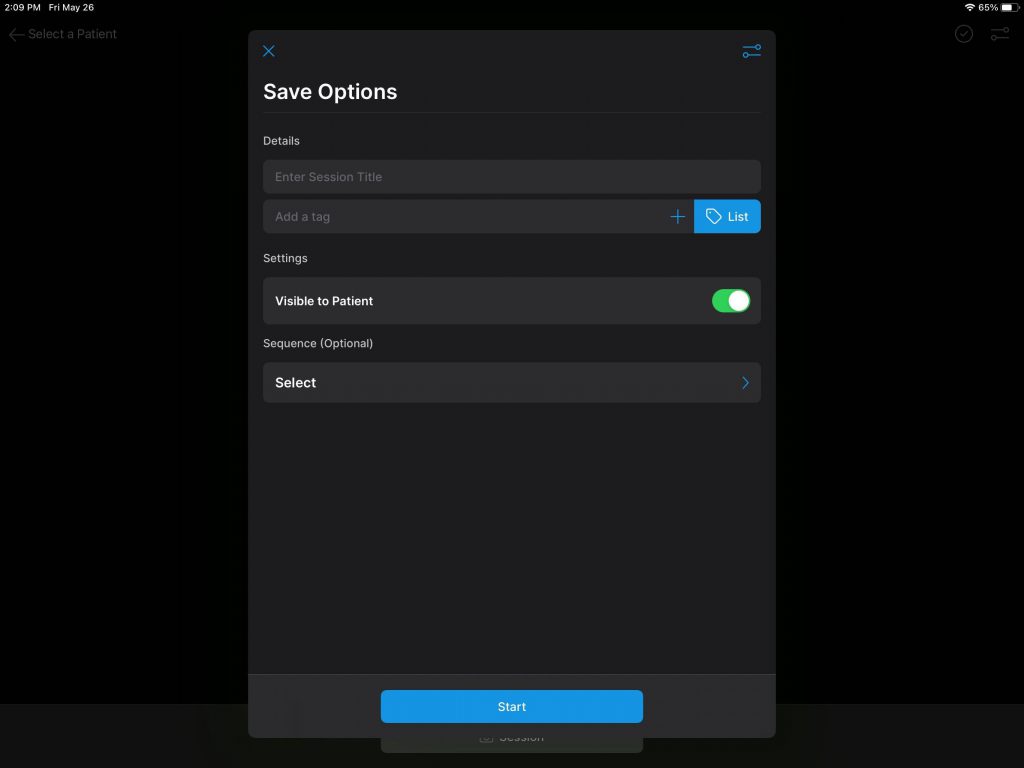
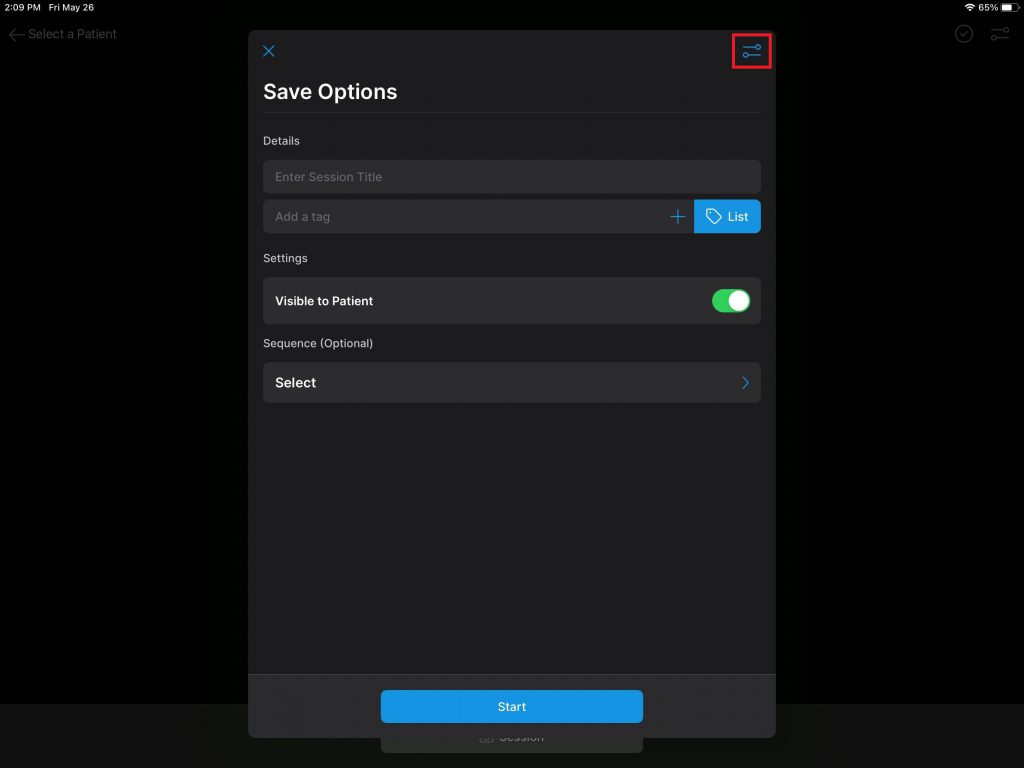
What are Save Options?:
Save Options are a set options that appear before every photo/video session while using the TouchMD Snap app. Save Options included the session title, file tags, and visibility of files to patients (if applicable). Please note that you may adjust your General settings which include Session Settings (auto upload or manual upload), additional Visible to Patient settings, Upload Quality, Capture Confirmation, and Patient Gallery Quality.
Where do I find Save Options?:
Accessing via TouchMD Consult App Shortcut:
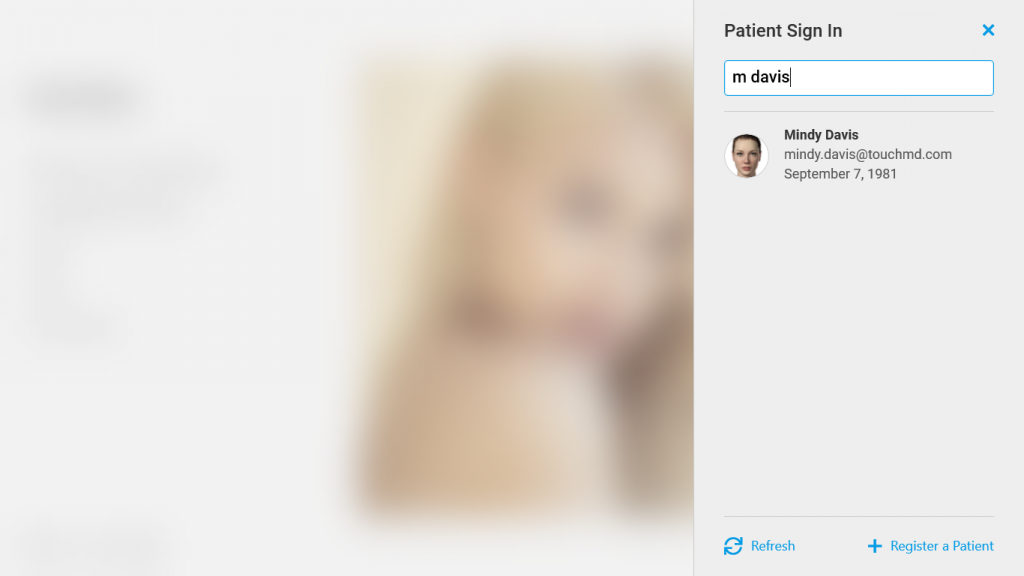
- Begin by accessing a patient account
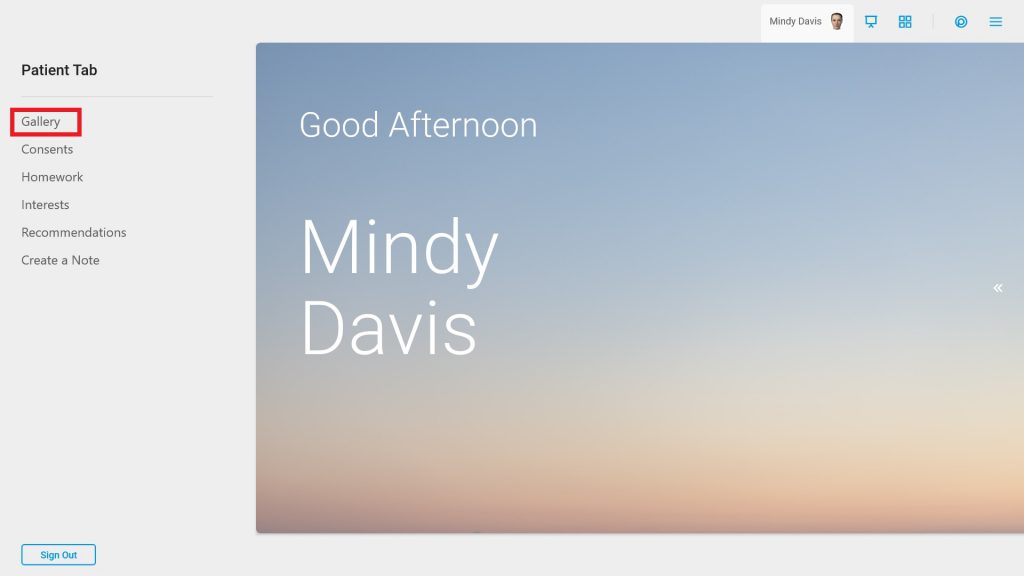
- Select the Patient Tab

- Tap Gallery
- Tap “Snap”

- The Session Options will display
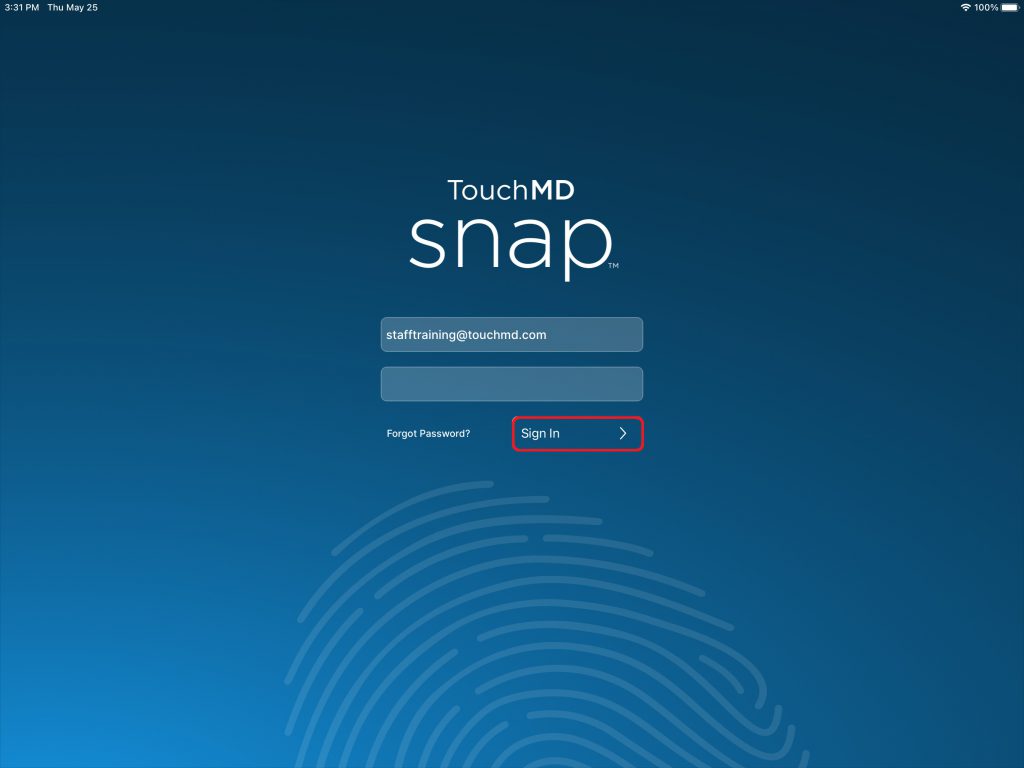
Accessing via TouchMD Snap app:
- Open and log into the Snap app with your TouchMD username and password
- Search for the desired patient

- Select “Session”
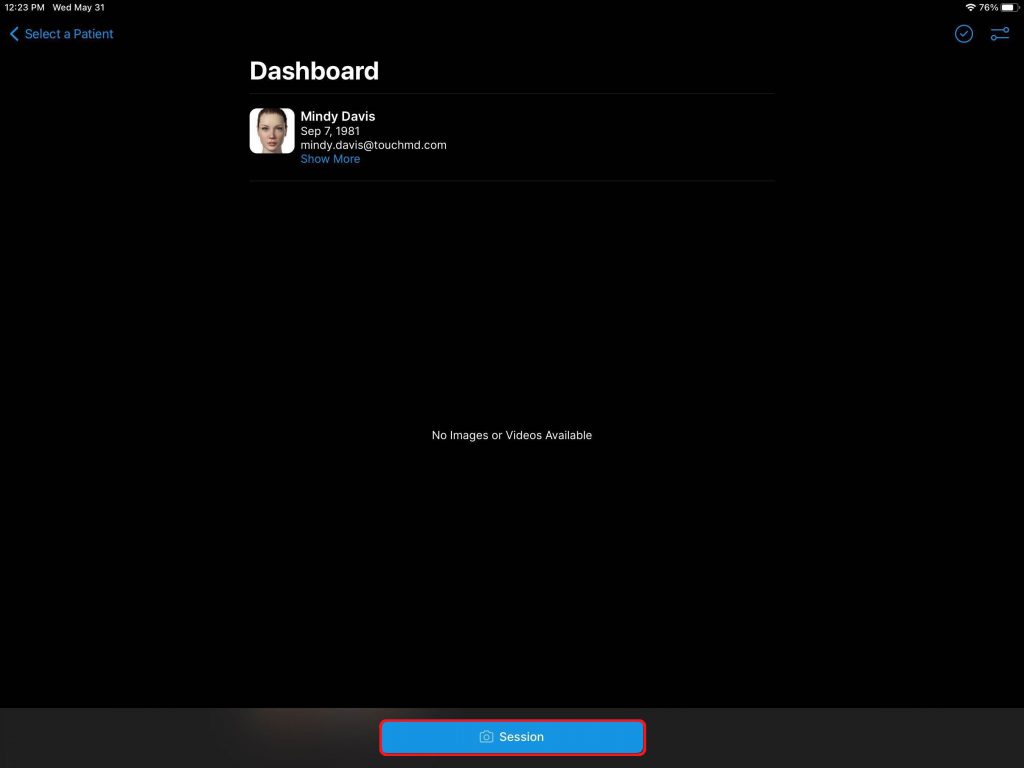
- The Session Options will display
Session Title:
This Session Title may include the title for the photo/video for your photo/video session. For example, if your patient was in your practice/clinic for a Botox consult you may title your session: Before Botox, After Botox, or Botox Consult. You do not need to include the patient’s name or the session’s date as the photo/videos automatically load into the patient’s TouchMD account and are automatically dated with the session date and time.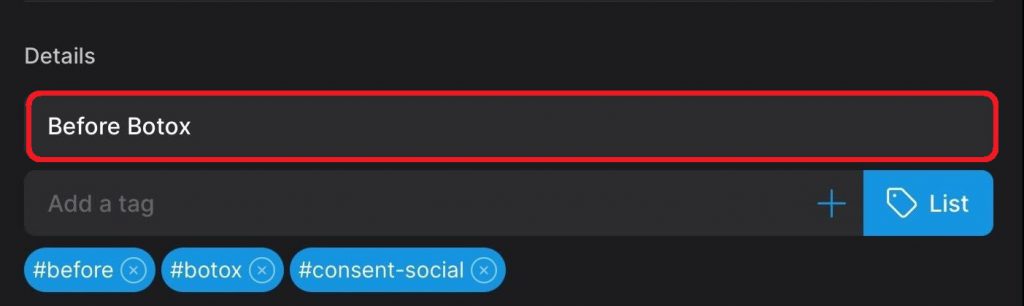
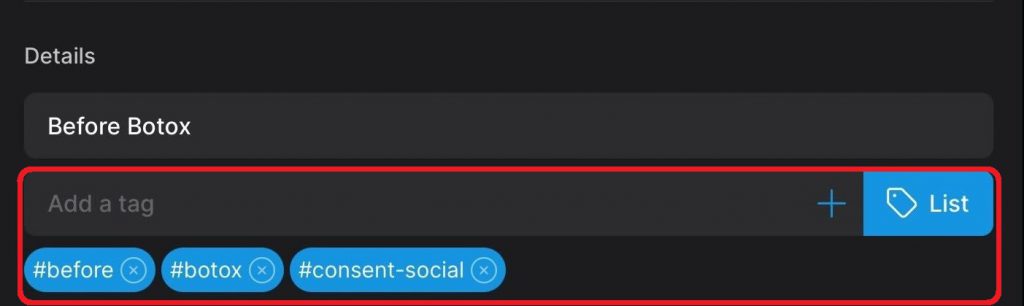
Tags:
Tagging is a way for your practice/clinic to tag photos/videos in TouchMD with specific tags and then later search for groups of photos/video with specific tags. For example, if your patient was in your practice/clinic for a Botox consult you may tag your photos/video with tags like: #Before, #Botox, #Consult, #30s. Please note that Tags do not relate to social media. It is for TouchMD system use only. PRO TIP: Check “List” to view a list of tags already created by your practice.
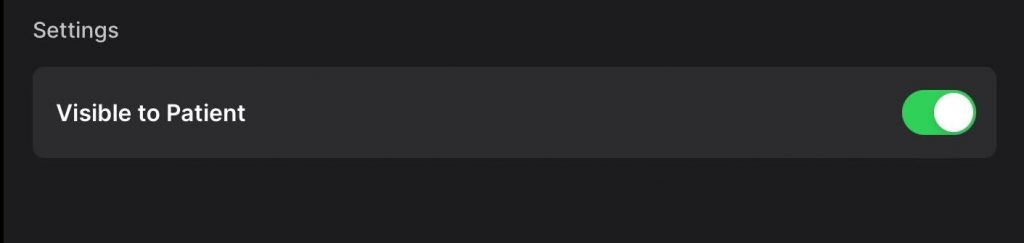
Visibility to Patient:
- On (recommended): When Visibility to Patient is turned ON, this ensures that files saved during the session will be visible to the patient when they log into the myTouchMD patient app or website.
- Off: When Visibility to Patient is turned OFF, this ensures that files saved during the session will be NOT visible to the patient when they log into the myTouchMD patient app or website.
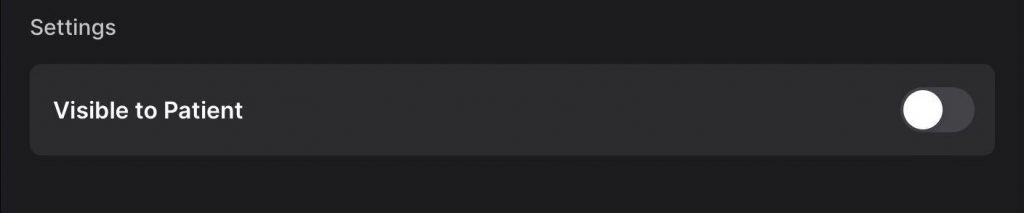
For more advance image visibility settings, select Settings > General>Visible to Patient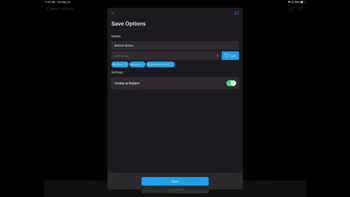

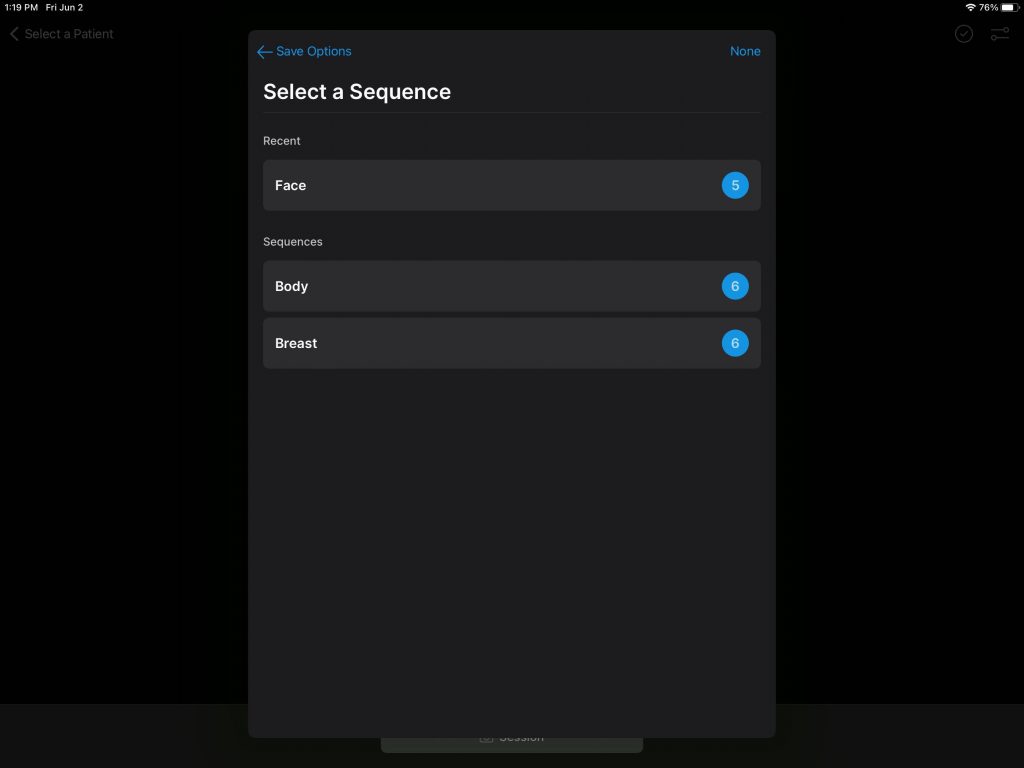
Sequence:
Sequences are a series of gridlines used to create consistent photos between your before and after photo sessions. When selected a series of gridlines are superimposed on your camera view and will auto-rotate to the next gridline in the series as photos are taken. Sequence Options include Face, Body, Breast
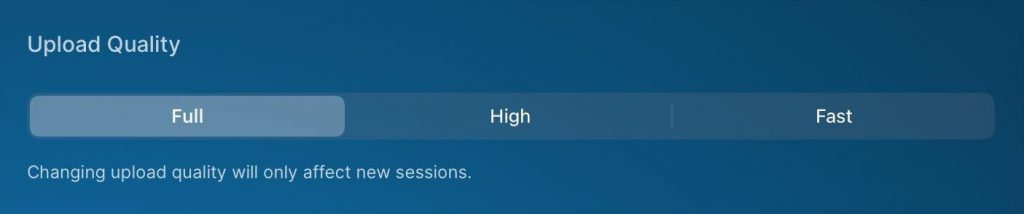
Upload Quality:
Upload Quality options are available in Settings > General
- Full Quality (recommended) is the full resolution (full quality) version of the photo/video. Use of this quality may result in a slower upload due to the size of the image/video. This is best used if you are looking for detail or would like to ensure you are receiving the full resolution version of the photo/video. This is great for before and after quality results.
- High Quality (recommended) is slightly compressed version of the photo/video. This results in a compressed photo/video that is still of great quality, but with a reduced wait-time on the file upload speed. This is
best used if you are looking for a good quality photo, but would like to reduce your wait-time on the photo/video upload speed. This is great for consultation photos. - Fast Quality is a compressed version of the photo/video. This results in a compressed photo/video with a quick upload speed. This is best used if you are looking for a quick consultation photo with a quick upload speed.
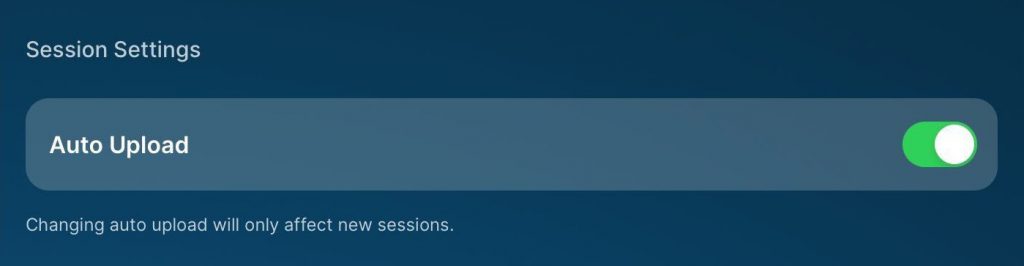
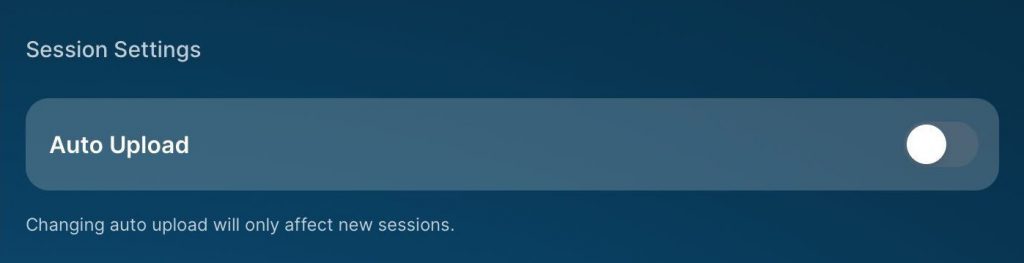
Upload Options:
Upload Options are available in Settings > General
- Auto Upload (recommended): If the Session Options are set to “Auto Upload” the photos/videos taken during the session will automatically uploaded into the patient’s TouchMD account. This option is recommended for users who would like files to automatically upload. Files may be managed (deleted) at a later time via the TouchMD Consult app or TouchMD Dashboard.
- Manual Upload: If the Session Options are NOT set to “Auto Upload” the photos/videos taken during the session will NOT automatically uploaded into the patient’s TouchMD account. The user will need to review the files taken during a session and manually upload them into the patient’s TouchMD account. This option is recommended for users who would like to review files before they are uploaded into a patient’s account.
Capture Confirmation:
Capture Confirmation options are available in Settings > General
This option allows you to determine the length of the capture confirmation that appears on screen after a photo is taken during a session. This option allows you to confirm if you would like to keep and delete the captured photo. Options include Disabled, 2 Sec (default), 4 sec, 6 sec, Manual
Patient Gallery Quality:
Patient Gallery Quality options are available in Settings > General
This option allows you to determine the quality of images when viewed in the patient’s Snap image gallery. NOTE: This does NOT effect the Consult app’s Gallery. Use Favor Speed to view the photo quickly and note that the photo will display as a compressed version. User Favor Quality to view the photo in its full resolution
