1. Home
  2. Reach TeleConsult
  3. How to Invite a Patient to a TeleConsult

How to Invite a Patient to a TeleConsult

Available Features

Please note, that some features listed here may not be currently available to your practice. To learn how you may enable these features, please contact your Account Manager.

iPad ONLY Feature

This feature is currently only available on an Apple iPad

Patients may be invited to the TouchMD TeleConsult in three different ways. The options are listed below along with an example message that may be sent to the patient prior to the teleconsult to provide additional information.

Option 1: Text Message
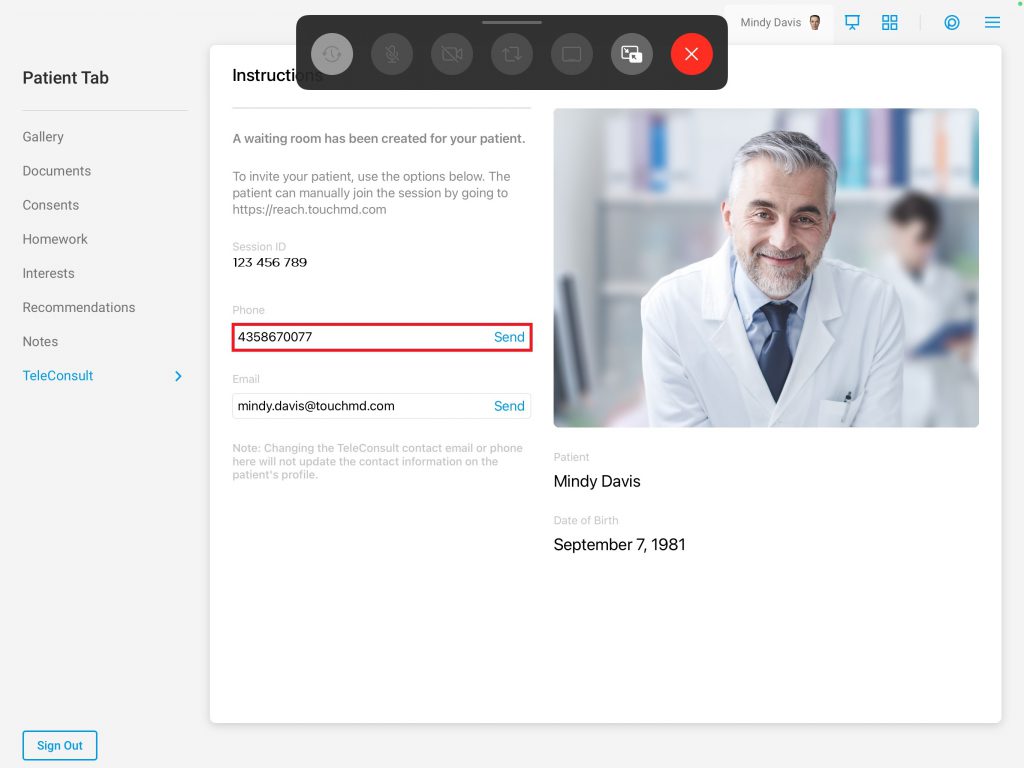
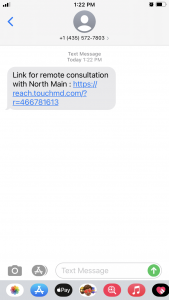
Send a text message to the patient by tapping “Send” next to the phone number box. Patients will receive a text message with a link to join your teleconsult. The patient will select on the link and follow the onscreen prompts. As the patient joins and waits, they will be placed into a virtual waiting room. Practices who utilize TouchMD Playlist will have their Playlist play in the virtual waiting room. You will be alerted when your patient is in the waiting room.
I need to change the patient's phone number

Does the patient wish to use a different phone number than what is listed? You may edit the patient’s phone number in the provided box. Note: Changing the TeleConsult contact phone number will not update the contact information on the patient’s profile. 

Option 2: Email

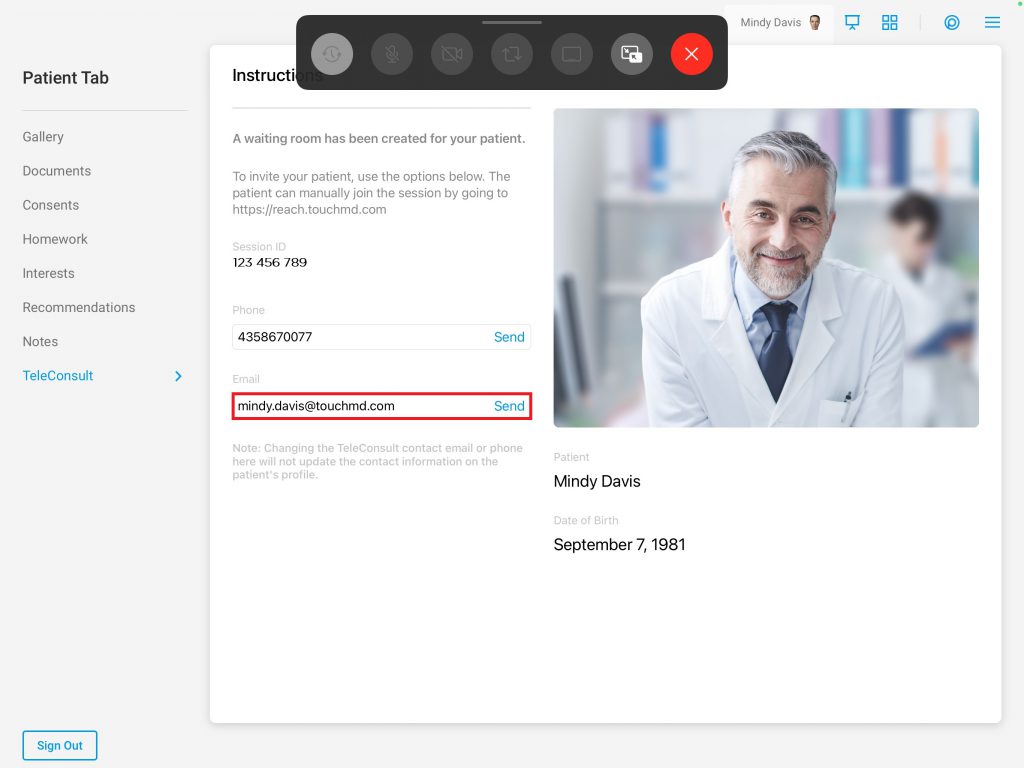
Send an email to the patient by tapping “Send” next to the email address box. Patients will receive an email with a link to join your teleconsult. The patient will select on the link and follow the onscreen prompts. As the patient joins and waits, they will be placed into a virtual waiting room. Practices who utilize TouchMD Playlist will have their Playlist play in the virtual waiting room. You will be alerted when your patient is in the waiting room.

I need to change the patient's email address

Does the patient wish to use a different email address than what is listed? You may edit the patient’s email address in the provided box. Note: Changing the TeleConsult contact email address will not update the contact information on the patient’s profile. 

Option 3: Session ID

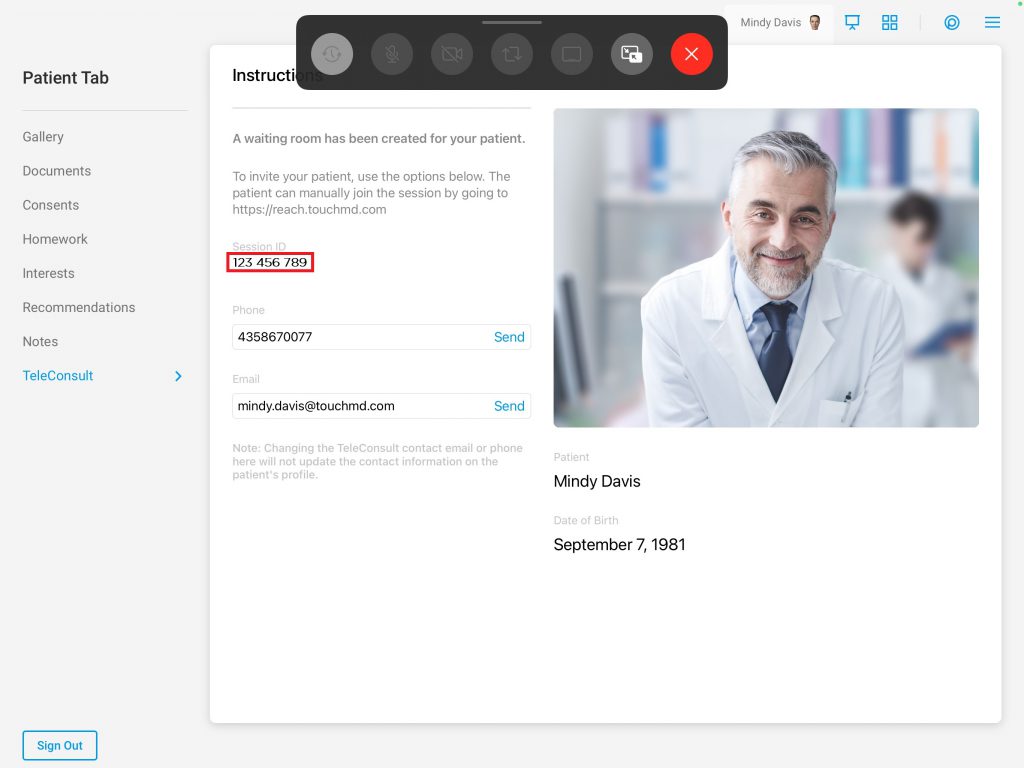
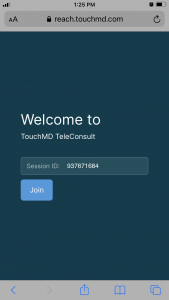
Supply the Session ID to the patient. The Session ID may be found on the TeleConsult’s Invitation Page of the Consult app. Supply this link to your patient to join your teleconsult. The patient will go to reach.touchmd.com, enter the Session ID, and follow the onscreen prompts. As the patient joins and waits, they will be placed into a virtual waiting room. Practices who utilize TouchMD Playlist will have their Playlist play in the virtual waiting room. You will be alerted when your patient is in the waiting room.
How should I invite my patient?

Tip: Here is an example message that you could send to your patient via email/text/etc… to help them prep for your teleconsult. (Want a template? Select here.)

Hi *Patient*,

We are excited for your virtual consultation with us this upcoming ________*date* at _______*time*. Here is the information you will need to prepare for your consultation:

Directions for Doctors/Providers: Adjust this suggested template as needed. Below you will find instructions for the multiple options to instruct a patient in connecting to your virtual consultation. Determine how you will invite your patient to your virtual consultations and remove the unnecessary text. *Please remove this text before sending this email/text to a patient*

A few minutes prior to your consultation, you will receive a [text message] [email] to connect with us virtually through a secure and HIPAA compliant manner! Select the link provided on a computer/tablet/smartphone to connect to your consultation. Follow the onscreen prompts and your provider will join you shortly.

A few minutes prior to your consultation, you will receive a phone call from a member of our team to help you connect with us virtually through a secure and HIPAA compliant manner! We will provide a website to go to, along with a unique Session ID code to help you connect with us. Follow the onscreen prompts and your provider will join you shortly.

Please review this video prior to your consultation to familiarize yourself with the virtual consultation portal and please also review this information to help you prepare to use the myTouchMD Patient Experience app before/after your virtual consultation.

Directions for Doctors/Providers: The following instructions regarding photos are provided as a courtesy to our TouchMD clients. Please review and feel free to alter the instructions and/or images. Please note, we have only provided example images of the face. You may want to consider including example images of other services/procedures/surgeries available at your practice. If you would prefer to send the photo instructions as an attachment, please see the “Article Attachments” found at the bottom of this article. *Please remove this text before sending this email to a patient*

(Optional Text): Photos: Prior to your consultation, please utilize the myTouchMD app to upload photos into your myTouchMD account. We will use these photos during your consultation. Please take and upload one (1) photo of each angle of the area of your concern (i.e., face, body, breast, etc…).

  • You may take the photos yourself if desired. If you do so, please utilize a mirror for body and breast consults. For the face, please utilize the “selfie” mode. 
  • You may have someone else take the photo if desired. 
  • If at all possible, please have a clean background for your photo. For example, take the photo in front of a blank wall that is free of distractions. We also recommend taking each angle of the photo at the same distance and level, and using good lighting. 

How do I upload an image into my myTouchMD account?

Please review these instructions: https://www.touchmd.com/patientresources

(Optional Text): Consents/Forms: Prior to your consultation, please utilize the myTouchMD app to review and sign the assigned consents/forms in your myTouchMD account. Your assigned consents/forms may be found in the Timeline (main screen) of the app under the heading “Consents”.

We are excited to visit with you soon!

-The staff

Print

Updated on April 14, 2023

Article Attachments

Was this article helpful?

Related Articles

Leave a Comment