Patients may be invited to the TouchMD TeleConsult in three different ways. The options are listed below along with an example message that may be sent to the patient prior to the teleconsult to provide additional information.
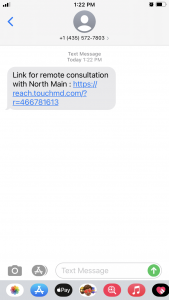
Option 1: Text Message
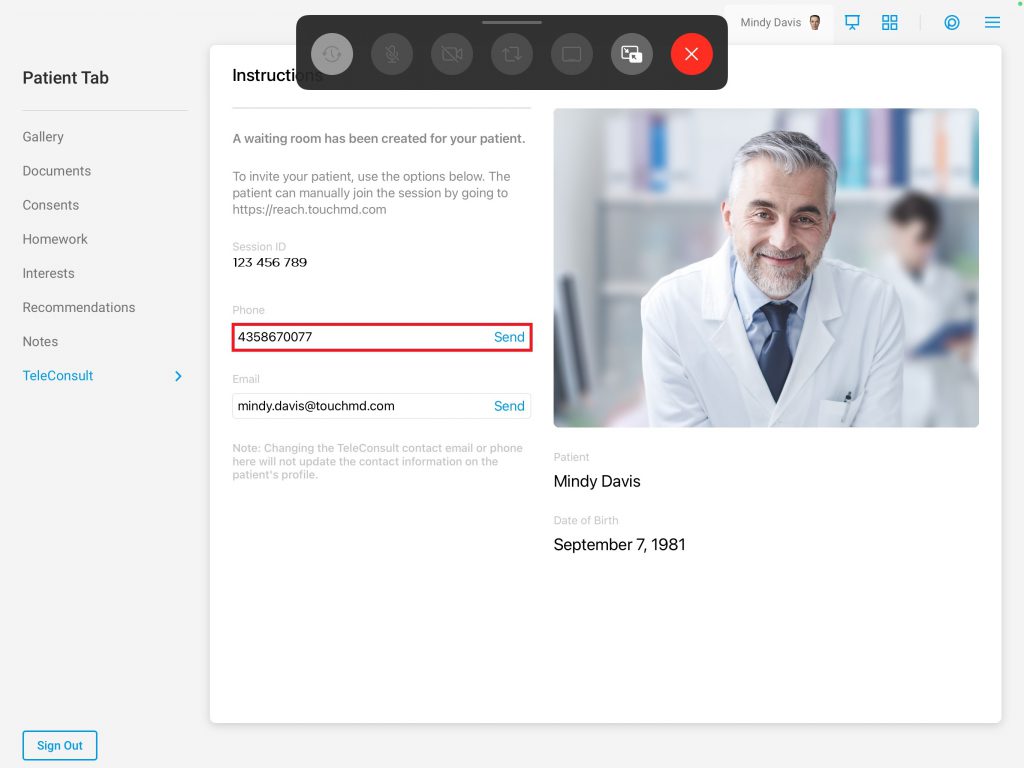
Send a text message to the patient by tapping “Send” next to the phone number box. Patients will receive a text message with a link to join your teleconsult. The patient will select on the link and follow the onscreen prompts. As the patient joins and waits, they will be placed into a virtual waiting room. Practices who utilize TouchMD Playlist will have their Playlist play in the virtual waiting room. You will be alerted when your patient is in the waiting room.
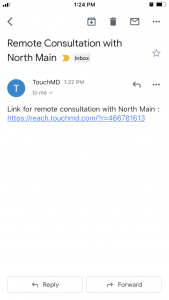
Option 2: Email
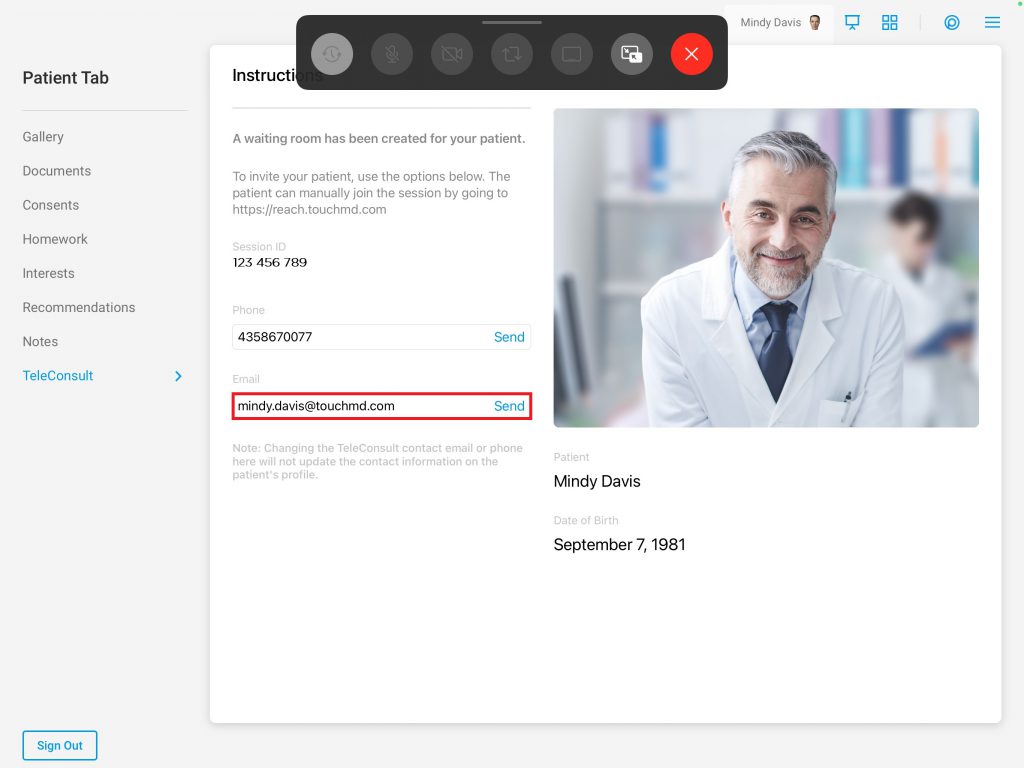
Send an email to the patient by tapping “Send” next to the email address box. Patients will receive an email with a link to join your teleconsult. The patient will select on the link and follow the onscreen prompts. As the patient joins and waits, they will be placed into a virtual waiting room. Practices who utilize TouchMD Playlist will have their Playlist play in the virtual waiting room. You will be alerted when your patient is in the waiting room.
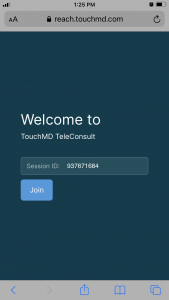
Option 3: Session ID
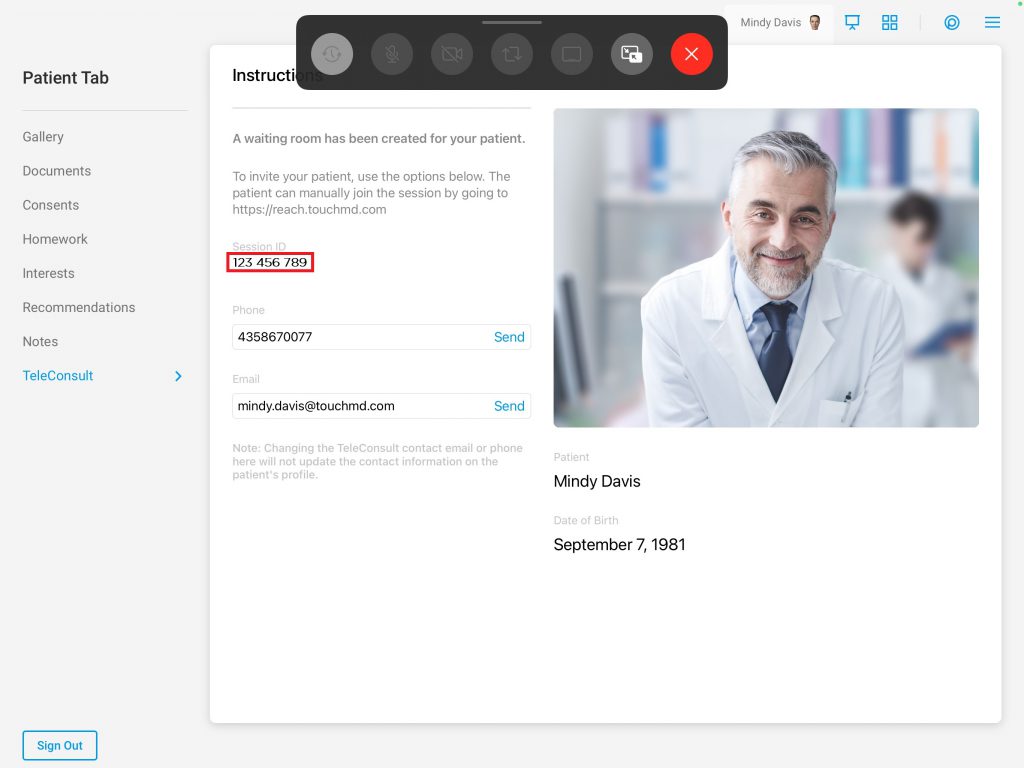
Supply the Session ID to the patient. The Session ID may be found on the TeleConsult’s Invitation Page of the Consult app. Supply this link to your patient to join your teleconsult. The patient will go to reach.touchmd.com, enter the Session ID, and follow the onscreen prompts. As the patient joins and waits, they will be placed into a virtual waiting room. Practices who utilize TouchMD Playlist will have their Playlist play in the virtual waiting room. You will be alerted when your patient is in the waiting room.