There are two options to chart in TouchMD. The following videos distinguish between each of those options. One option will show you how to chart using the built-in options in the Charting tab. The other option teaches you how to chart using a custom charts saved in the Presentation Tab. You may opt to use one or both of these options.
Creating a Chart via Charting Tab
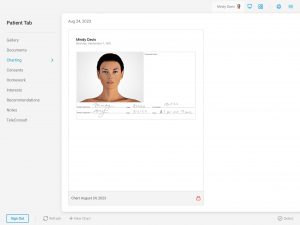
Learn how to chart using Chart Pro. Here you will learn how to import a patient image from their gallery and draw on that image, take an image of lot numbers, machine settings, etc… on the fly, add a chart note, and add a signature to the chart.
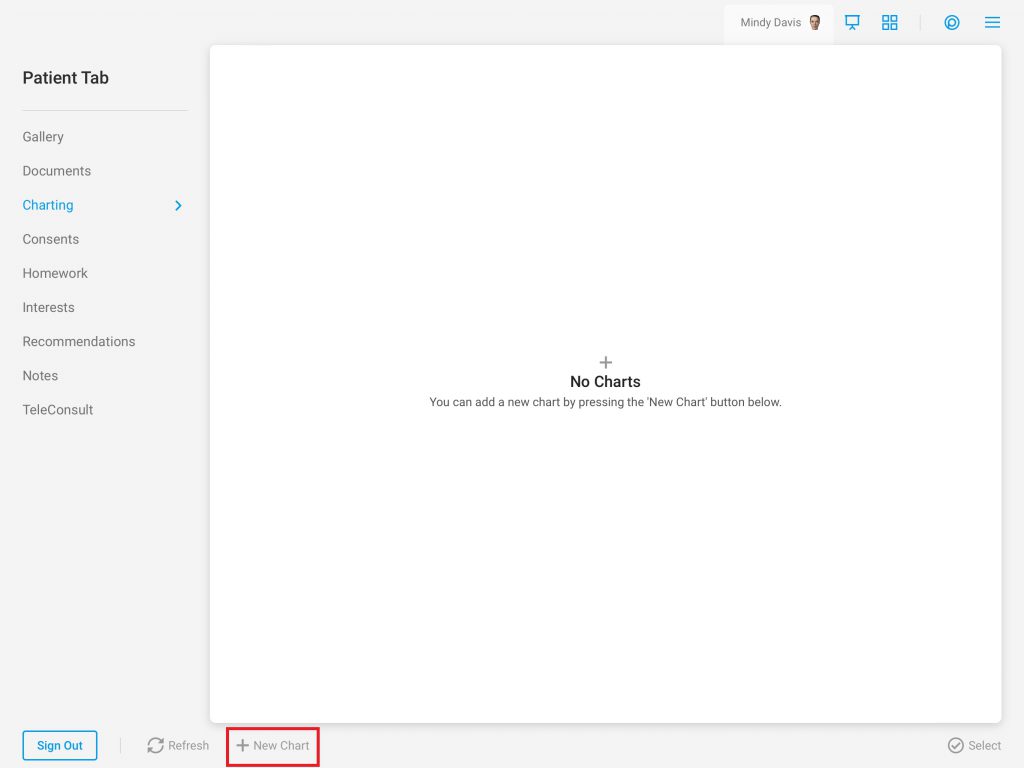
- Begin by accessing a patient account in the Consult app
- Select the Patient Tab

- Tap “Charting”

- Select “+ New Chart”
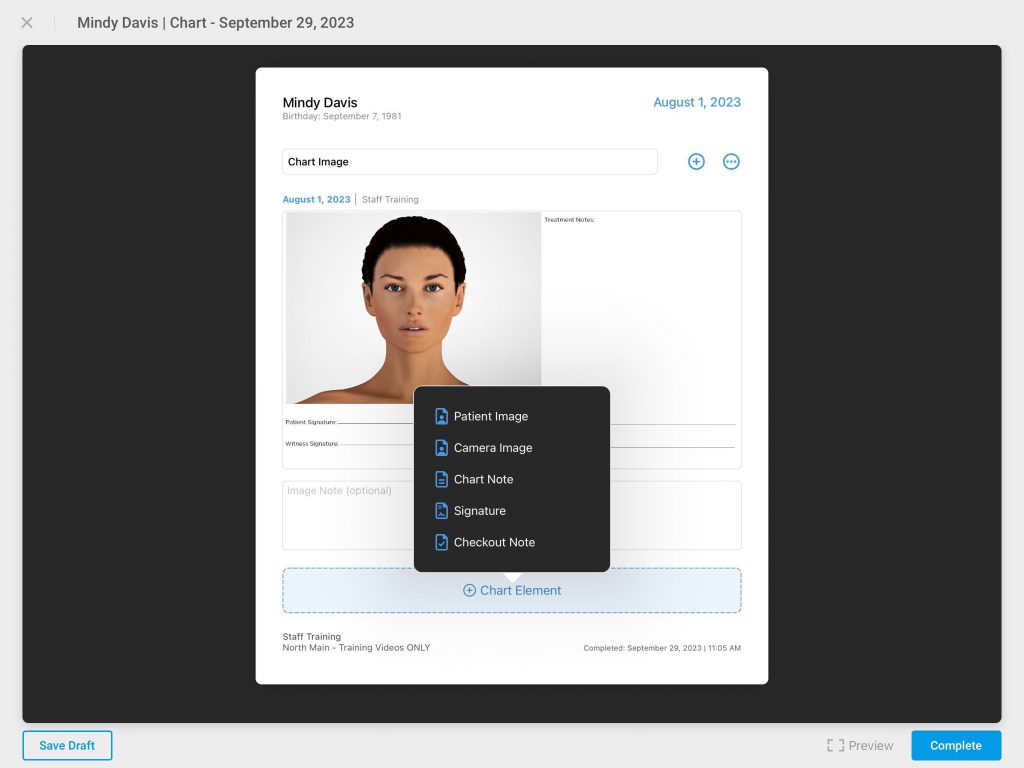
- Tap the “+”
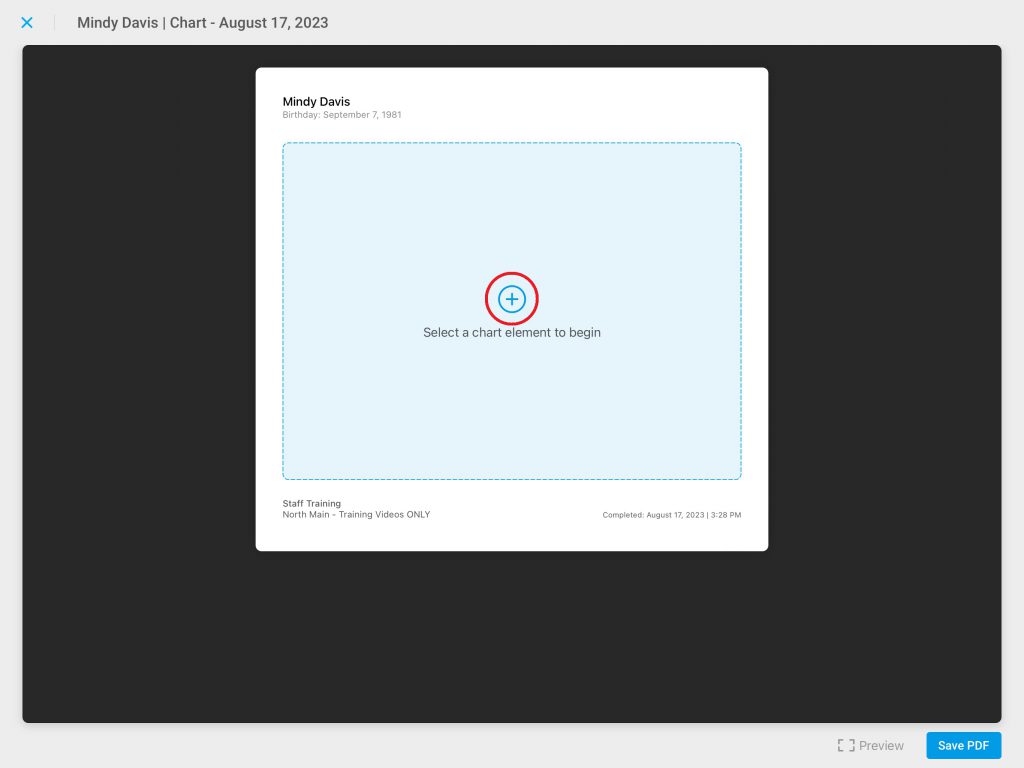
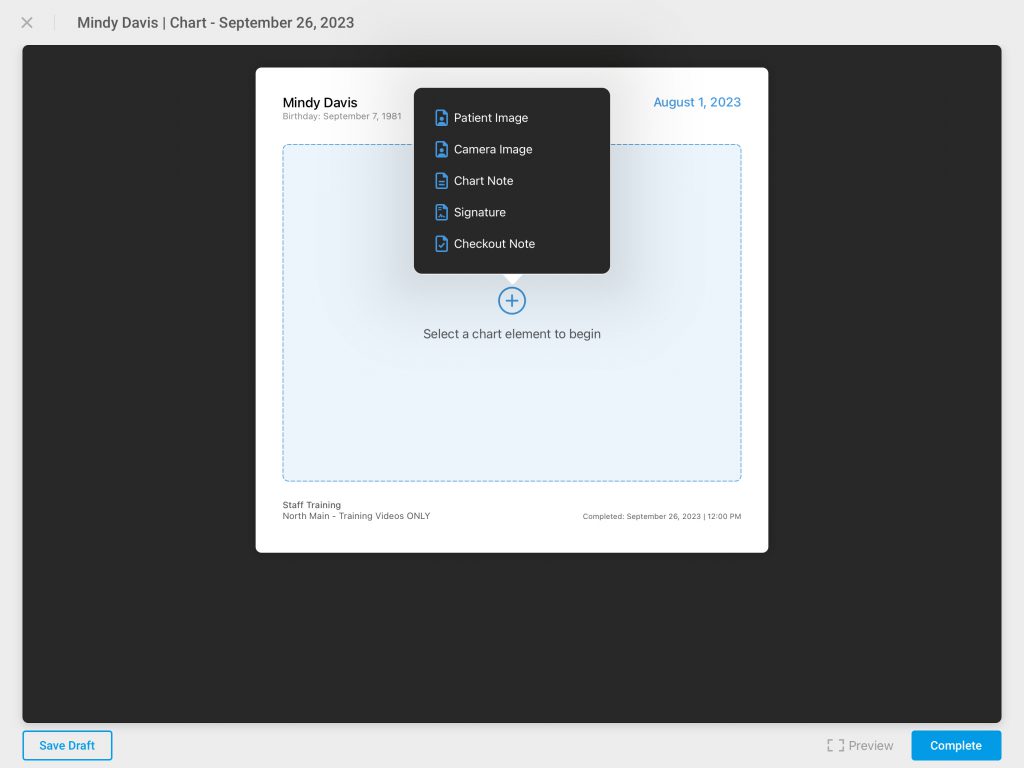
- Select the desired Chart Element (See Chart Elements below)
 Tap “Chart Element” to add an additional Chart Element to the chart
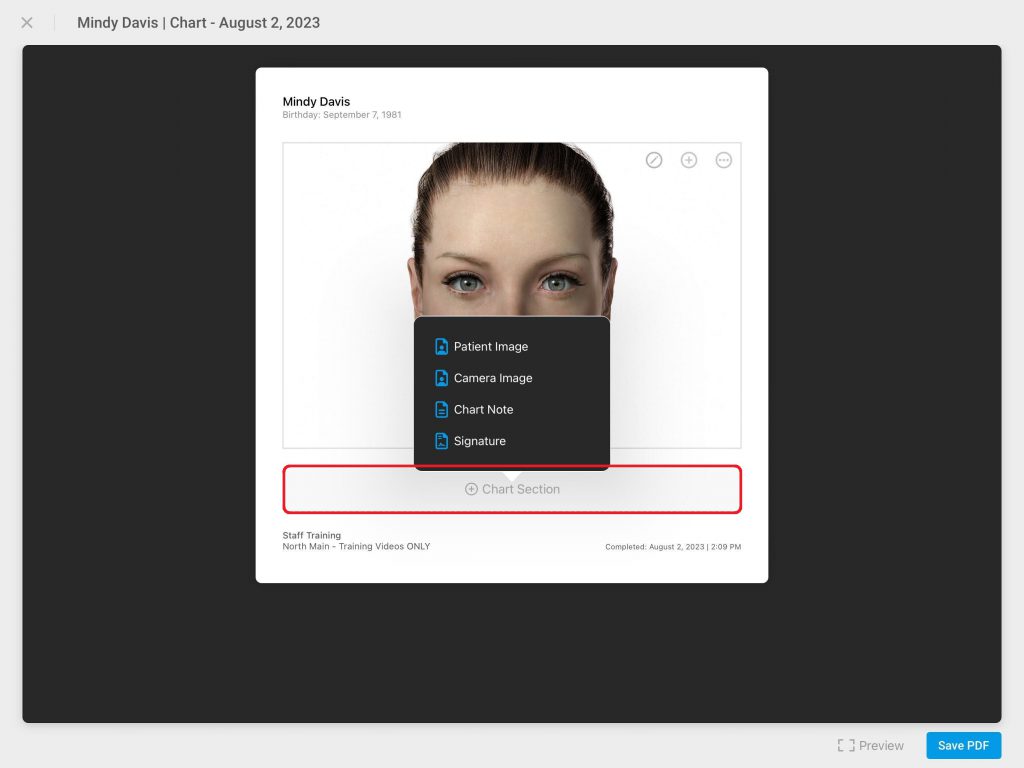
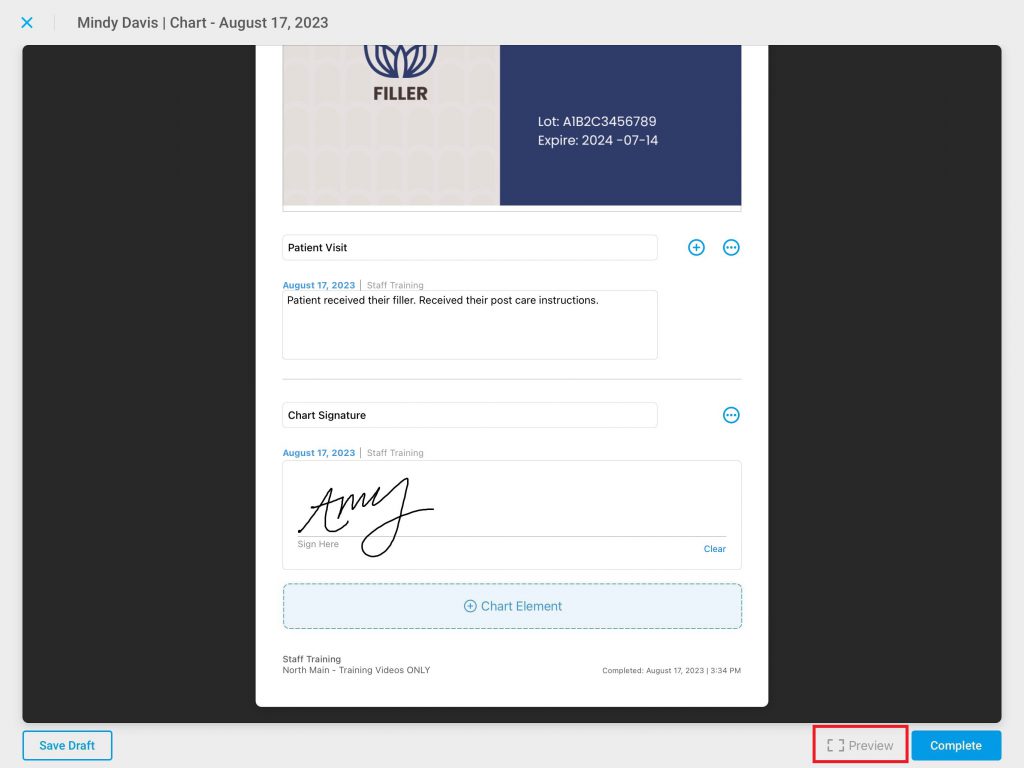
- Tap “Preview” to preview the chart
“Save Draft” to save a draft of the chart in the patient’s account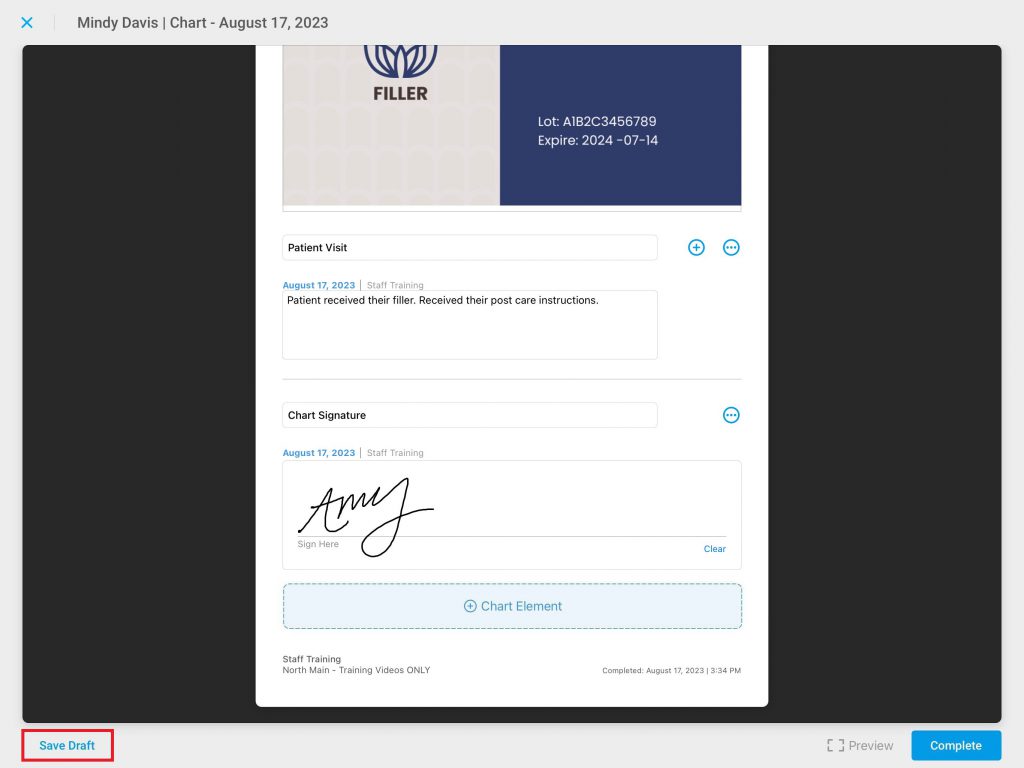
“Complete” to either save the chart completely or to submit it for review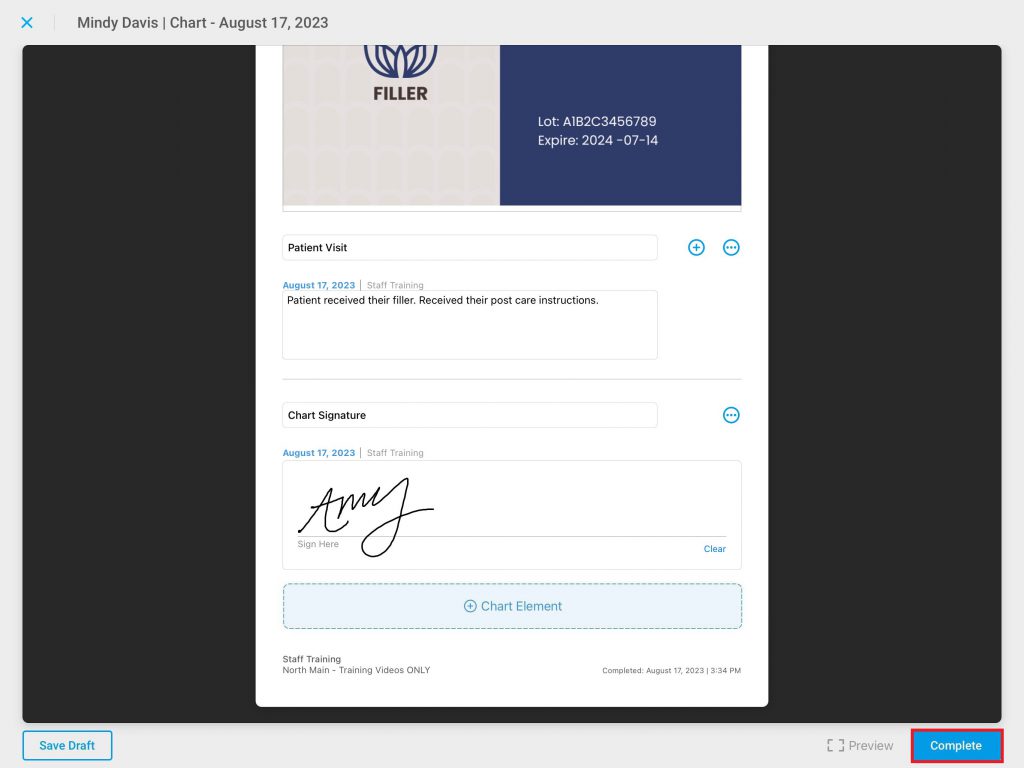
Creating a Chart with a Custom Content Chart
Learn how to chart using your custom charts located in Presentation Tab of the Consult app.
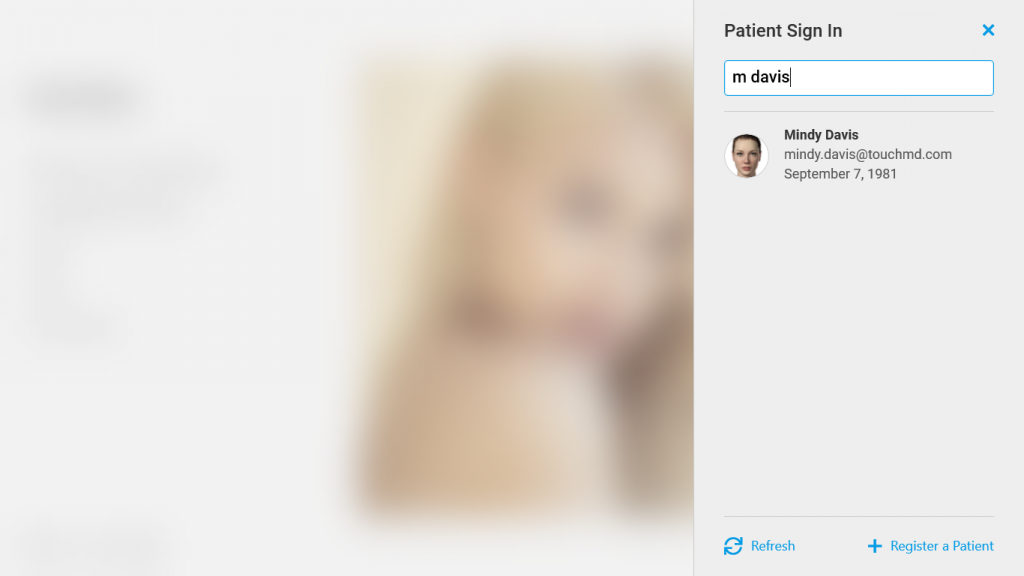
- Begin by accessing a patient account in the Consult app
- Select the Presentation Tab

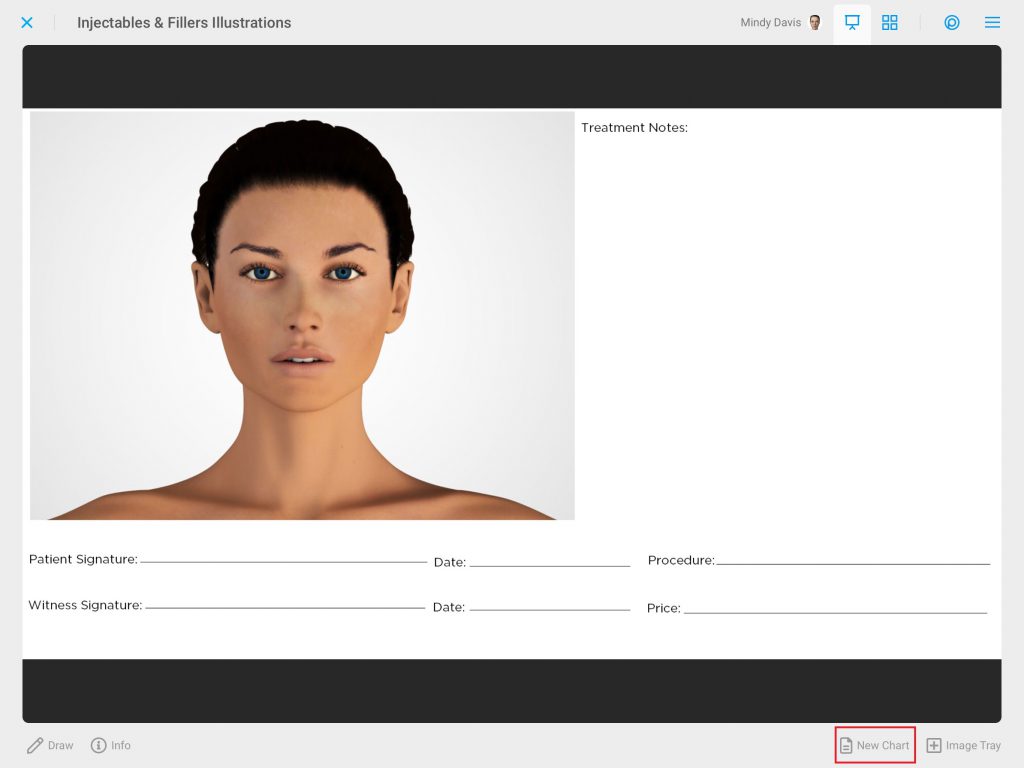
- Navigate to and tap the desired chart template

- Select “New Chart” and the chart template will automatically be added to a chart
- If desired, add additional Chart Element (See Chart Elements below). Tap “+ Chart Section” to add an additional Chart Element to the chart
- Tap “Preview” to preview the chart
“Save Draft” to save a draft of the chart in the patient’s account
“Complete” to either save the chart completely or to submit it for review

Chart Elements
Patient Image
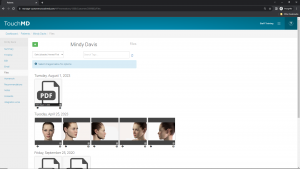
A Patient Image allows you to select an image from the patient’s Gallery.


Camera Image
Camera Image allows you to take a picture on the fly. This could be a picture of the patient, barcodes, lot numbers, machine settings, products, etc...

Chart Note
Chart Note allows you to enter details about the patient’s visit to the chart.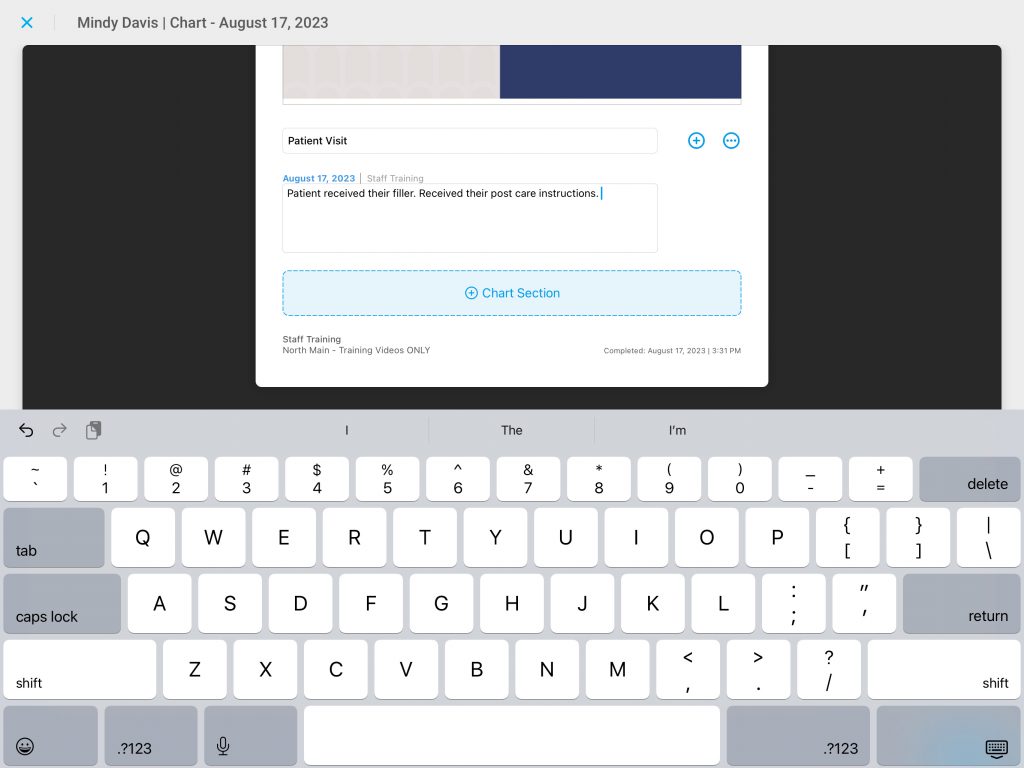
Signature
Signature allows for a signature on the chart. Please note that this signature must be completed at the time of the chart creation. 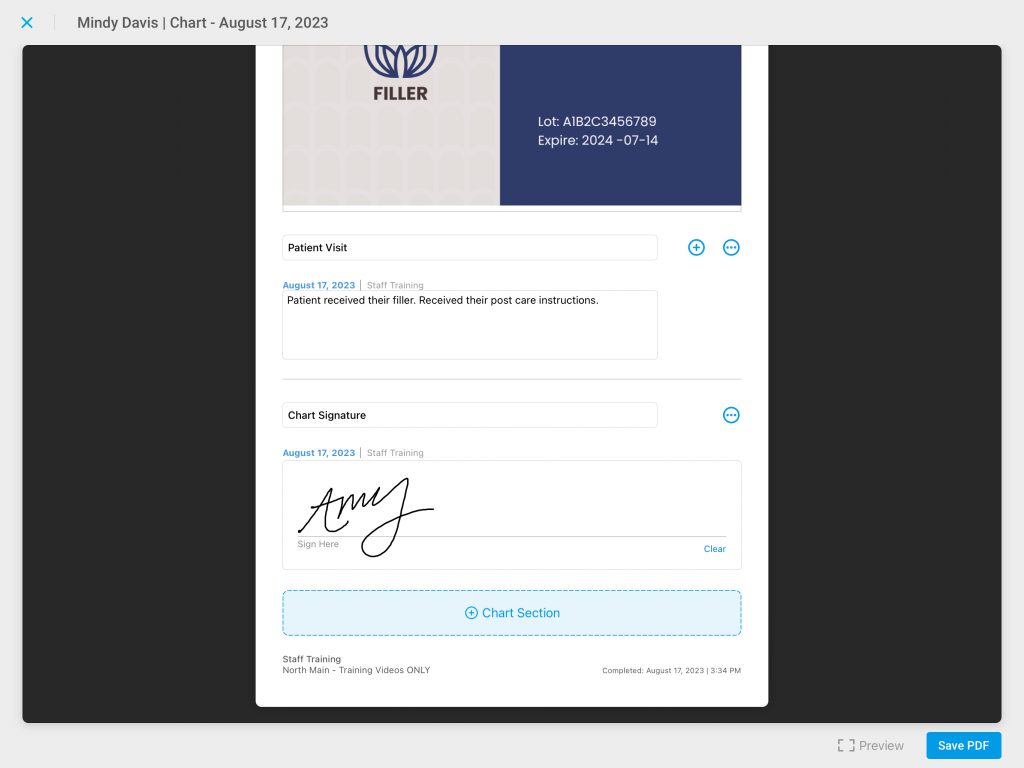
Checkout Note
A Checkout Note allows you to enter in a checkout note to be used as a reference by staff at the time of checkout.