Learn how to add custom chart templates to the TouchMD Dashboard. These custom charts templates may then be used to create a chart via the Consult app.
Here are the steps to get started:
- Determine the treatment forms/charts you would like to use in TouchMD
- Convert treatment forms to a JPG via a photo editing software such as; Photoshop or online options. *Some forms may need to be restructured by your team to make it easier to use on TouchMD. Such as adjusting box sizes, margins, text size, etc…
- Upload your treatment forms in the desired Binder and Sheet of your Content (A Binder and a Sheet must be created first). We recommend using the Billboard Section Layout. Some practices like Creating a custom Binder and Sheet called “Treatment Forms” to house all of their forms. See the steps below.
Adding a Treatment form/chart to a NEW Binder & Sheet steps:
- Go to dashboard.touchmd.com
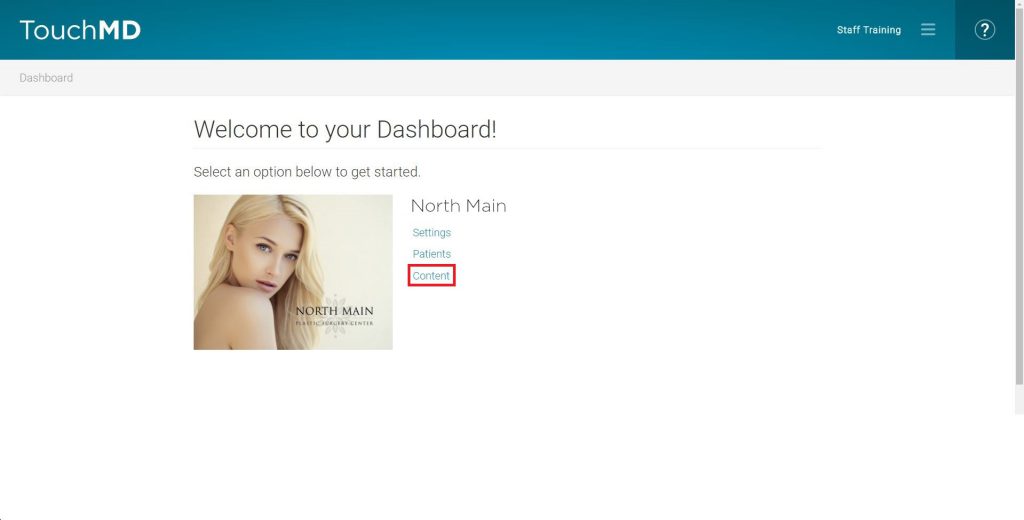
- Go to the TouchMD Dashboard homepage and select “Content”
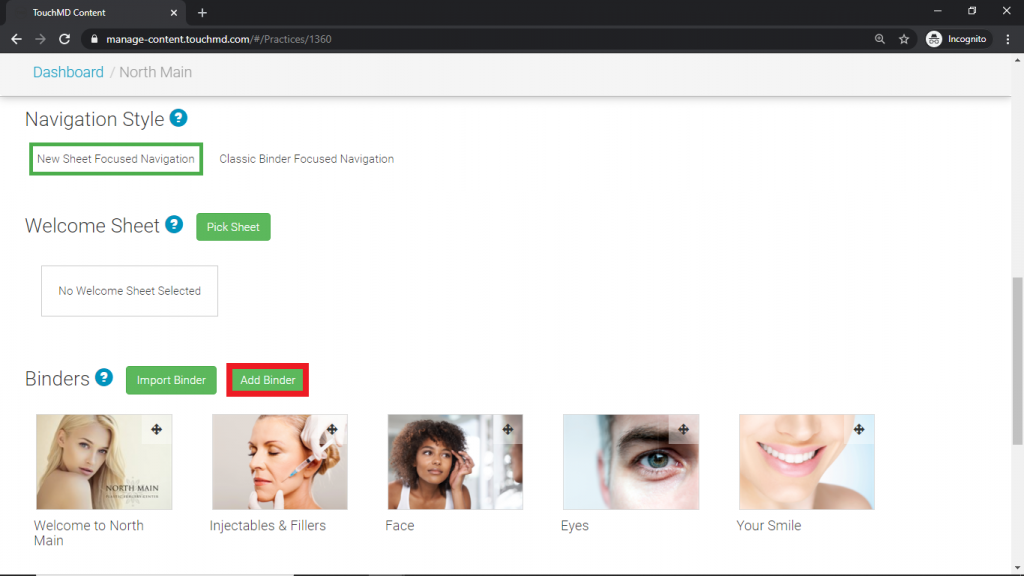
- Select “Add Binder”
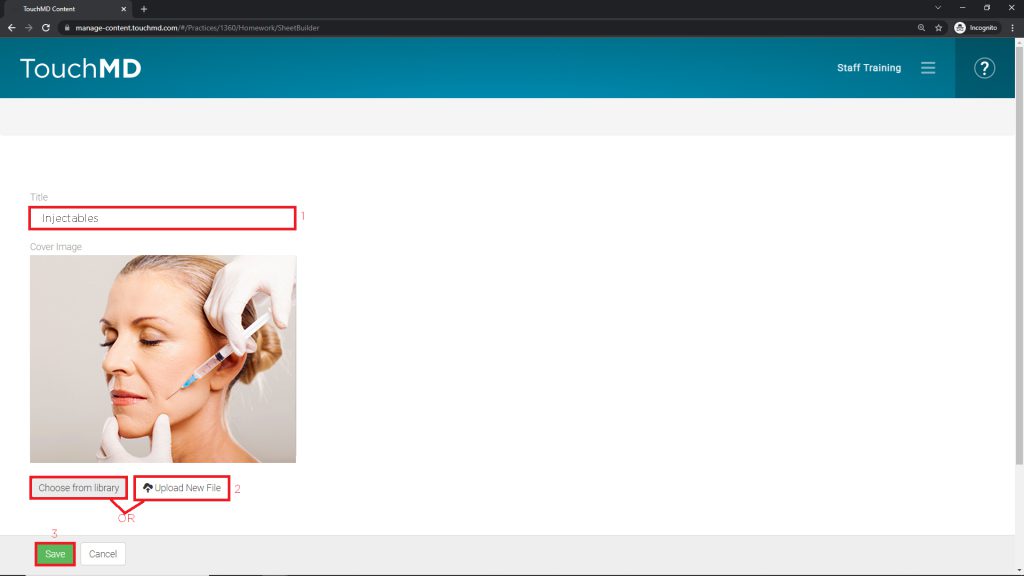
- Add a Binder title (1), select “Upload New File” or “Choose from library” to place a Binder Cover Image (2) and, select “Save” (3)
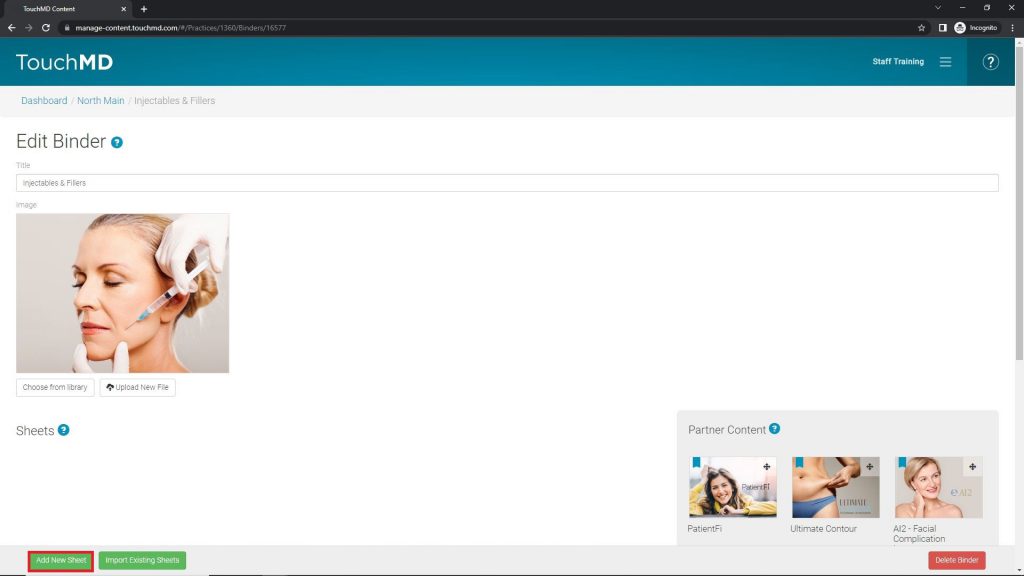
- Select “Add New Sheet”
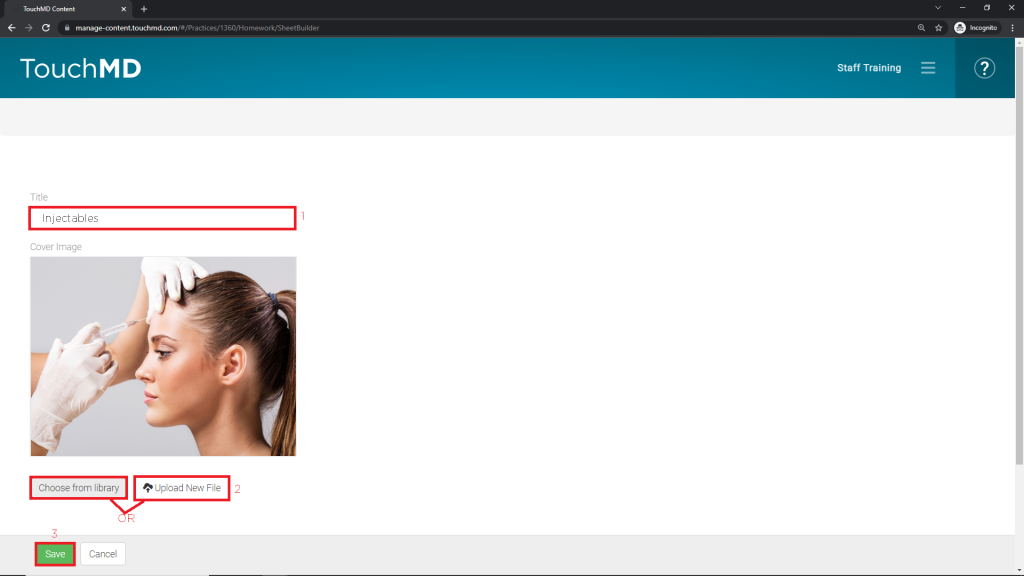
- Add a Sheet title (1), select “Upload New File” or “Choose from library” to place a Sheet Cover Image (2) and, select “Save” (3)
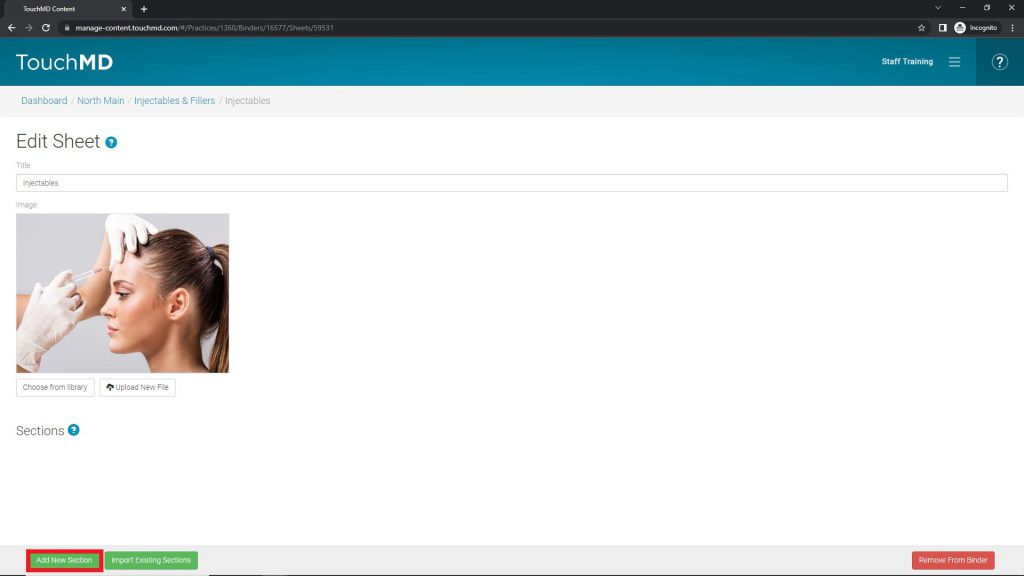
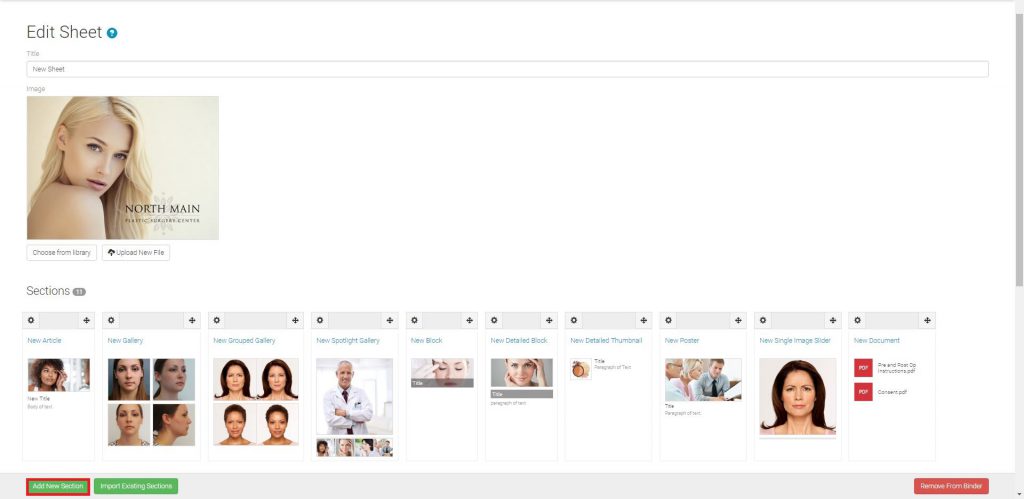
- Select “Add New Section”
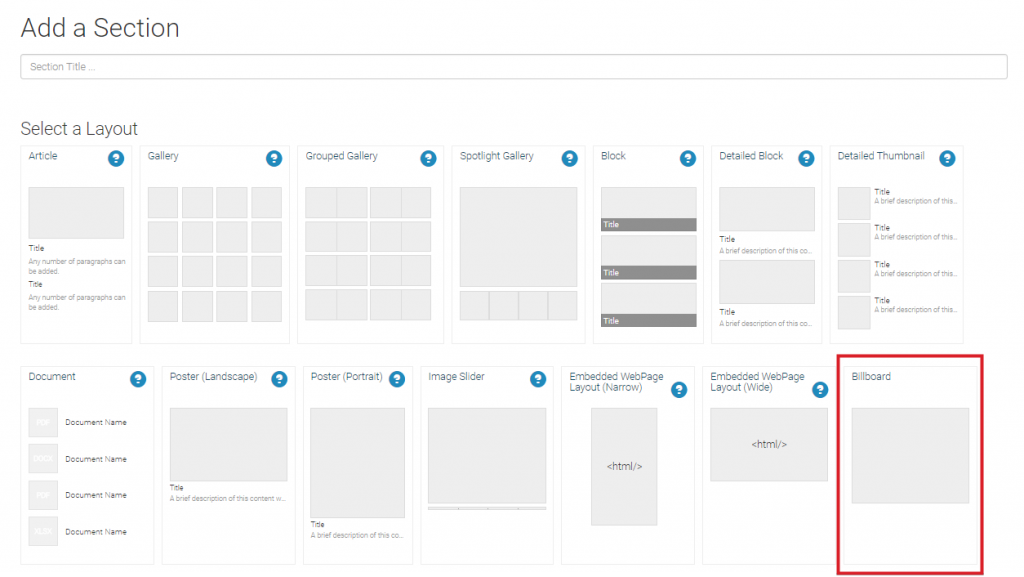
- Select Billboard
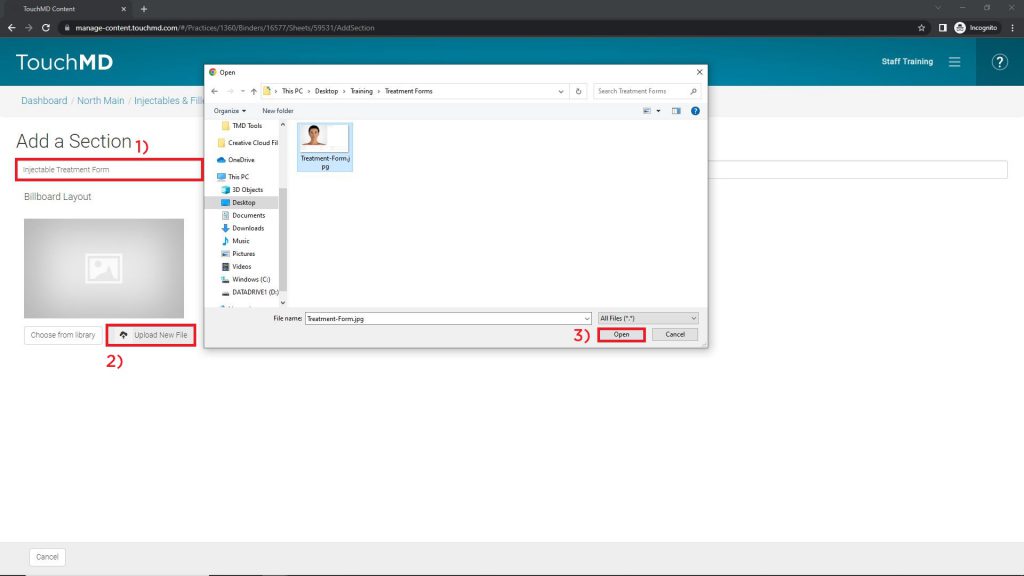
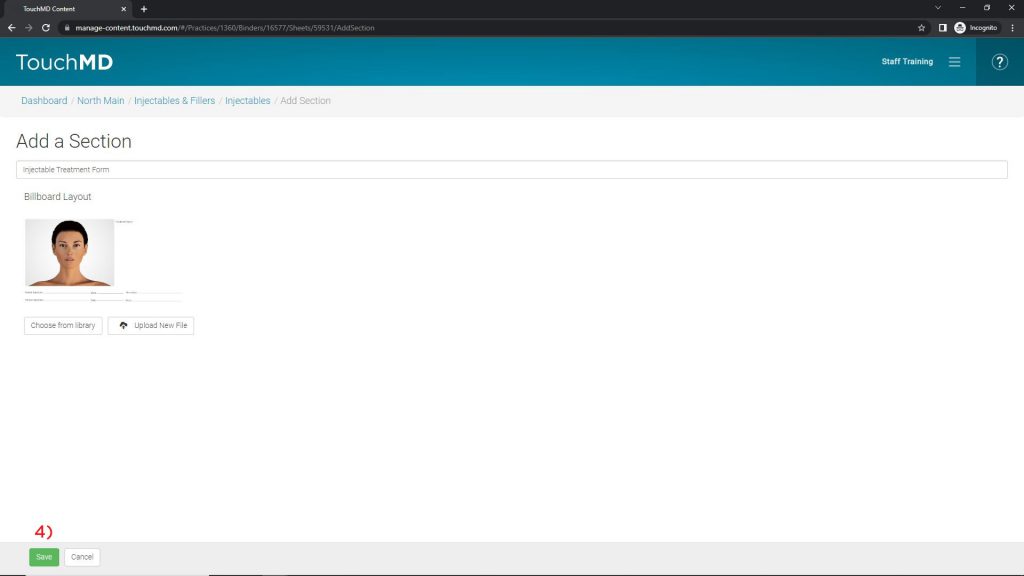
- Enter Section Title (1), select “Upload New File” (2) and browse your computer for the desired image and select “Open” (3), and then select “Save” (4)
Adding a Treatment form/chart to a EXISTING Binder & Sheet steps:
- Log onto dashboard.touchmd.com and select “Content”
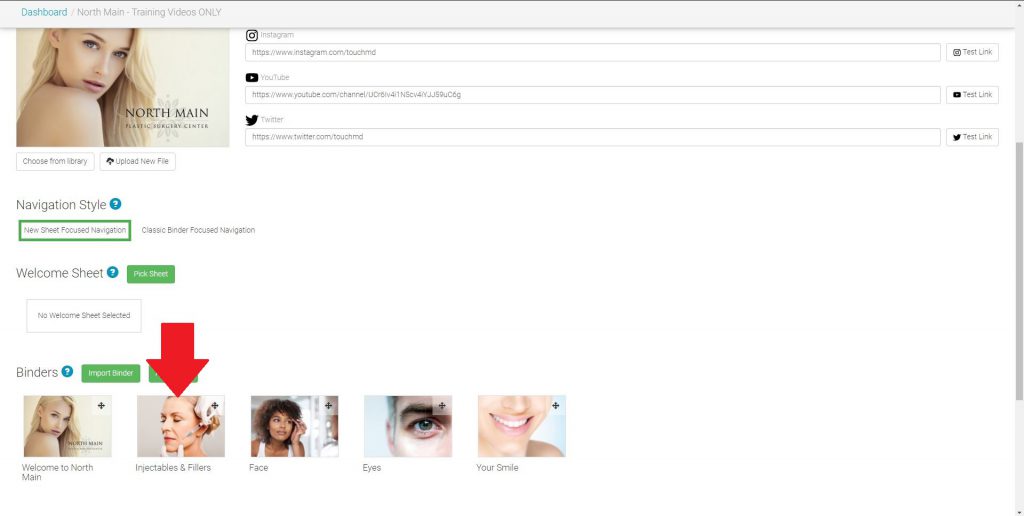
- Select the desired Binder i.e., “Injectables and Fillers”
- Select the desired Sheet i.e., “Botox Cosmetic”

- Select “Add New Section”
- Select “Billboard”
- Enter Section Title (1), select “Upload New File” (2) and browse your computer for the desired image and select “Open” (3), and then select “Save” (4)