Computer Requirements for Capture
Capture can only be run on computers with the following Operating Systems:
- Windows 10
- Windows 11
Capture also requires MicroSoft .NET version 4.8 or higher. Most new Windows computers already come with .NET pre-installed. When the Capture installation is run, it will prompt you to install .NET if it is not installed on the computer, or if .NET is out of date.
Install the Capture Tool
- Download the TouchMD Capture Installation.
- Run the TouchMD Capture installation by clicking on the downloaded “TMD_Capture[Version].exe” file.
- If you are installing on a Windows 10, you may get one or more of the following prompts:
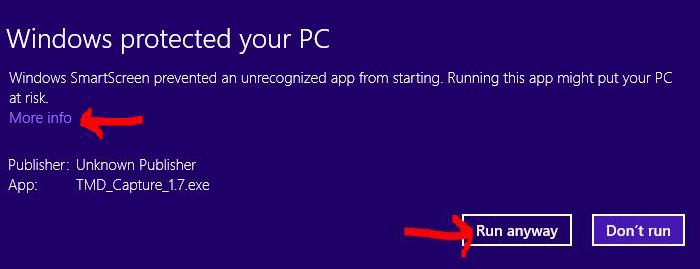
Click on the “More info” link, and then click on the “Run anyway” button. On the User Account Control dialog box, click the YES button to continue.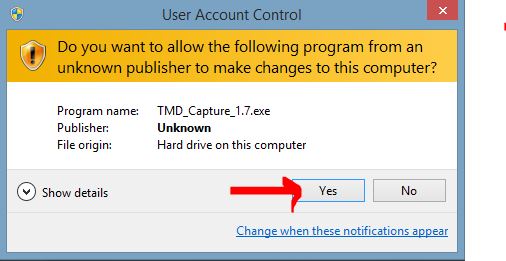
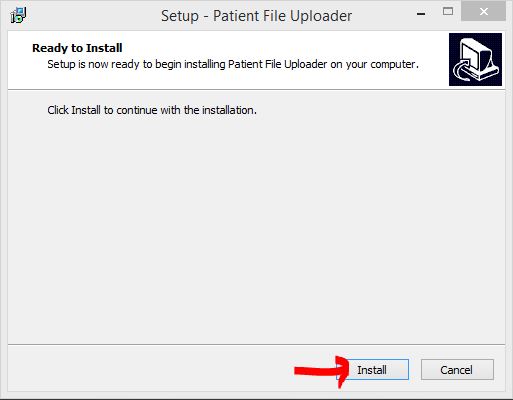
- The TouchMD Capture installation will begin. Click on the “Install” button to continue.
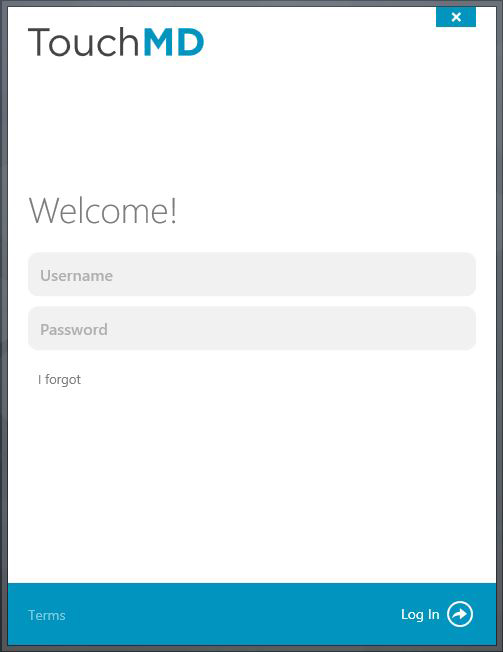
- When the installation is complete the TouchMD Capture program will run, check for updates, and open to the “Welcome” screen. Enter your TouchMD Username and Password to begin capturing images/documents for upload to a patient’s TouchMD file.