1. Home
  2. Reach TeleConsult
  3. Using TouchMD for a TeleConsult

Using TouchMD for a TeleConsult

Available Features

Please note, that some features listed here may not be currently available to your practice. To learn how you may enable these features, please contact your Account Manager.

iPad ONLY Feature

This feature is currently only available on an Apple iPad

This article is designed to assist your practice to utilize TouchMD and it’s feature, Reach TeleConsult in a telehealth capacity. Please review this article for a complete understanding.

What is Reach TeleConsult?

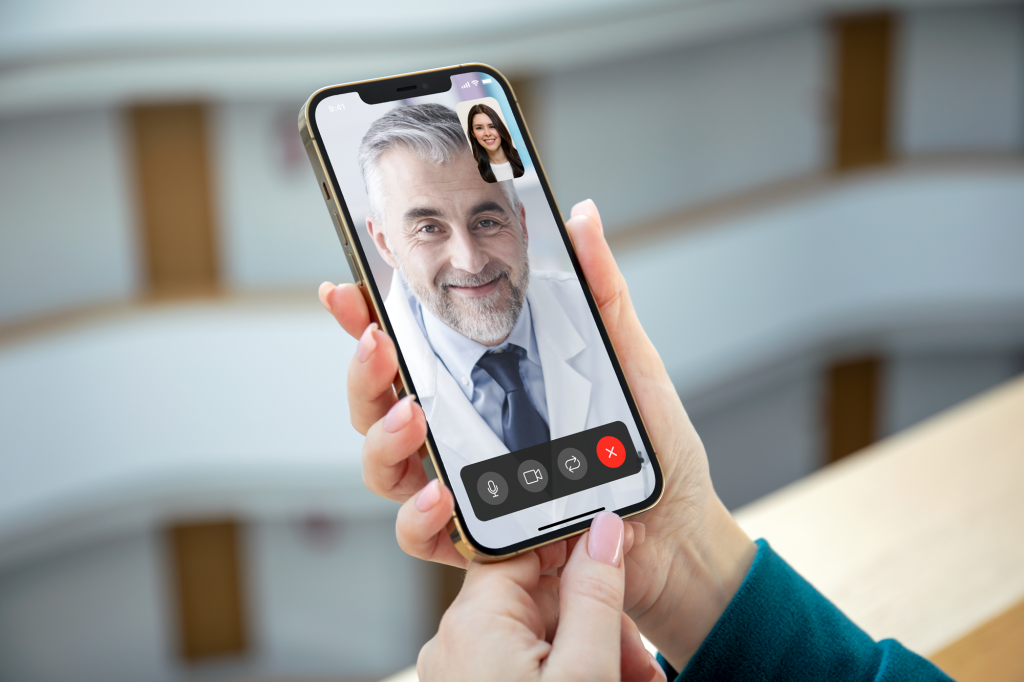
With recent changes that have been felt globally, virtual consultations have increased in demand. TouchMD is delighted to announce our latest innovation, TouchMD Reach TeleConsult. Reach TeleConsult is more than just a face-to-face visit. It’s a true virtual consultation, that provides all the tools you need while offering a complete experience for your patients. Through Reach TeleConsult, you may video chat with a patient, share your screen, and utilize the other irreplaceable features of TouchMD.

BONUS: Reach TeleConsult is HIPAA Compliant!

When Would I Use This option?

  • To conduct patient consults/visits virtually
  • To do post treatment/procedure follow ups virtually
  • To conduct a patient consult/visit with a traveling patient
  • Pre-qualify patients before in-office visits
  • Add an additional consult option for patients
  • Other times deemed fit by your practice for virtual consult/visits

What Do I Need to Get Started?

My Practice:

  • Active TouchMD Account with the Reach TeleConsult feature enabled (fees apply)
  •  Apple iPad with the TouchMD Consult App installed (Install Instructions)
  • Apple iPad being used has a mic, speakers, and a front-facing/back-facing camera.
  • Headset or headphones (optional, but offers the best audio experience)

My Patient:

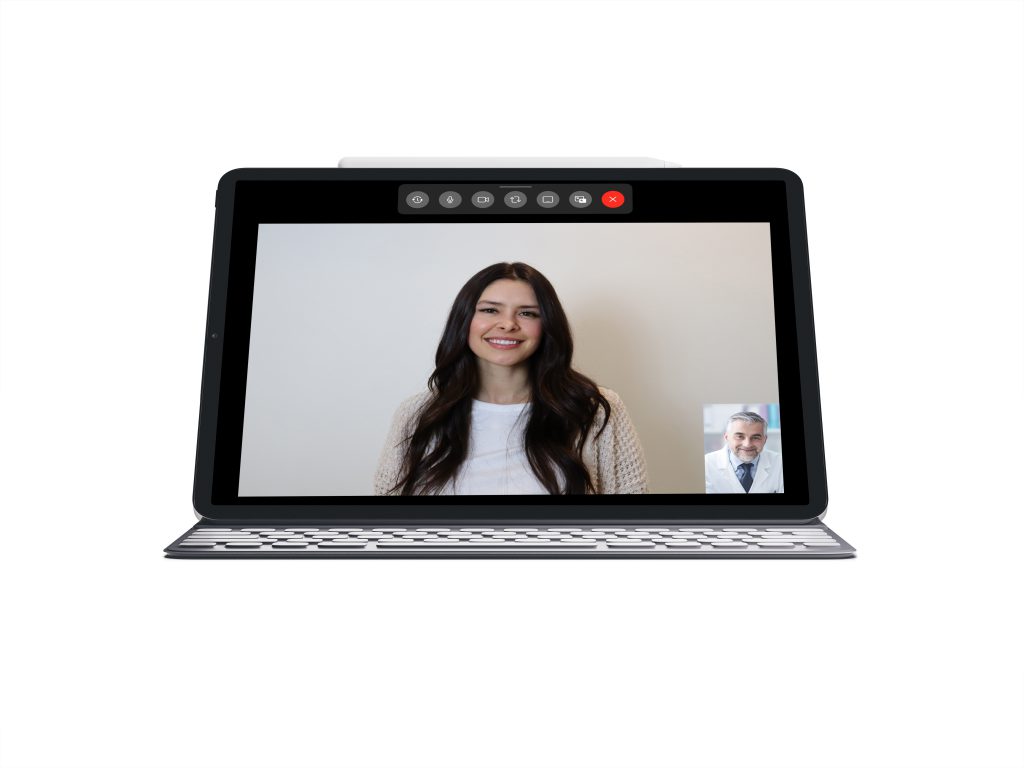
  • Computer, tablet, smartphone with mic and speakers.
  • It is best that the device offers a front-facing camera for video chatting
  • Headset or headphones (optional, but offers the best audio experience)
  • Link for remote consultations (via text message/email) OR Reach TeleConsult Session ID with accompanying weblink (reach.touchmd.com)
  • (Highly recommended, but not required)The myTouchMD app installed on their smartphone with their myTouchMD patient account activated (see tip below) for patient engagement after their consult
How does my patient get a myTouchMD patient account?

Your patient will automatically* receive a welcome email once they have been registered via the TouchMD Consult app/TouchMD Dashboard. Patients will utilize this email to set up their myTouchMD patient account. Note: The automated welcome email will come from the sender “TouchMD Messages”.

Patients of practices/clinics with an integration with their EMR/EHR/PM and TouchMD, will automatically receive the welcome email once that patient has been accessed via the TouchMD Consult app, TouchMD Dashboard, or the TouchMD Snap app. Patients will utilize this email to set up their myTouchMD patient account. Tip: If this applies to your practice/clinic, it may be wise to access the patient account prior to the scheduled consult to ensure they receive the welcome email OR opt to manually send the welcome email to your patient prior to the consult. To learn how to manually send the welcome email, select here.

*You may have opted to disable the automation of the Welcome Email. You may manually send the welcome email to your patient prior to the consult. To learn how to manually send the welcome email, select here. To check what your settings are currently listed as or to make changes, select here.

How Do I Get My TeleConsult Set up?

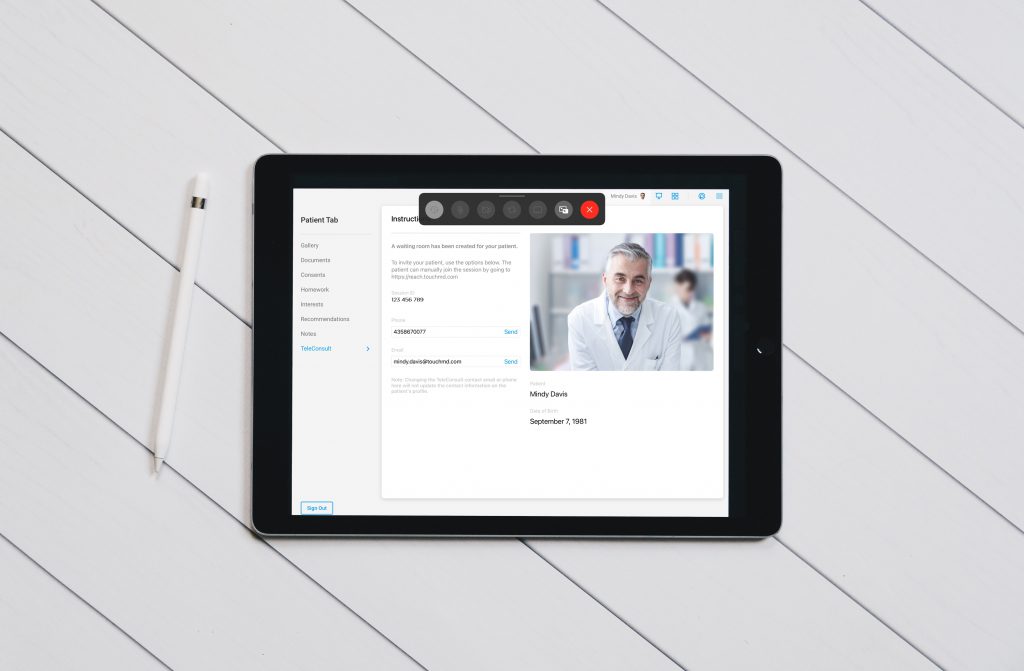
Please refer to the list of items above for both you and your patient to ensure you have all the things needed for your consult. We recommend having your Consult app open and the patient account accessed in the app. After your Consult app is set up, you may then begin your teleconsult by selecting the Patient Tab, tapping “TeleConsult”, verifying the patient info, and choosing “Start”

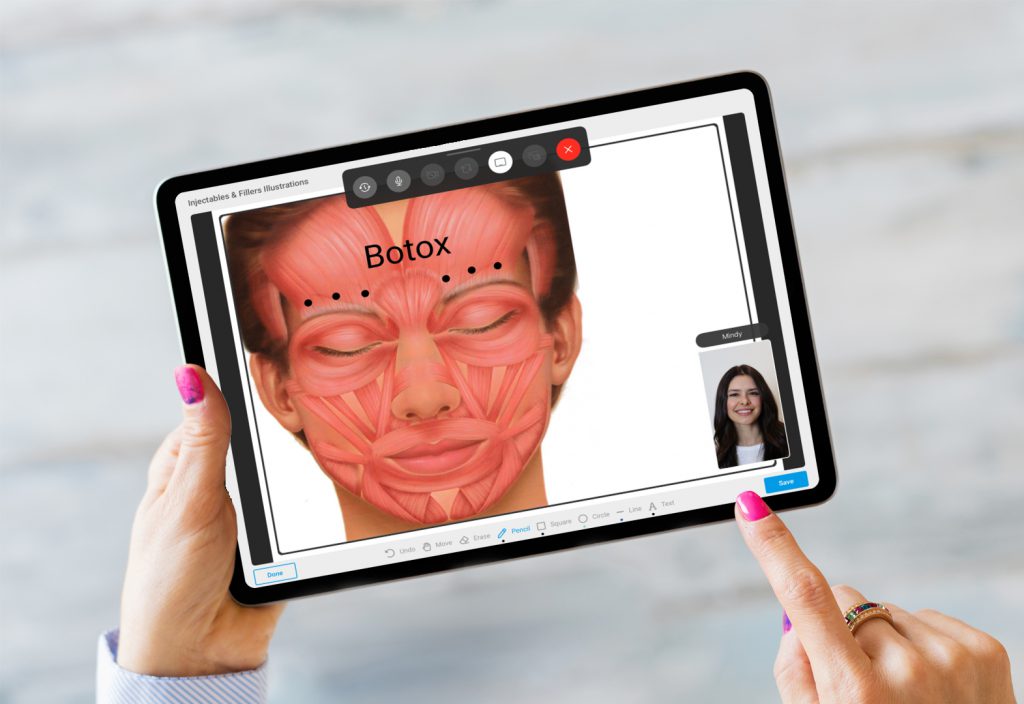
Use your front-facing camera for your patient to see you and you may also encourage your patient to utilize their front-facing camera too. It is highly recommended that you share your iPad screen view to allow your patient to see the Consult app as you navigate information and/or draw on images. For your audio, please ensure your device has mic and speakers and we would recommend a headset/headphones.

How to start & share your screen during a teleconsult?

Want some videos to show you how? Select here to learn how to start a teleconsult and select here to learn how to share your screen.

How should I invite my patient?

Tip: Here is an example message that you could send to your patient via email/text/etc… to help them prep for your teleconsult. (Want a template? Select here. Want more in-depth information? Select here.)

Hi *Patient*,

We are excited for your virtual consultation with us this upcoming ________*date* at _______*time*. Here is the information you will need to prepare for your consultation:

Directions for Doctors/Providers: Adjust this suggested template as needed. Below you will find instructions for the multiple options to instruct a patient in connecting to your virtual consultation. Determine how you will invite your patient to your virtual consultations and remove the unnecessary text. *Please remove this text before sending this email/text to a patient*

A few minutes prior to your consultation, you will receive a [text message] [email] to connect with us virtually through a secure and HIPAA compliant manner! Select the link provided on a computer/tablet/smartphone to connect to your consultation. Follow the onscreen prompts and your provider will join you shortly.

A few minutes prior to your consultation, you will receive a phone call from a member of our team to help you connect with us virtually through a secure and HIPAA compliant manner! We will provide a website to go to, along with a unique Session ID code to help you connect with us. Follow the onscreen prompts and your provider will join you shortly.

Please review this video prior to your consultation to familiarize yourself with the virtual consultation portal and please also review this information to help you prepare to use the myTouchMD Patient Experience app before/after your virtual consultation.

Directions for Doctors/Providers: The following instructions regarding photos are provided as a courtesy to our TouchMD clients. Please review and feel free to alter the instructions and/or images. Please note, we have only provided example images of the face. You may want to consider including example images of other services/procedures/surgeries available at your practice. If you would prefer to send the photo instructions as an attachment, please see the “Article Attachments” found at the bottom of this article. *Please remove this text before sending this email to a patient*

(Optional Text): Photos: Prior to your consultation, please utilize the myTouchMD app to upload photos into your myTouchMD account. We will use these photos during your consultation. Please take and upload one (1) photo of each angle of the area of your concern (i.e., face, body, breast, etc…).

  • You may take the photos yourself if desired. If you do so, please utilize a mirror for body and breast consults. For the face, please utilize the “selfie” mode. 
  • You may have someone else take the photo if desired. 
  • If at all possible, please have a clean background for your photo. For example, take the photo in front of a blank wall that is free of distractions. We also recommend taking each angle of the photo at the same distance and level, and using good lighting. 

How do I upload an image into my myTouchMD account?

Please review these instructions: https://www.touchmd.com/patientresources

(Optional Text): Consents/Forms: Prior to your consultation, please utilize the myTouchMD app to review and sign the assigned consents/forms in your myTouchMD account. Your assigned consents/forms may be found in the Timeline (main screen) of the app under the heading “Consents”.

We are excited to visit with you soon!

-The staff

How Should I Conduct My TeleConsult?

Your utilization of the TouchMD Consult app will be the same as if the patient was in the office. There are, however, a few exceptions:

Images:

If you would like your patient to take an image of themselves and upload it to their TouchMD account before their virtual telehealth consult/visit, direct the patient to utilize the myTouchMD app. Patients will utilize a feature called “Add Image” in their app to take a selfie that will upload into their TouchMD Account. You may then view this image in the Consult app’s Patient Tab > Gallery and/or utilize the Consult app’s built-in drawing tools to mark the image. Please note, you may need to select “Refresh” in the Gallery to see newly added images. Learn how to enable this feature for your patients here with this link (please see the second video listed). Learn how patients will use this feature here. Need instructions for them? Send them this link. Would you like help in instructing your patient to take their images? If so, please see “Article Attachments” found at the bottom of this article. Here you will find a PDF that you may send to your patient or an editable version of this document in Word format. Please also feel free to refer a portion of this article called “How Do I Get My TeleConsult Set up?” for an example email to send to a patient prior to their teleconsult.

Consents:

If you would like your patient to review and sign consents at home, direct the patient to utilize the myTouchMD app. Patients will open, review, and sign consents through the app. Please ensure that your consents have been set to “Allow Patient Signature Outside of Office”. This link will teach you how to enable this option.

Once a patient has reviewed and signed their consent, you may view it in the Consult app’s Patient Tab > Consents. Please note, you may need to select “Refresh” in the Consent area to see newly completed Consents.

Additional Training

For full training regarding any features available in TouchMD, please see our online training courses. Courses 2, 3, 7 & 8 would be the most beneficial, however, feel free to review each course.

Suggested Patient Consult Flow

Would you like a suggested consultation flow, please see this article and note the exceptions listed above

How do I enable Patient Image Uploads?

If you would like your patient to take an image of themselves and upload it to their TouchMD account during their virtual telehealth consult/visit, please learn how to enable this feature here with this link (please see the second video listed). 

How do I enable at home patient signatures for my consents?

If you would like your patient to review and sign consents at home, ensure that your consents have been set to “Allow Patient Signature Outside of Office”. This link will teach you how to enable this option.

Print

Updated on October 31, 2022

Article Attachments

Was this article helpful?

Related Articles

Leave a Comment