1. Home
  2. Dashboard
  3. Legal
  4. Reviewing and Publishing Consents

Reviewing and Publishing Consents

Available Features

Please note, that Consents may not be currently available to your practice. To learn how you may enable Consents, please contact your Account Manager.

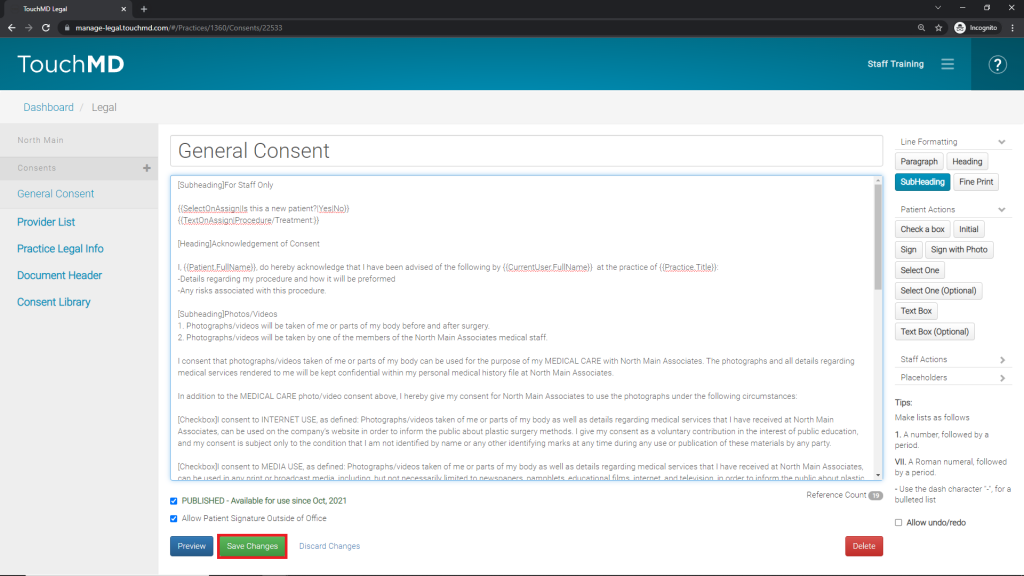
Once you have added your consents, you will need to review and publish your consent to allow patients complete consents. This is an important step ensure patients may review and complete consents.

Remove the Disclaimer

If TouchMD added consents for you or your consents came from a library, remove the disclaimer text at the beginning of EACH consent and select “Save Changes” (If you added the consent yourself and is not from a Consent library, this step will not apply to you.)TouchMD may not remove this disclaimer for you. This is your reasonability. 


Who can edit/publish consents?

To review/edit/publish consents, log onto dashboard.touchmd.com, select “Legal”, and choose the desired consent. Note: to add and manage consents to TouchMD, the user will need the “Legal” access role. Select the following link to learn how to manage provider and staff access roles: https://help.touchmd.com/topics/adding-staff-accounts-and-setting-staff-security-roles/ 

May TouchMD Publish a Consent?

It is the practice’s responsibility to review, edit, and publish any consent added to TouchMD including the consents from a library. TouchMD may NOT do these tasks for you. This is to ensure the consent reflects the message the practice and their legal team have agreed upon.

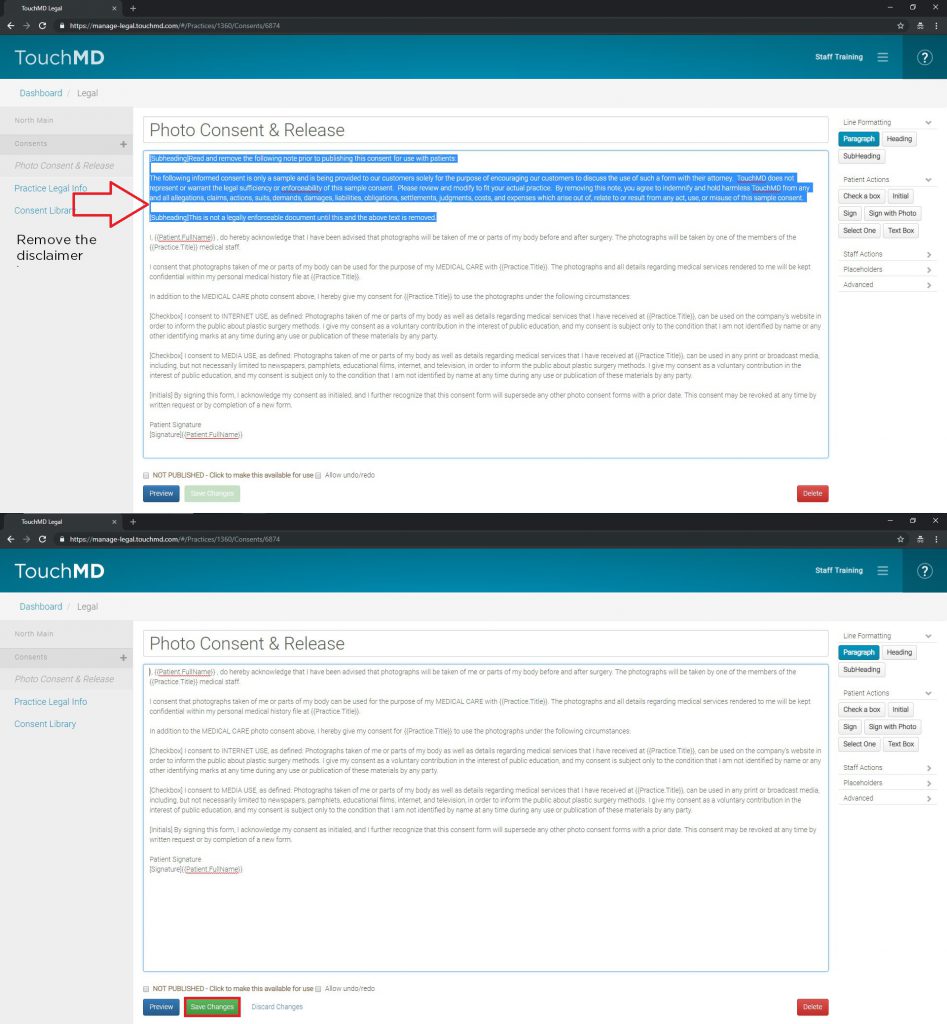
  1. Remove the disclaimer text at the beginning of each consent and “Save Changes” (If you added the consent yourself and is not from a Consent library, this step will not apply to you. Please skip to step # 2.)
    Consent Disclaimer

    This is the text found in the disclaimer found at the beginning of each consent from the Consent Library and/or if TouchMD has loaded the consent for you:

    [Subheading]Read and remove the following note prior to publishing this consent for use with patients:

    The following informed consent is only a sample and is being provided to our customers solely for the purpose of encouraging our customers to discuss the use of such a form with their attorney.  TouchMD does not represent or warrant the legal sufficiency or enforceability of this sample consent.  Please review and modify to fit your actual practice.  By removing this note, you agree to indemnify and hold harmless TouchMD from any and all allegations, claims, actions, suits, demands, damages, liabilities, obligations, settlements, judgments, costs, and expenses which arise out of, relate to or result from any act, use, or misuse of this sample consent.
    [Subheading]This is not a legally enforceable document until this and the above text is removed. 

    (Highlight the text with your mouse and select “Delete” on your keyboard. Be sure to select “Save Changes”.)
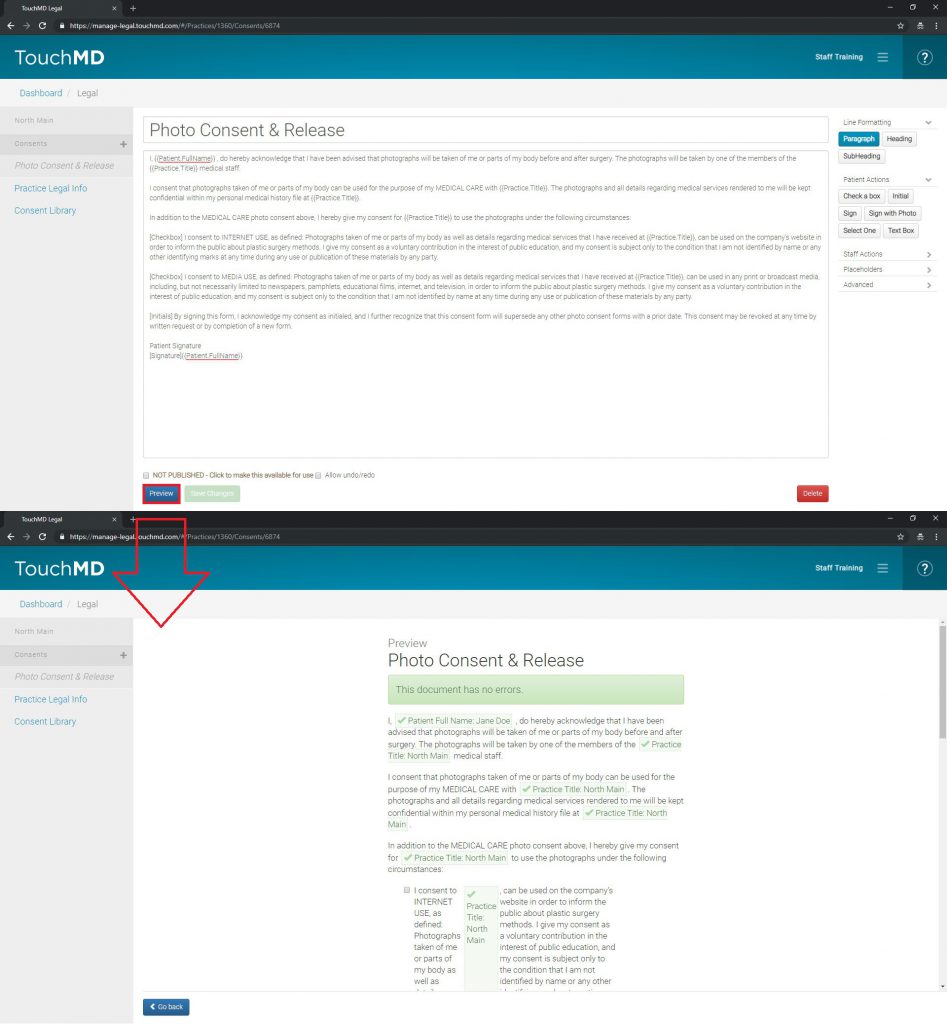
  2. Click the preview button to view and verify all of your consent changes
  3. Publish the consent for use by checking the box labeled “NOT PUBLISHED – Click to make this available for use”.Once published, the box will look like this:
I want my patient to sign their consent at home

You may want to allow for a patient to review and sign a consent at home. If that is the case, review this link

Additional Steps (if applicable):

Staff Action - SelectOnAssign

These two items listed are a tips for consents from the TouchMD’s Consent Library when dealing with the SelectOnAssign Staff Action. If your consents are custom, please ignore this tip. 

Update staff action “Doctor” references

    1. For a single doctor practice, replace the “SelectOnAssign” staff action code (example: Dr. {{SelectOnAssign|Select Doctor|Doctor One|Doctor Two}}) with the name of your Doctor (example: Dr. John Smith)
    2. For a multi-doctor practice, update any “SelectOnAssign” staff action code (example: Dr. {{SelectOnAssign|Select Doctor|Doctor One|Doctor Two}}) with names of your doctors (example: Dr. {{SelectOnAssign|Select Doctor|John Smith|Jane Smith|Jack Johnson}})
    3. Select “Save Changes”
Print
Updated on September 19, 2022

Was this article helpful?

Related Articles

Leave a Comment