1. Home
  2. Consult
  3. Placing a Watermark on an Image

Placing a Watermark on an Image

iPAD FEATURE ONLY!

This feature is ONLY available on an Apple iPad.

Quickly prepare patient images to post on a website or social media! 

Learn how to place a watermark or an image onto a patient image in the TouchMD Consult app. This is a great step to take before adding it to social media and/or a website.

  1. Open the TouchMD Consult app
  2. Begin by accessing a patient account
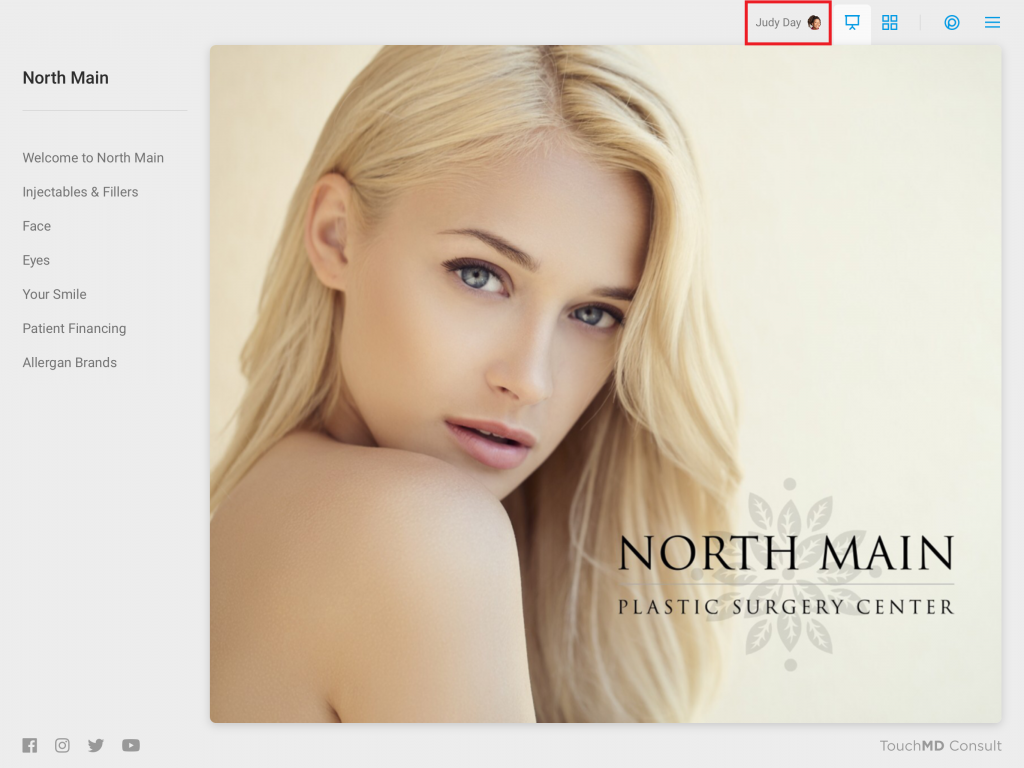
  3. Select the Patient Tab
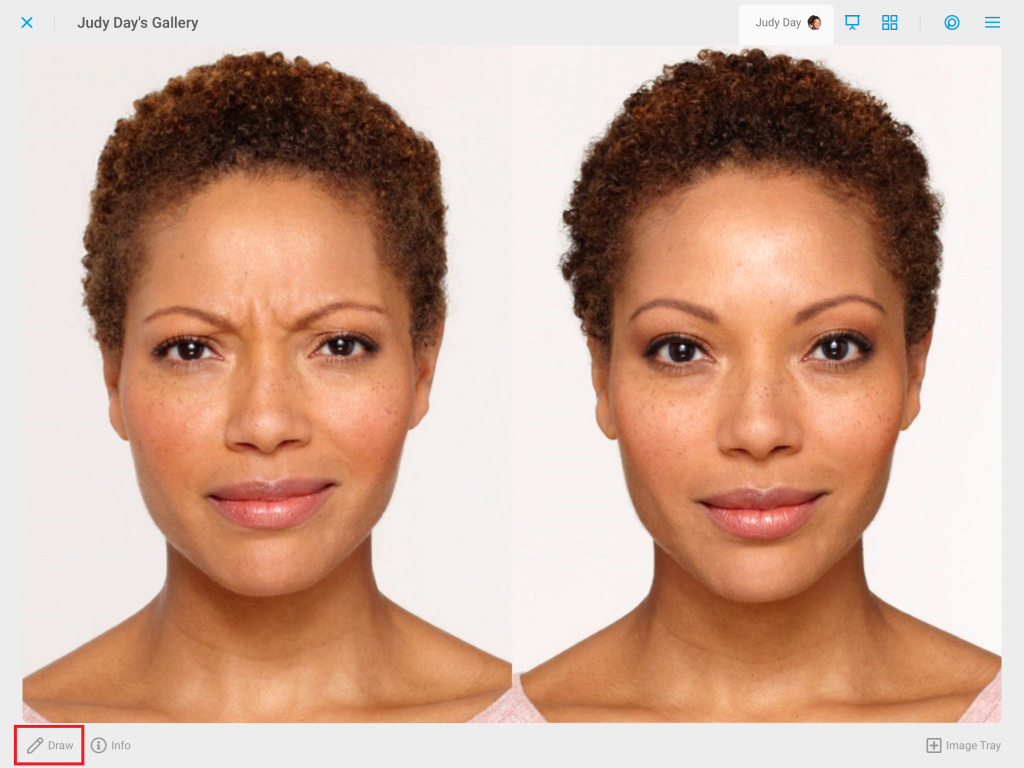
  4. Tap Gallery
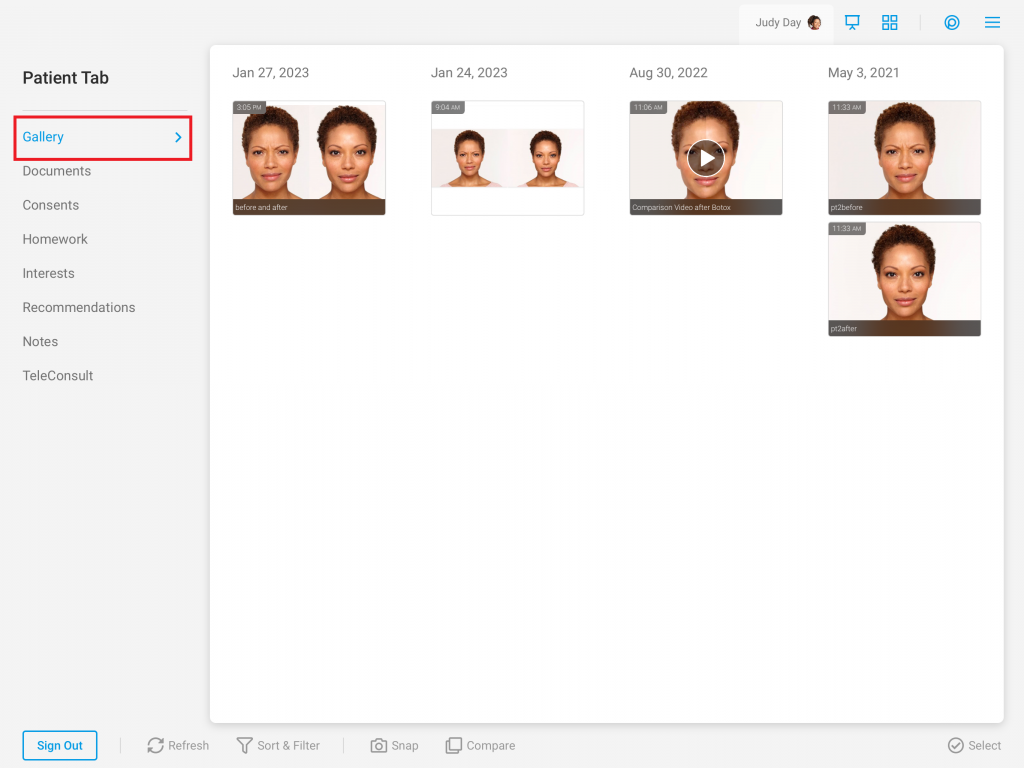
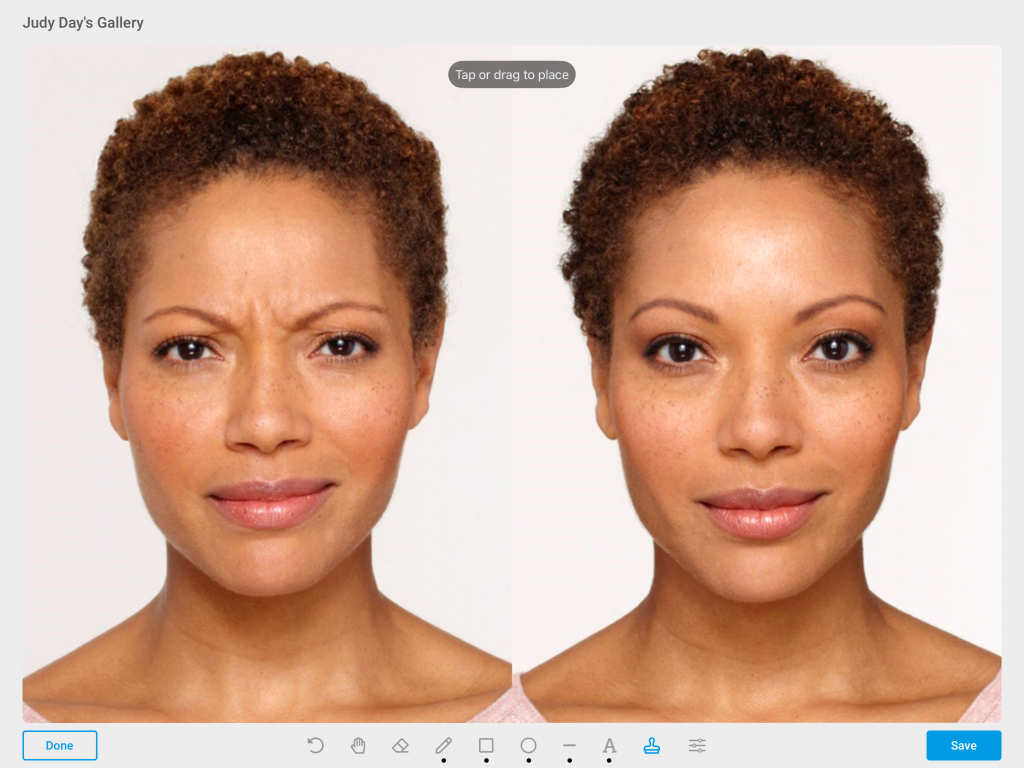
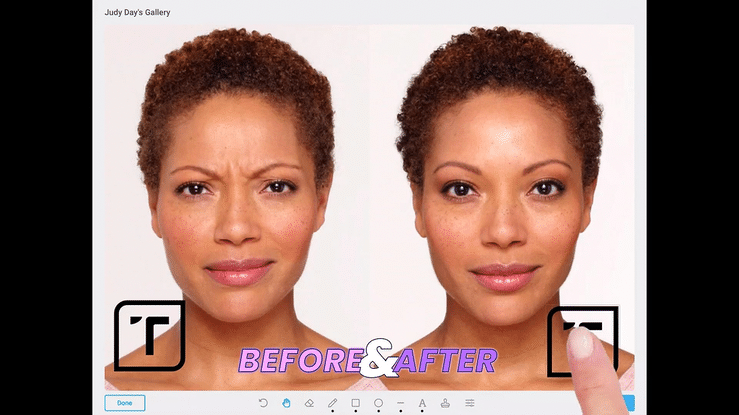
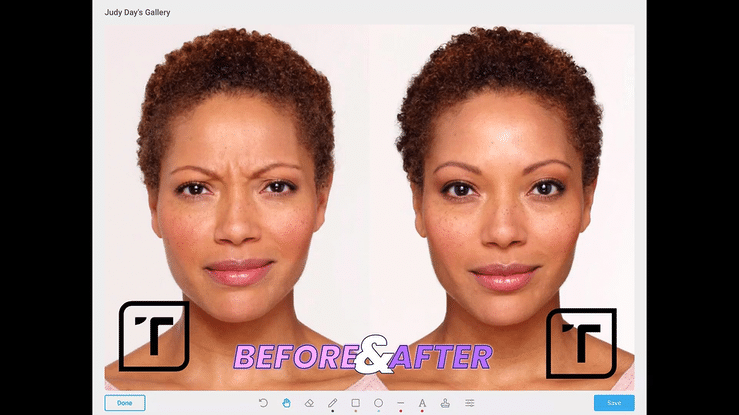
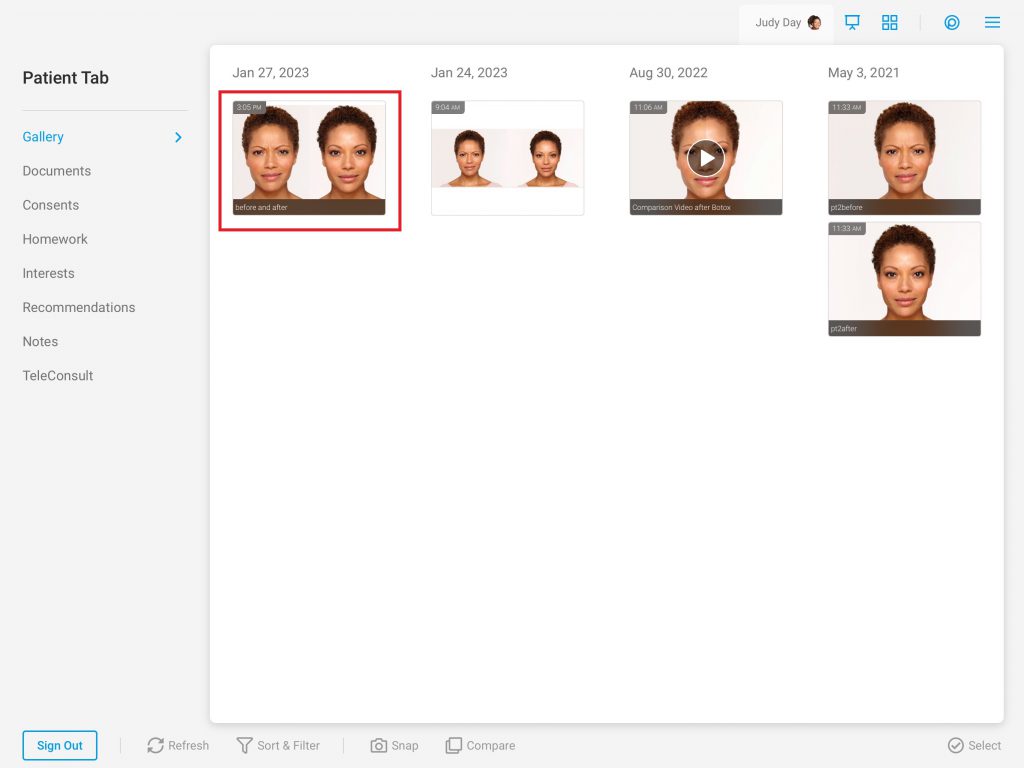
  5. Select a patient image
  6. Select “Draw”
  7. Select the Stamp Tool
  8. Tap the desired watermark/image
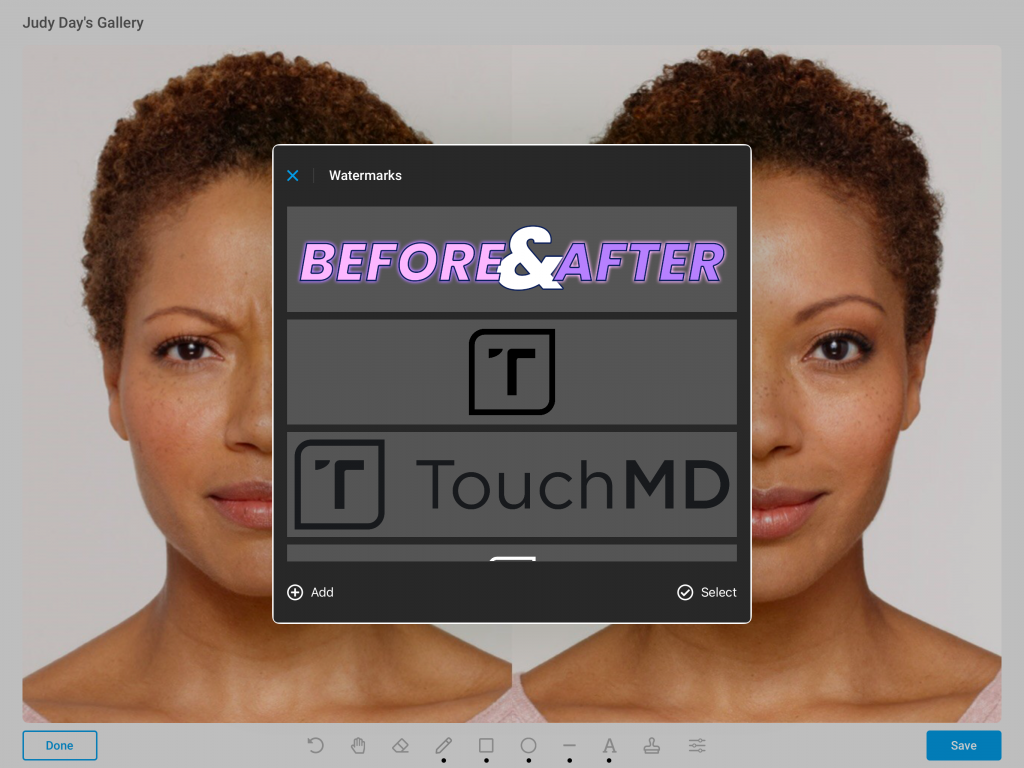
    Customizable Watermark Stamp Library

    The Watermark Stamp Library is completely customizable by your practice. Add any graphic/image that is a high resolution transparent PNG image. Please note that TouchMD does not populate this library.

  9. Tap to place

    Easy Placement

    For optimal placing, hold without lifting your finger and drag your finger to place the watermark or image


    Moving a Watermark

    To move the watermark or image, tap the Move tool and drag to the desired location


    Resizing a Watermark

    To resize the watermark or image, tap the Move tool, and pinch in or out as desired to achieve the proper size.


    Adding Watermarks to the Watermark Stamp Library

    Need to add a watermark or image to the Watermark Stamp library? Learn how to remove it here.


    Deleting Watermarks to the Watermark Stamp Library

    Accidentally add the incorrect watermark or image to the Watermark Stamp Library? Learn how to remove it here.  

    Sharing Files Prepped for Social

    Now your images are prepped for social, how do you share them? Select here to learn how. 

Print
Updated on March 10, 2023

Was this article helpful?

Related Articles

Leave a Comment