Learn how to use the TouchMD Snap Ghosting Overlays.
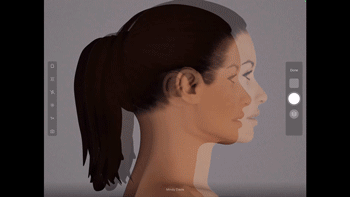
The Ghosting Overlays are used to create consistent photos between the before and after photo sessions by using a before photo as a guide. This will help you determine that you are standing at the same distance away from the patient as you were before, match the patient’s expression, etc…
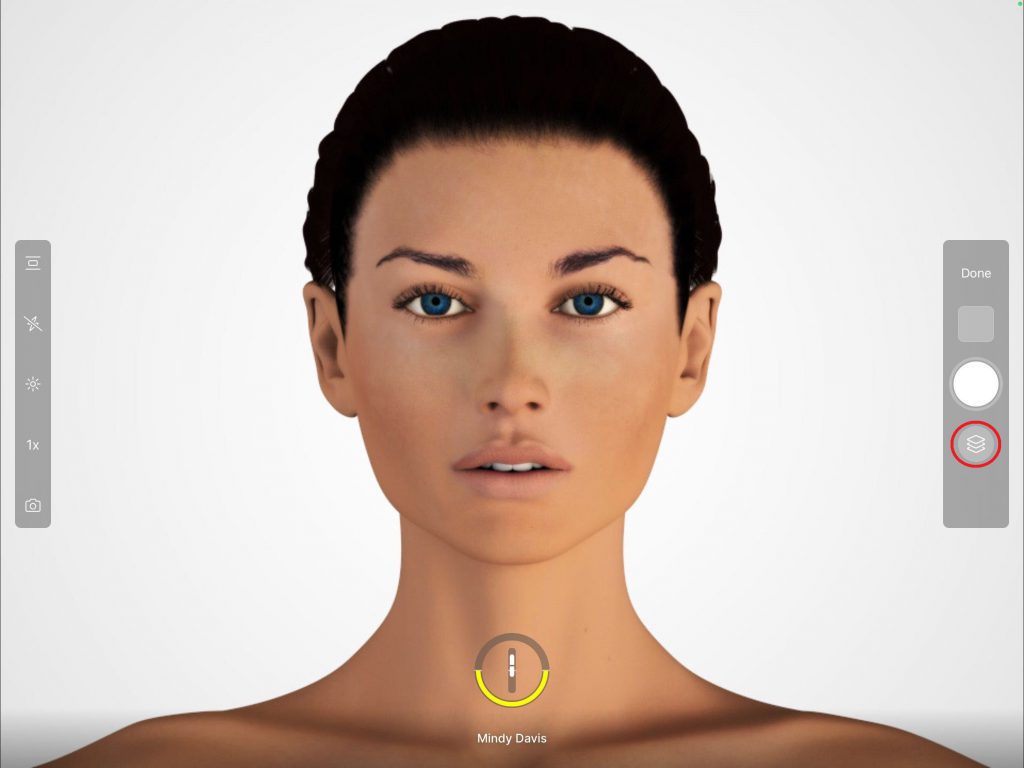
- Select the Overlays button
- Select “Ghosting”

- Select the desired photo to ghost over your current photo session
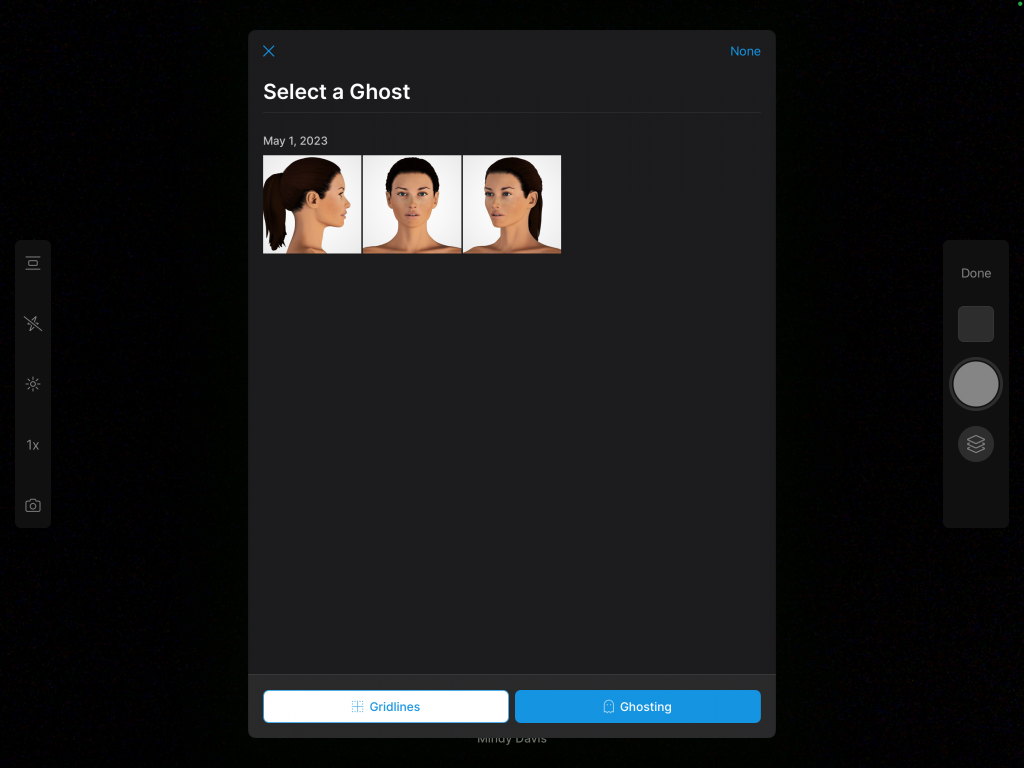
- Use the Ghost to line up the patient with their previously taken photo to ensure consistency